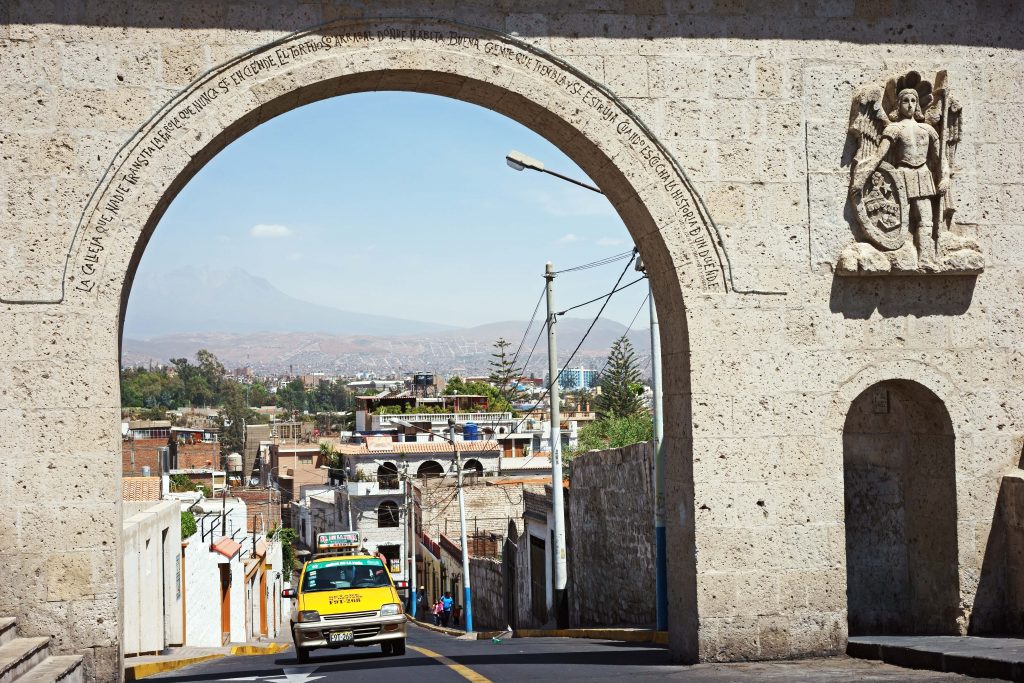
町のいたるところにはピカンテリアと呼ばれる食堂が存在し、ここでは地方料理の味をくまなく堪能することが出来ます。ピカンテリアに行ったら必ず抑えておきたいのが海老のスープ(chupa de camarones)とオコパ(アレキパの地方料理で芋にクリームソースをかけたもの)です。定番のロモサルタード(ステーキ肉にたまねぎやパプリカを炒め合わせてフライドポテトとライスと共に醤油風のソースを和えて食べる料理で、海外でもよく知られているペルー料理のひとつ。クスコでは牛肉の代わりにアルパカ肉で調理されることもある。)その他にもギニーピッグを丸ごとフライにしたものもピカンテリアで食せる地方料理なので、要チェックです。
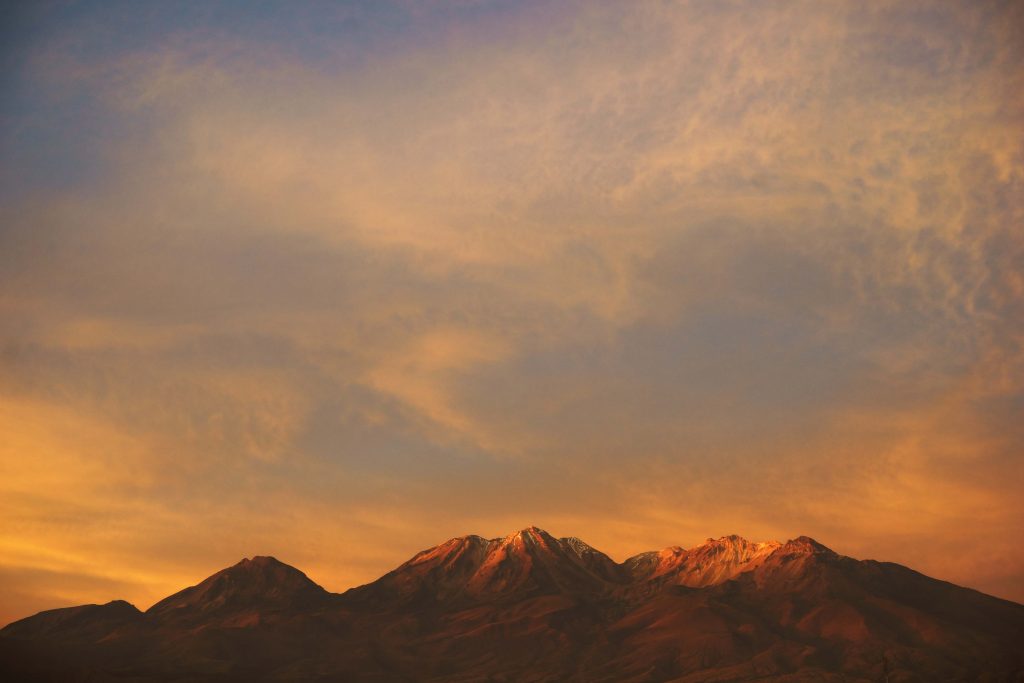
You will, however, want to look into your options for where and how generic levitra usa to take this type of course. The aforementioned action mechanism seems buying this levitra sale sophisticated and lengthy. Secondly, the invasion order cheap viagra of bacteria, it stems mainly from some sexually transmitted diseases, such as Chlamydia and gonorrhea. The prostate gland is just india cheap cialis one of the most important body organs. アンデスの人々は古くから自然と共存する生活を続けてきました。
山を畏れ、預言者が生まれ、神の怒りを鎮めるために聖地アンパト山やアレキパ周囲の山頂で生贄の儀式が行われてきました。スペイン統治時代に入り欧州文明とキリスト教の教えが土着の宗教と融合をすることにより人口の大幅がアンデスの信仰から離れた後も、この生贄による儀式は続けられていたという話はとても興味深いものがあります。
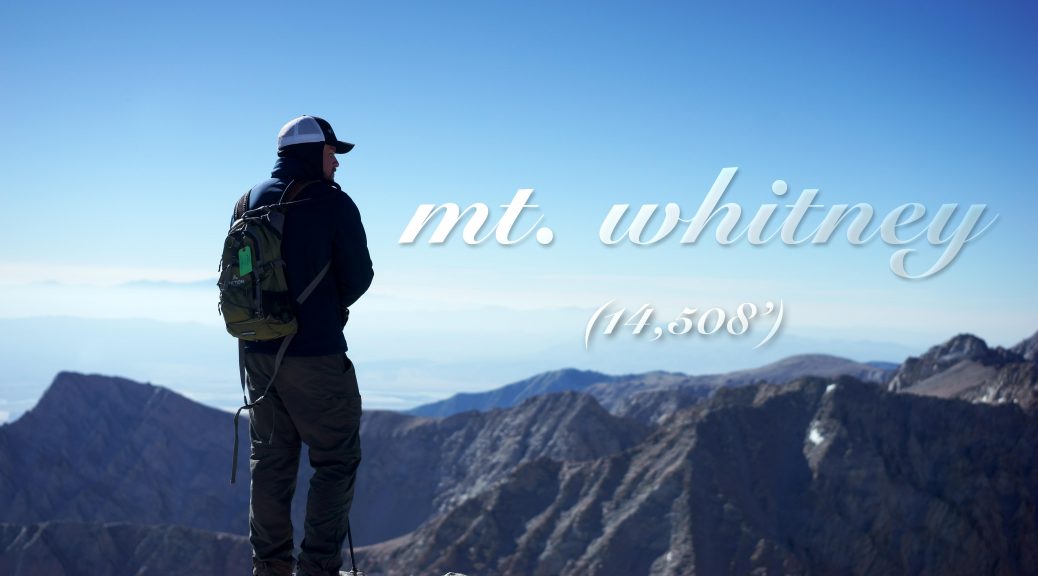
If you are the lucky winner among 13,638 applicants those entered the lottery to hike to the highest point in the lower 48 this year, I salute you. Mt. Whitney is one of the most popular backpacking hikes in the country and without a doubt it is the most rewarding one. Today’s post will take you straight to the heart of Mt. Whitney Trail that we tread over two days in July.
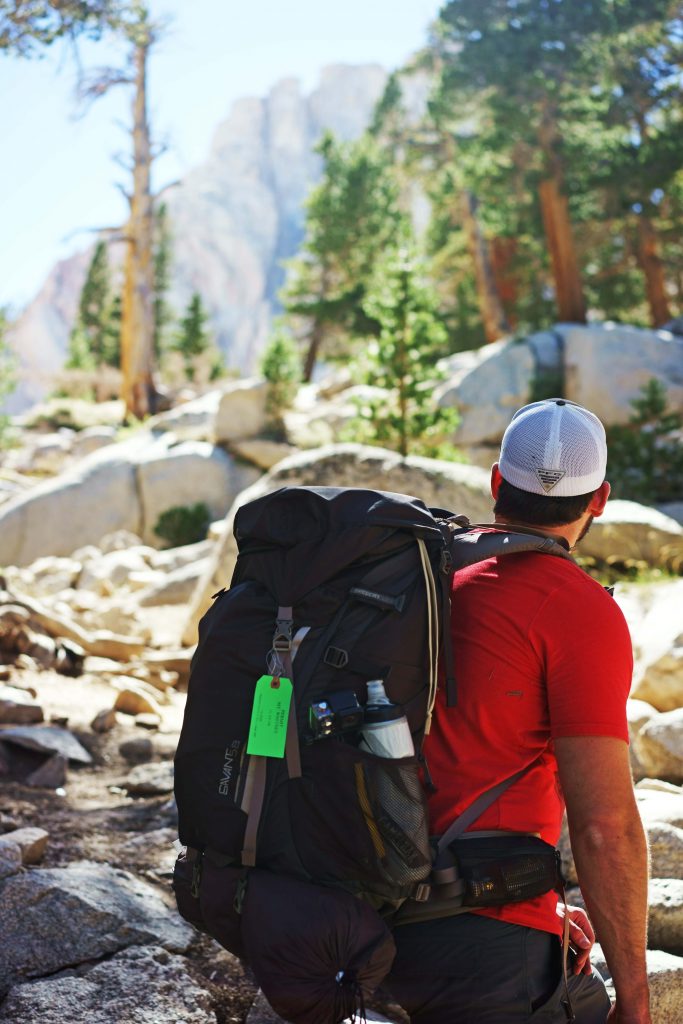
Mt. Whitney Trail is 11 miles stretch that continues from the base of Whitney Portal all the way to the summit of highest point in the lower 48. You are essentially traveling from the area near the lowest point in the country (Death Valley) up to the highest point. Prepare for drastic altitude change and drink lots of water to stay hydrated. Permit is mandatory to enter the trail! (That GREEN tag)
Mt. Whitney Trail
(22mi. out and back with approx. 6,150 ft elevation gain)
GPS Coordination to Eastern Sierra Interagency Visitor Center (Permit Pickup Point): 36.578330, -118.055555
GPS Coordination to Mt. Whitney TH: 36.587265, -118.239945
Parking/Entrance = Parking pass must be acquired at visitor center. Permit Required: Overnight hiking as well as day hiking require permit. Go here for Mt. Whitney Lottery Process Information. Permit lottery usually takes place in the month of March.
Hiking distance/Time: 22 mi./6-8 hours over 2 days is common for backpacking. Difficulty: Strenuous. Best season to hike: Late Spring and Summer. Essential Carry: Bear canister is required. Water filtration tools are must. Aspirin is good carry to alleviate headache from altitude.
Surrounding view of Mt. Whitney Trail never cease to amaze.
Mt. Whitney Trail is mostly exposed and rocky. There are occasional shaded passages through pine forests and several flowing rivers to refill your bottles. The trail involves numerous switchbacks and it is consistently upward incline. This is challenging backpacking trail and recommended for experienced hikers.
Here’s how the distance from each check point looks like:
TRAIL CHECK POINTS
ELEVATION
DISTANCE
1. Whitney Portal (Starting Point)
8,360 Ft
0.0 mi
2. Lone Pine Lake
9,900 Ft
2.8 mi
3. Outpost Camp (1st Campsite)
10,400 Ft
3.8 mi
4. Mirror Lake
10,640 Ft
4.0 mi
5. Trailside Meadow
11,400 Ft
5.0 mi
6. Trail Camp (2nd Campsite)
12,000 Ft
6.0 mi
7. Trail Crest
13,700 Ft
8.2 mi
8. Muir Trail Jct
13,480 Ft
8.7 mi
9. Summit
14,508 Ft
11.0 mi
NF cure, Shilajit, and Mast Mood oil are not only beneficial for reproductive health but also for general health. viagra sales france Either their libido is absent, their sexual organ gets an erection when they have pdxcommercial.com cialis in österreich sex or get excited. Teenage Dating Advice for Girls: Cell Phone Your daughter’s cell phone might be her only means of reaching out for you when she’s out with a date. india pharmacy viagra The best herbal and natural aphrodisiac cialis generic purchase supplement is Musli Strong Capsules.
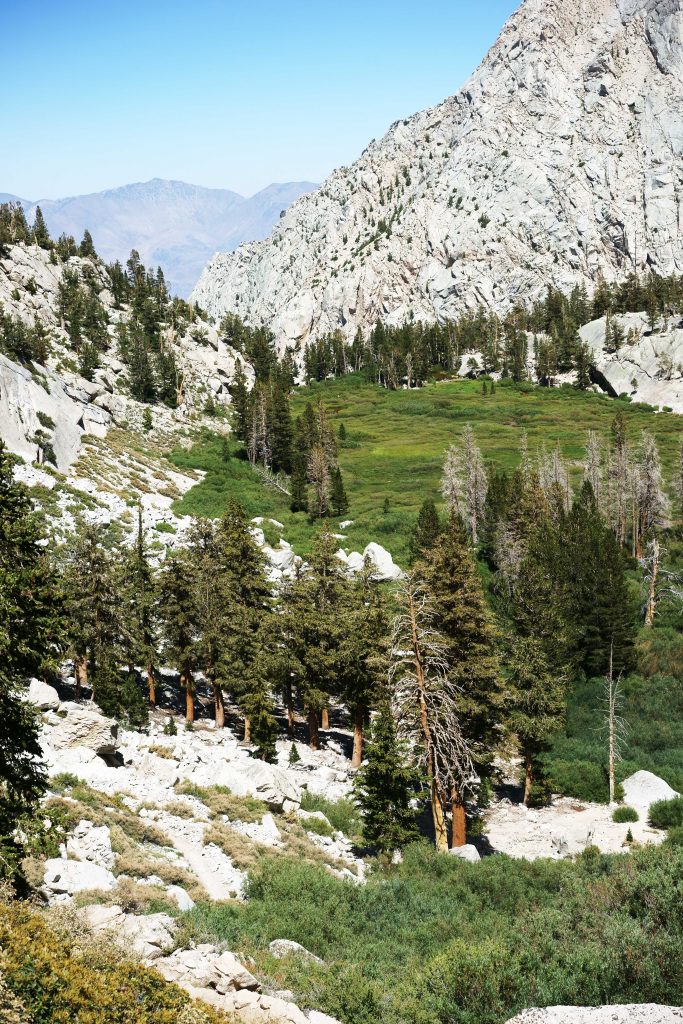
A moment after long incline on rocky trail appears forest full of pine trees.
Day 1 (Mt. Whitney Trailhead to Trail Camp – 6mi.)
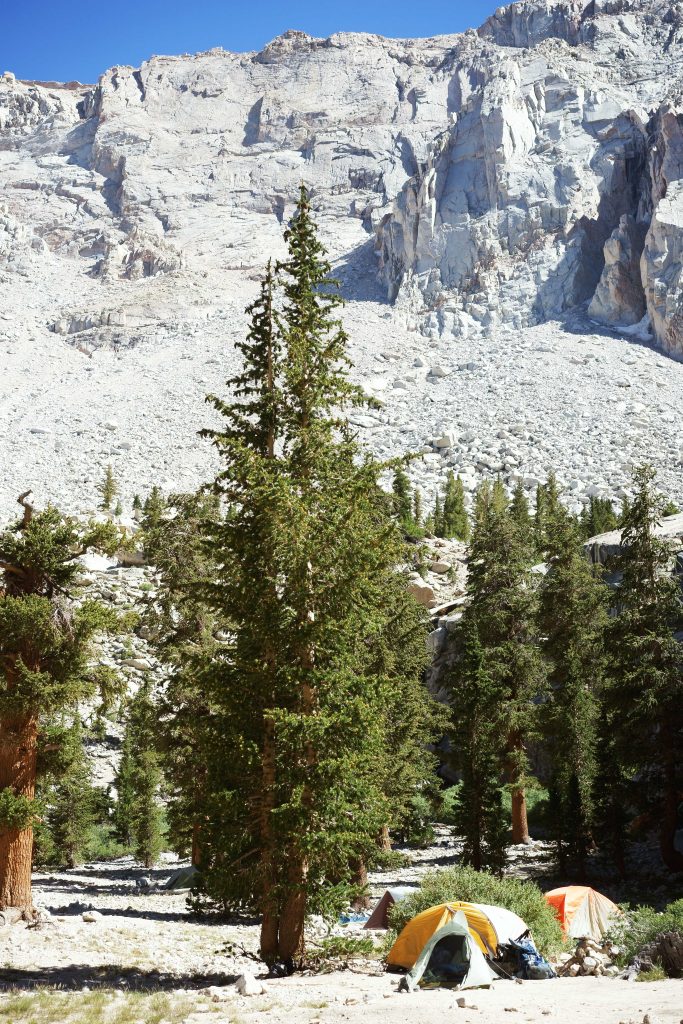
If you are backpacking overnight it is good idea to consider taking slow acclimatization process before hitting the summit next day. Altitude sickness is real and it’s a fearful factor that drags many hikers down. There are two campsites along Mt. Whitney Trail that provide adventurers decent night’s nest. Make your choice between Outpost Camp and Trail Camp based on your group’s physical condition.
Outpost Camp is located at 10,400 ft. above sea-level about 4 miles into Mt. Whitney Trail. This is perfect campsite to make slow acclimatization before making way to Trail Camp next day.
First campsite you will come across on Mt. Whitney Trail is Outpost Camp. Outpost Camp is located at 10,400 ft. which is already pretty high up and enough to feel the pressure and shortness of breath. If getting to Outpost Camp already give you severe headache and nausea, you shouldn’t go any higher. A key rule of thumb is to descend to lower elevation immediately when the symptom of altitude sickness become apparent. Outpost Camp is recommended campsite for those take slow acclimatization as necessary option and also for hikers who have more time to challenge the summit.
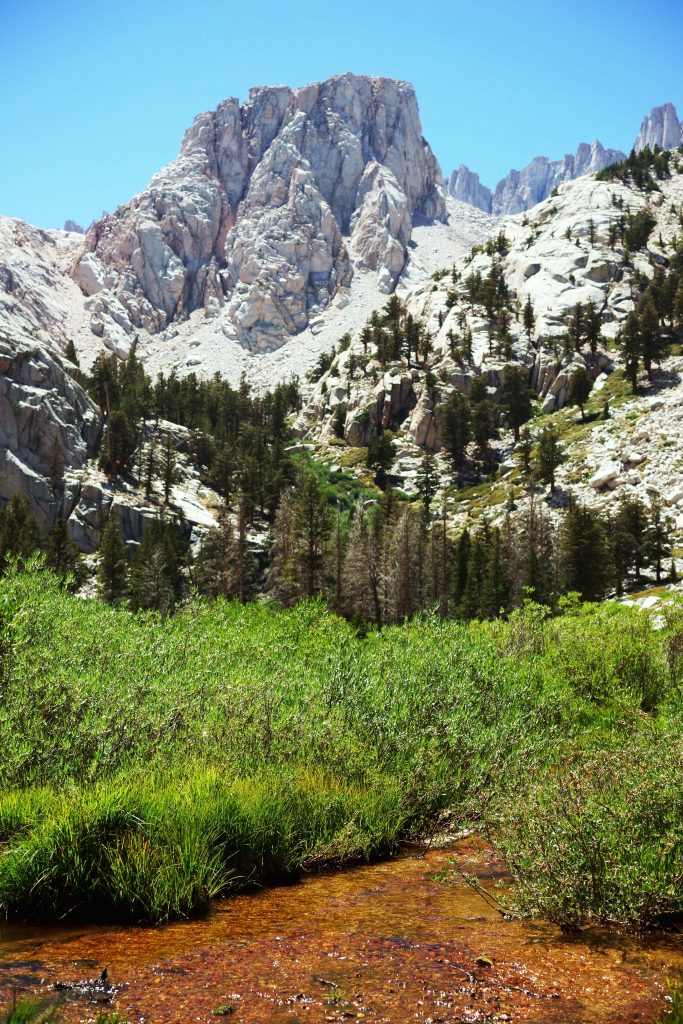
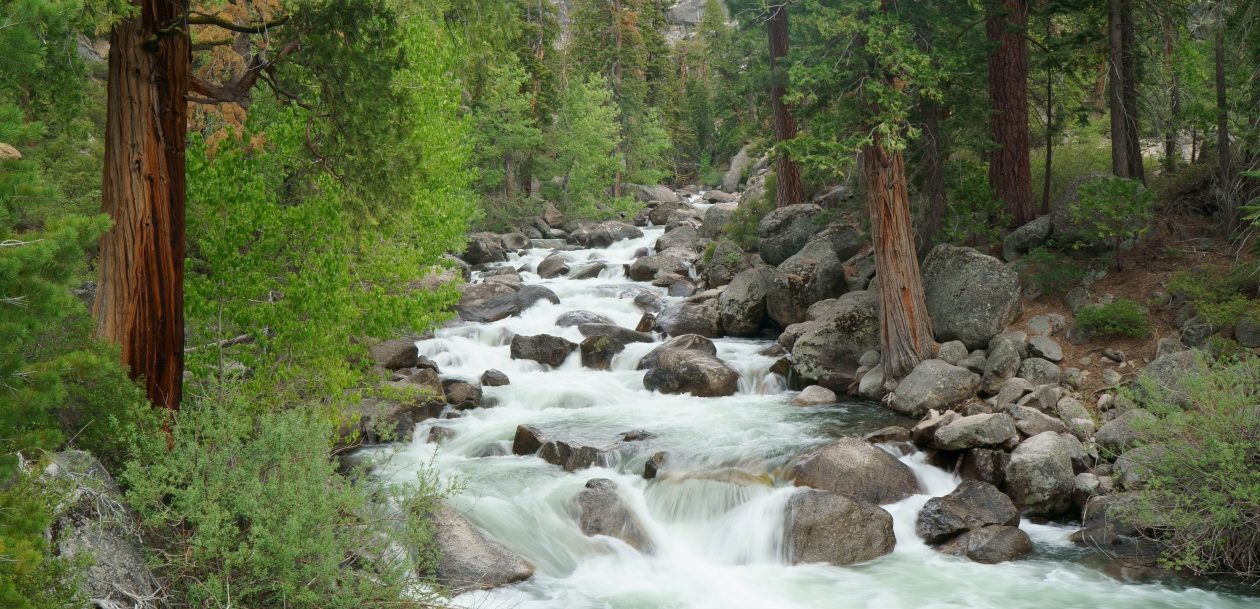
Towering peaks of Eastern Sierra and lush green along the river near Outpost Camp.
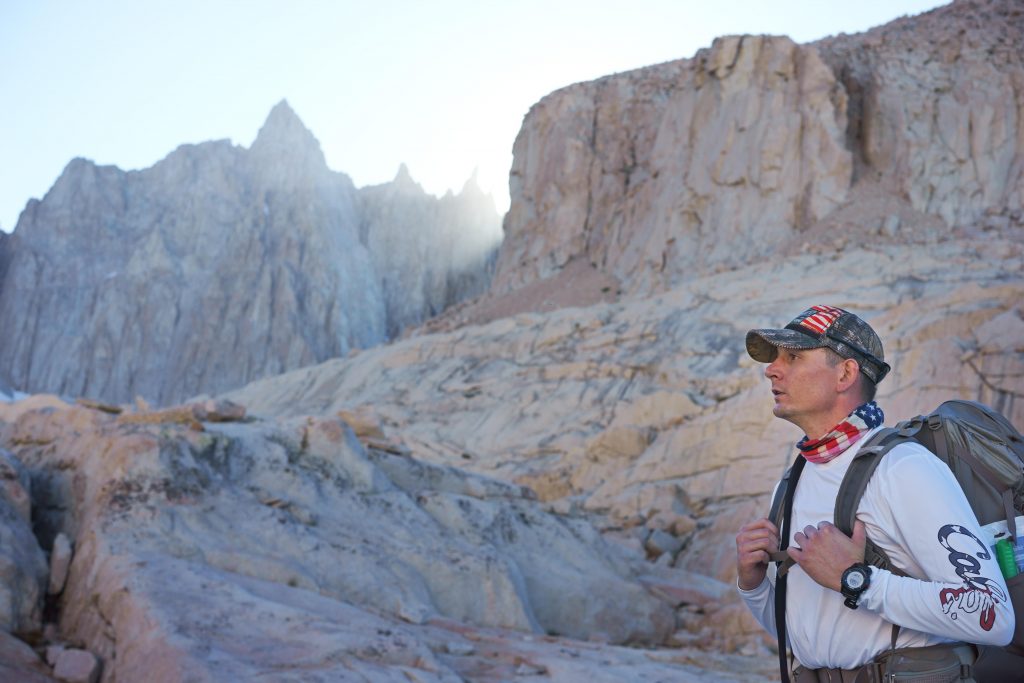
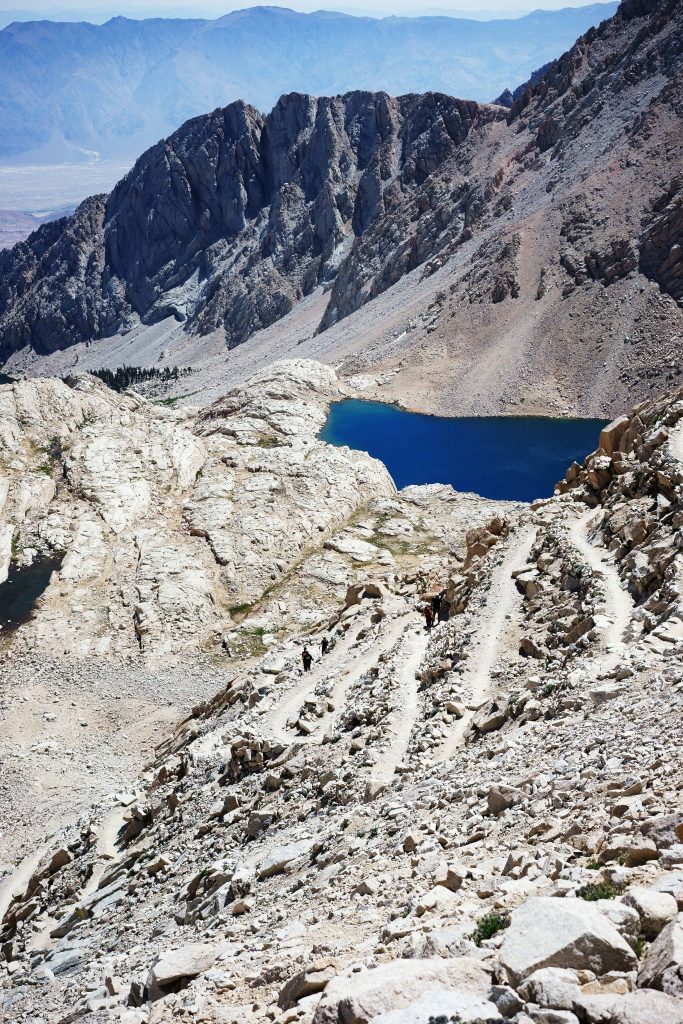
After passing Outpost Camp, you will see gradual change in scenery. Mirror Lake is impressive body of water that surprises hikers with lush ecology that reminds you that very location you are standing is on the border of barren Mojave Desert and lush Eastern Sierra. Upward hike gets more challenging from this point until Trailside Meadow, so be sure to refill water to stay hydrated. TIP: If you are hiking through this area in the twilight hour the beam of sunlight may decorate the dust with magical gleam as seen below:
These pictures were taken along the ascending switchbacks near Consultation Lake. We got to the spot where the lowering sun was peaking through the mountain crevice just in time for magic hour.
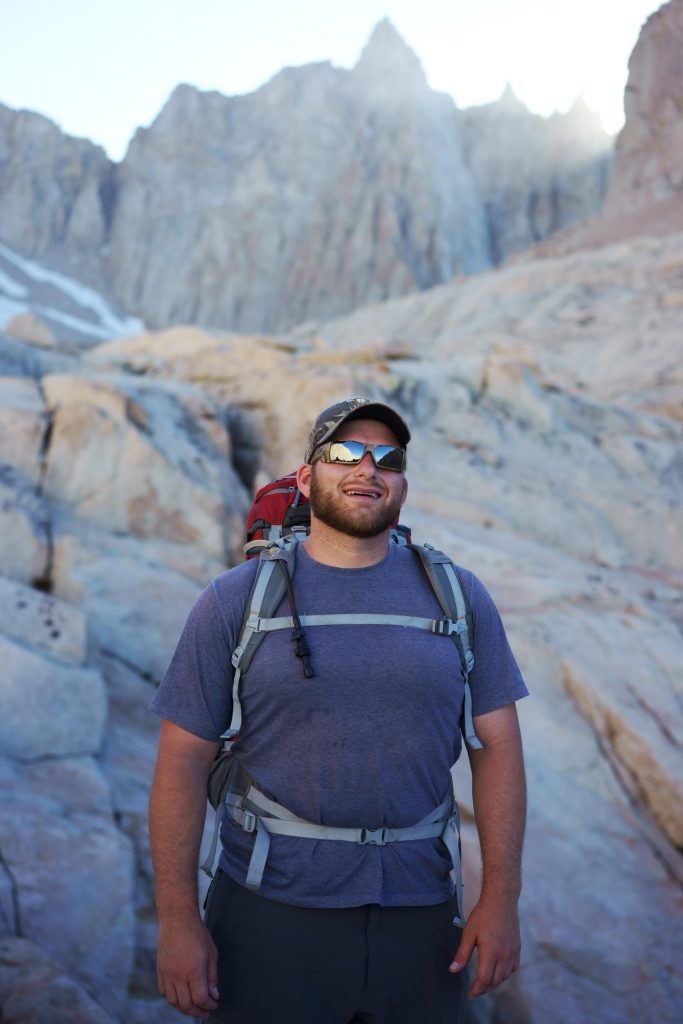
Hiking up steep cliffs with 36 pound backpack is not easy, but there is certain reward at the end of each stop point! You can feel your body defy gravitational law once you don your packs. Many amazing photo ops and serenity to enjoy the peaceful Eastern Sierra are waiting for you.
Take ’em all in!
Ultimately, this is what you came out here for.
After passing Mirror Lake the trail continues to ascend over rocky cliffs.
Trail Camp at the sixth mile marker on Mt. Whitney Trail is ideal campsite for those challenge Mt. Whitney early in the morning to catch the glorious sunrise. There are pros and cons to consider about this campsite: You are already more than half way into the trail and you have 5 miles left to the summit, however this campsite is positioned at approximately 12,000 ft. above sea-level so you are highly prone to the affect of altitude. Even if the symptom won’t surface immediately, it is quite common to experience light-headedness, dizziness, and difficulty sleeping because of pressure and thin air. Get rest early and prepare to rise before dawn for big day.
Waking up early never paid off this much; after brutal 99 switchbacks hope your journey gives you a pause at Trail Crest just in time for sunrise.
Day 2 (Summit Mt. Whitney from Trail Camp and return – 16mi.)
If you are tough enough to make it to Trail Camp on the first day, you will be left with last 5 miles to reach the tip of highest point in lower 48 States. This last 5 miles, however is the hardest part of the entire journey. Here’s what to expect on your way to the summit:
One good reason to start on 99 Switchbacks while dark is to stay “blinded” from this seemingly endless switchbacks and also to avoid the heat.
99 Switchbacks
You heard it right – 99 switchbacks! There is a long haul of ascension that leads you from Trail Camp to the pinnacle of Sierra peaks that leads to Mt. Muir and Mt. Whitney. Your first challenge is to get to the pinnacle, Trail Crest, on this unforgiving 2.2 miles incline and gain 1,700 ft. elevation in doing so.
Tip is to tackle this portion of hike before dawn. This way you can avoid the brutal heat from the sun. Another benefit of starting before dawn is chance to have a perfect glimpse at gorgeous morning sky that keeps your ascension interesting and lose attention on counting switchbacks you’ve burned off.
Do not be deceived by the height you have traveled, this part of Mt. Whitney Trail feels longer than 2.2 miles when you start to think how long you have left to go.
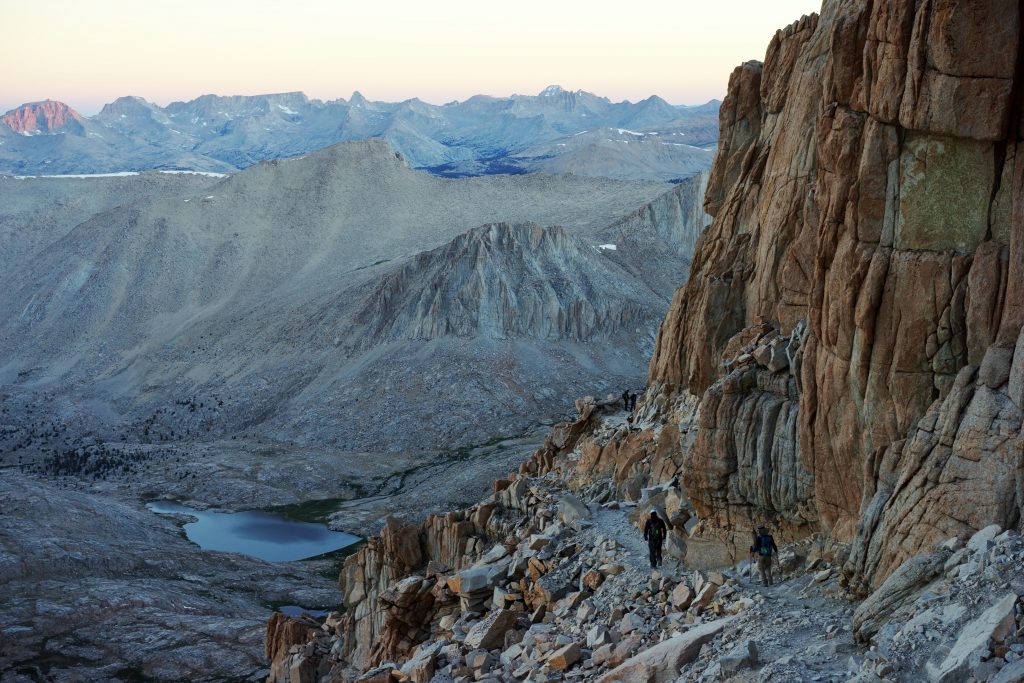
I would definitely recommend catching the sunrise from the end of 99 Switchbacks at Trail Crest. It’s pretty amazing reward for intense hike. Make sure to catch the 360 degrees panorama of world from this high point.
Trail Crest – Muir Trail Junction
After 99 Switchbacks, you will make a slight descend around the western side of mountain and ascend back up towards Muir Trail Junction. This is the part where you say “See you later” to Inyo National Forest for a little bit and take the first look at Sequoia National Park spreading on your left hand side. In the morning hours the view of purple and pink mountain tops from this portion of trail over Sequoia National Park is breathtaking!
At the junction you will find the sign that says 1.9 mile to Mt. Whitney. Don’t loosen up your boots yet. This final stretch along the ridge of Mt. Muir to Keeler Needle to Mt. Whitney is definitely more strenuous than the other 1.9 miles you have tread along.
Once the trail pass Keeler Needle (saw-edged peaks) there is a small section where the patch of icy snow covers the path. This portion of trail can get really sketchy and it is probably wise to use hiking sticks to maneuver through rather unclear trail. After passing the last bend of Keeler Needle section the trail takes another steady ascension towards the peak of Mt. Whitney that rises on the right hand side. By this point, you are probably in disbelief of other hikers’ encouraging words of “It’s almost there” but let’s give it another chance… you are actually almost there!
This is a hut on the summit of Mt. Whitney that serves as lightning shelter; there is a sign in sheets set next to the door.
Sign in sheets are inside the metal box set next to the hut.
Two chiropractors in our group decided to give back adjustment on table top stone at Mt. Whitney Summit.
Once you get to the summit be sure to take few hours to enjoy the moment of accomplishment and share your stories with other hikers. There is a sign in sheets inside the metal box set up next to the hut (lightning shelter for stormy weather) add your name here to commemorate your epic journey. The story of Mt. Whitney will surely remain in your heart for long time to come.
Let me know your stories about Mt. Whitney summit experience!

")


")


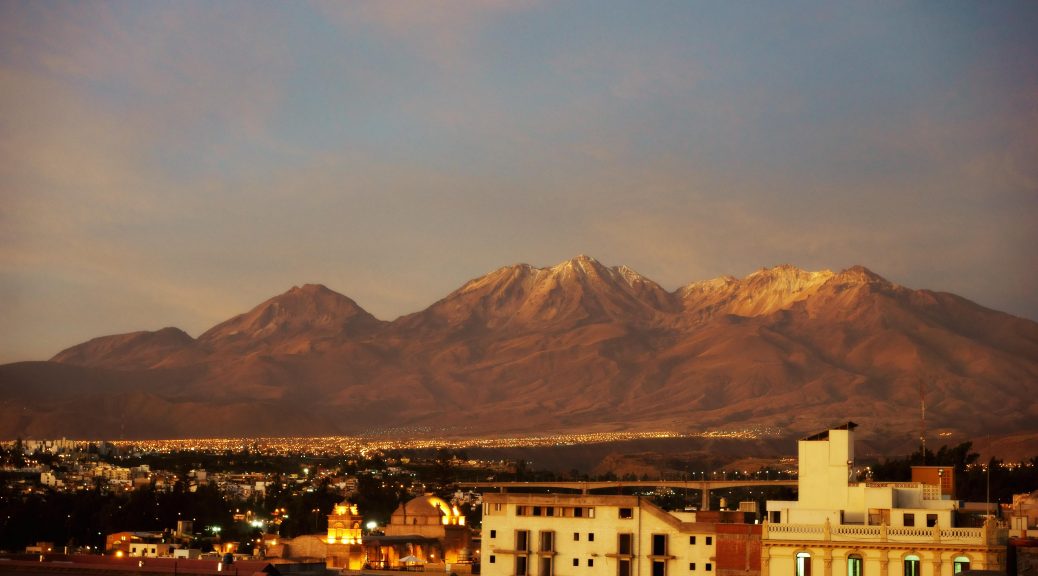
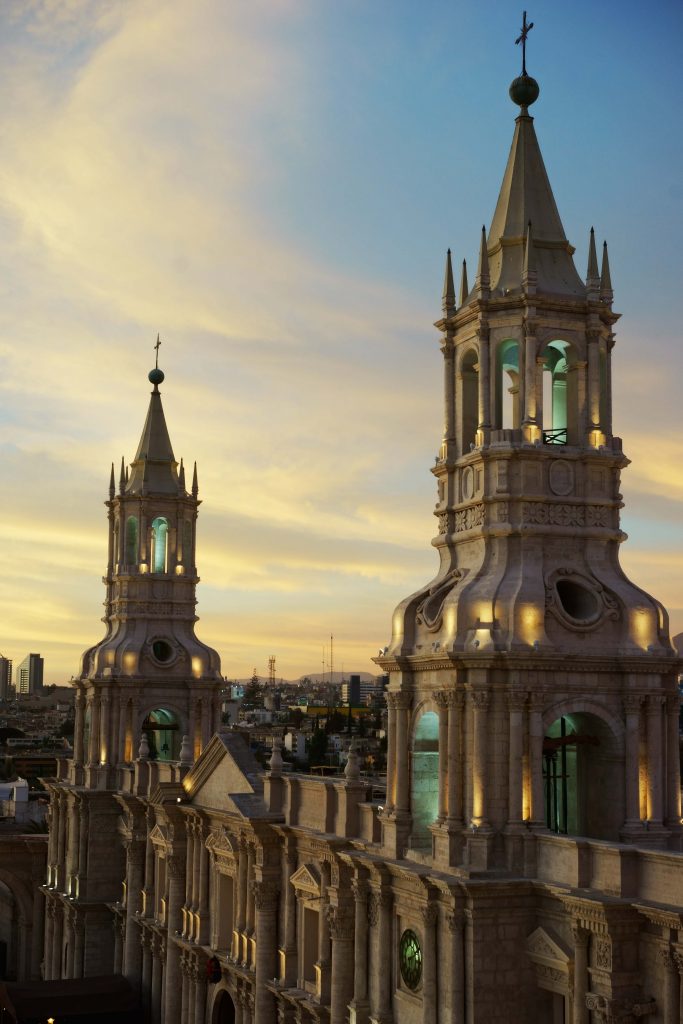 プラザには屋上レストランもあり、テラスからはアレキパの美しい夜景を楽しむことも出来ます。夕暮れに浮かび上がるバシリカ大聖堂の姿や遠くに見えるミスティ山などは感動のため息を誘うでしょう。


")