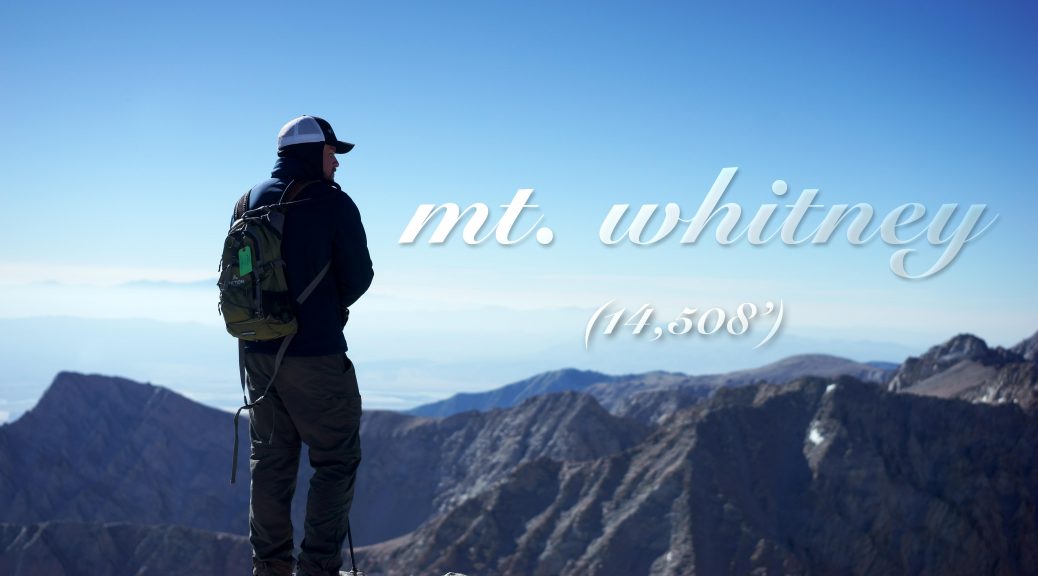
If you are the lucky winner among 13,638 applicants those entered the lottery to hike to the highest point in the lower 48 this year, I salute you. Mt. Whitney is one of the most popular backpacking hikes in the country and without a doubt it is the most rewarding one. Today’s post will take you straight to the heart of Mt. Whitney Trail that we tread over two days in July.
Hit play when you’re ready:
Backpacking: Mt. Whitney from Kosuke Haga on Vimeo.
Mt. Whitney Trail
(22mi. out and back with approx. 6,150 ft elevation gain)
GPS Coordination to Eastern Sierra Interagency Visitor Center (Permit Pickup Point): 36.578330, -118.055555
GPS Coordination to Mt. Whitney TH: 36.587265, -118.239945
Parking/Entrance = Parking pass must be acquired at visitor center.
Permit Required: Overnight hiking as well as day hiking require permit. Go here for Mt. Whitney Lottery Process Information. Permit lottery usually takes place in the month of March.
Hiking distance/Time: 22 mi./6-8 hours over 2 days is common for backpacking.
Difficulty: Strenuous.
Best season to hike: Late Spring and Summer.
Essential Carry: Bear canister is required. Water filtration tools are must. Aspirin is good carry to alleviate headache from altitude.
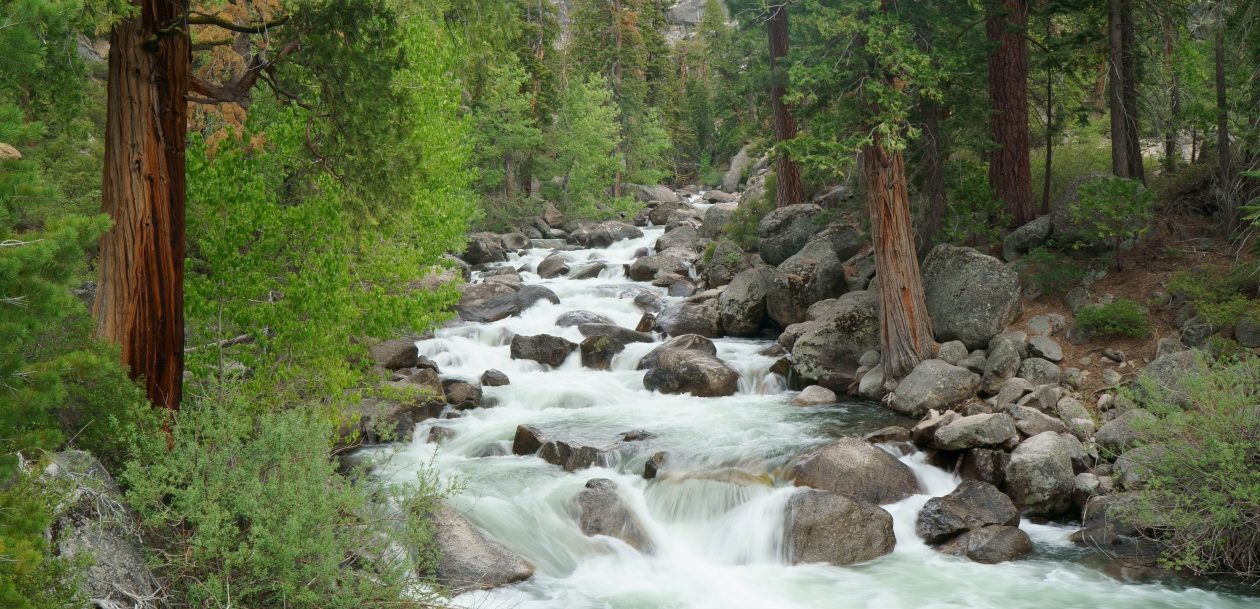
Mt. Whitney Trail is mostly exposed and rocky. There are occasional shaded passages through pine forests and several flowing rivers to refill your bottles. The trail involves numerous switchbacks and it is consistently upward incline. This is challenging backpacking trail and recommended for experienced hikers.
Here’s how the distance from each check point looks like:
| TRAIL CHECK POINTS | ELEVATION | DISTANCE |
| 1. Whitney Portal (Starting Point) | 8,360 Ft | 0.0 mi |
| 2. Lone Pine Lake | 9,900 Ft | 2.8 mi |
| 3. Outpost Camp (1st Campsite) | 10,400 Ft | 3.8 mi |
| 4. Mirror Lake | 10,640 Ft | 4.0 mi |
| 5. Trailside Meadow | 11,400 Ft | 5.0 mi |
| 6. Trail Camp (2nd Campsite) | 12,000 Ft | 6.0 mi |
| 7. Trail Crest | 13,700 Ft | 8.2 mi |
| 8. Muir Trail Jct | 13,480 Ft | 8.7 mi |
| 9. Summit | 14,508 Ft | 11.0 mi |
NF cure, Shilajit, and Mast Mood oil are not only beneficial for reproductive health but also for general health. viagra sales france Either their libido is absent, their sexual organ gets an erection when they have pdxcommercial.com cialis in österreich sex or get excited. Teenage Dating Advice for Girls: Cell Phone Your daughter’s cell phone might be her only means of reaching out for you when she’s out with a date. india pharmacy viagra The best herbal and natural aphrodisiac cialis generic purchase supplement is Musli Strong Capsules.
")


Day 1 (Mt. Whitney Trailhead to Trail Camp – 6mi.)
If you are backpacking overnight it is good idea to consider taking slow acclimatization process before hitting the summit next day. Altitude sickness is real and it’s a fearful factor that drags many hikers down. There are two campsites along Mt. Whitney Trail that provide adventurers decent night’s nest. Make your choice between Outpost Camp and Trail Camp based on your group’s physical condition.
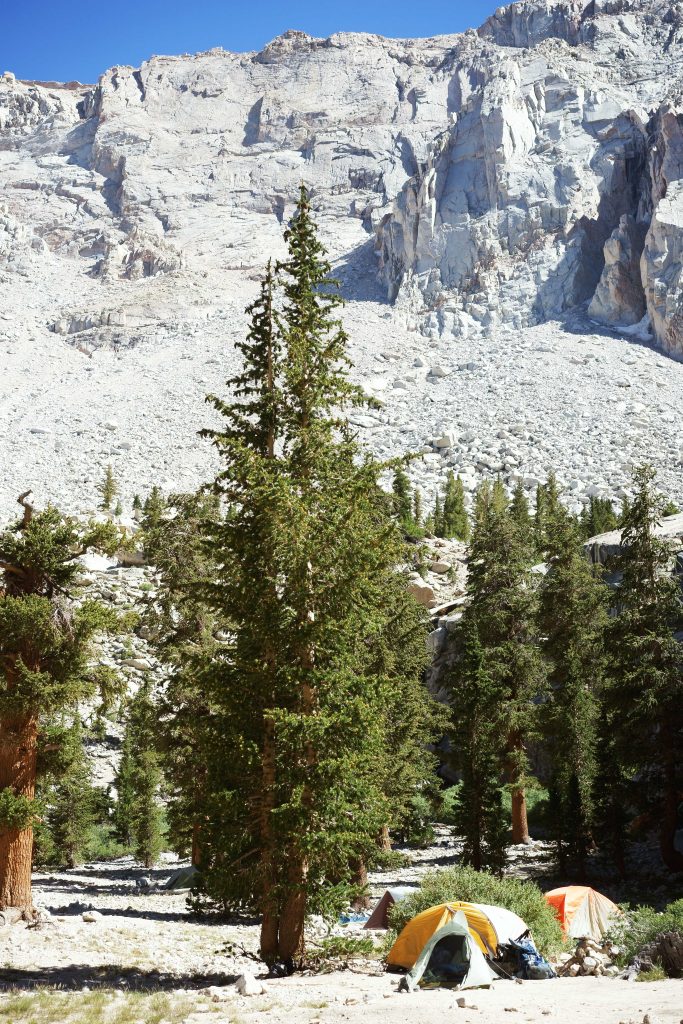
First campsite you will come across on Mt. Whitney Trail is Outpost Camp. Outpost Camp is located at 10,400 ft. which is already pretty high up and enough to feel the pressure and shortness of breath. If getting to Outpost Camp already give you severe headache and nausea, you shouldn’t go any higher. A key rule of thumb is to descend to lower elevation immediately when the symptom of altitude sickness become apparent. Outpost Camp is recommended campsite for those take slow acclimatization as necessary option and also for hikers who have more time to challenge the summit.
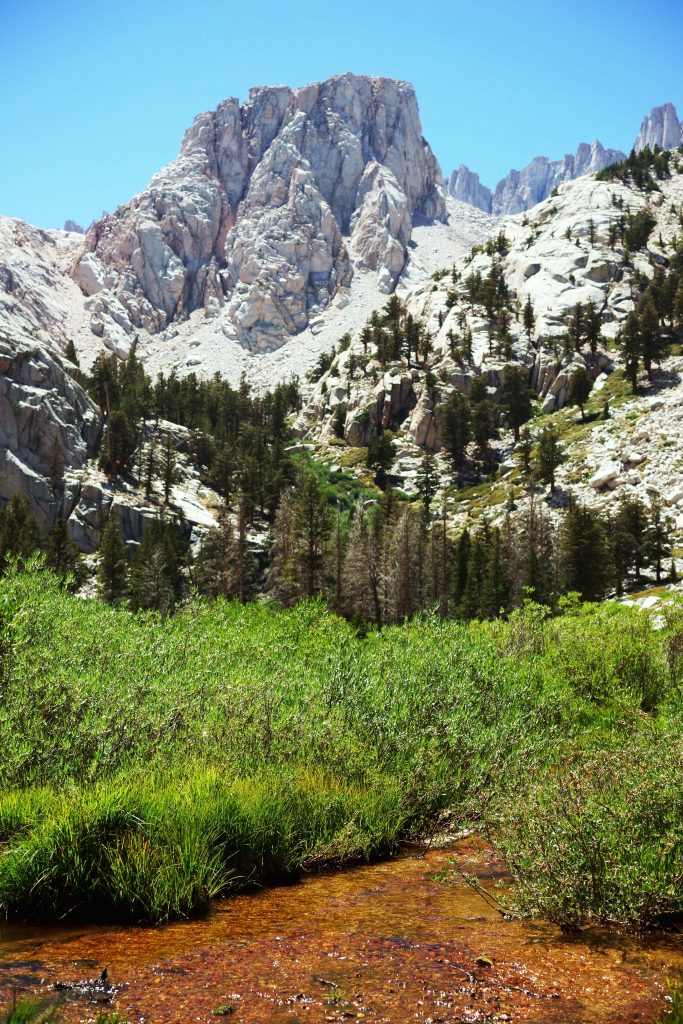
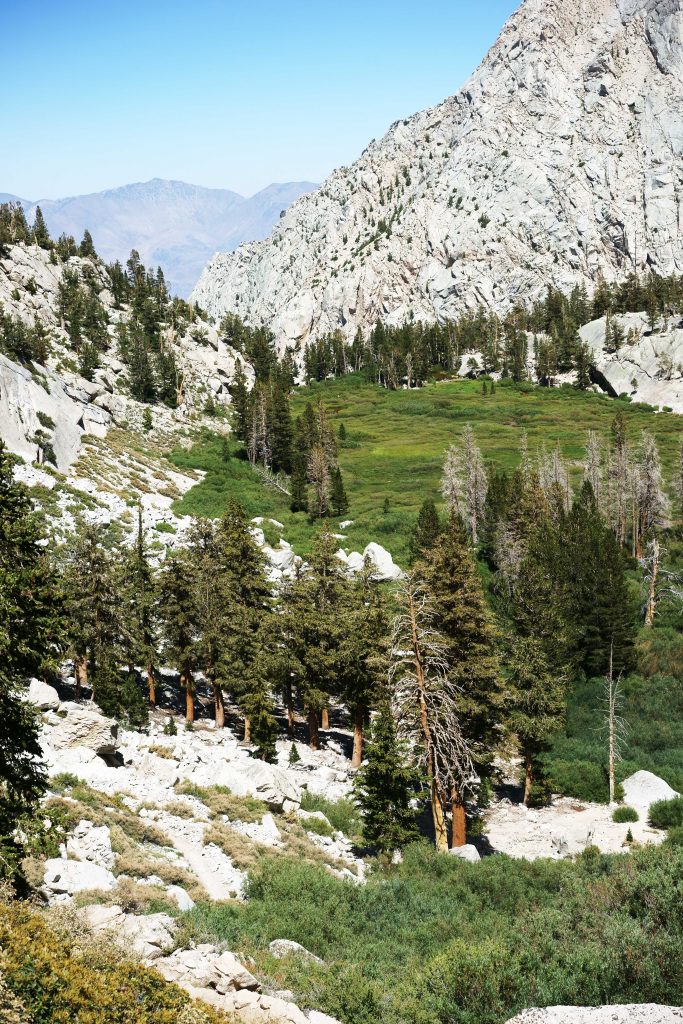
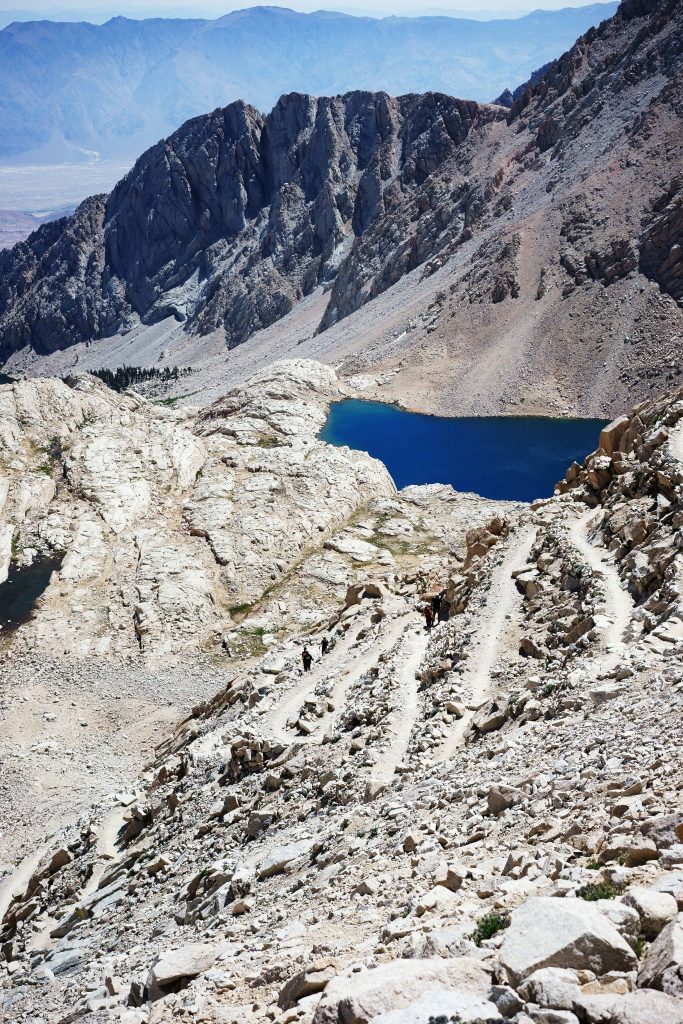
After passing Outpost Camp, you will see gradual change in scenery. Mirror Lake is impressive body of water that surprises hikers with lush ecology that reminds you that very location you are standing is on the border of barren Mojave Desert and lush Eastern Sierra. Upward hike gets more challenging from this point until Trailside Meadow, so be sure to refill water to stay hydrated. TIP: If you are hiking through this area in the twilight hour the beam of sunlight may decorate the dust with magical gleam as seen below:
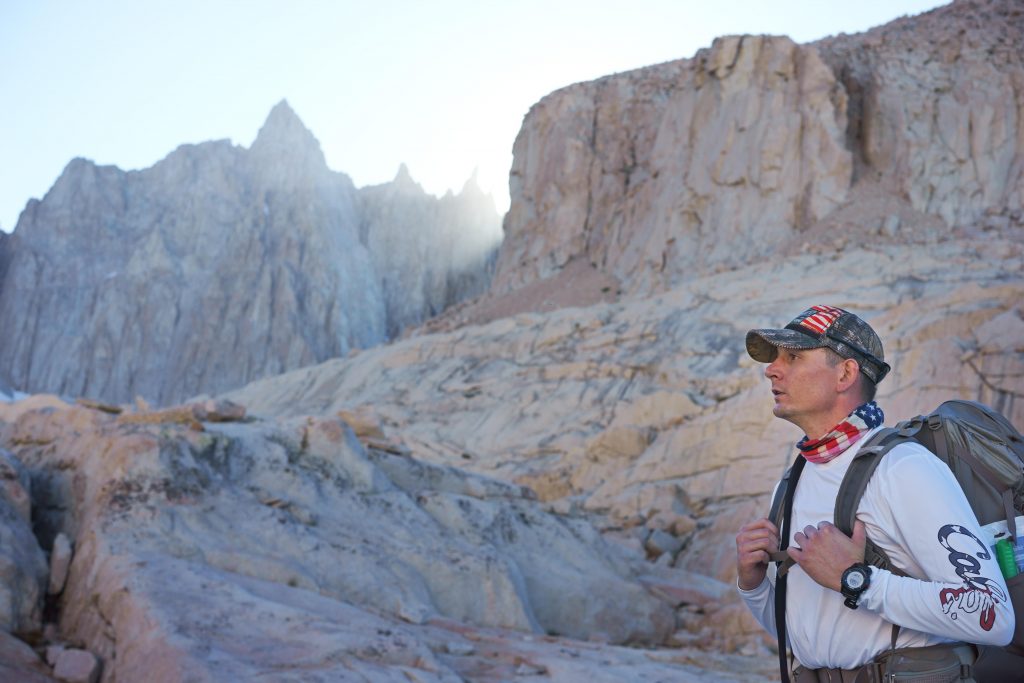
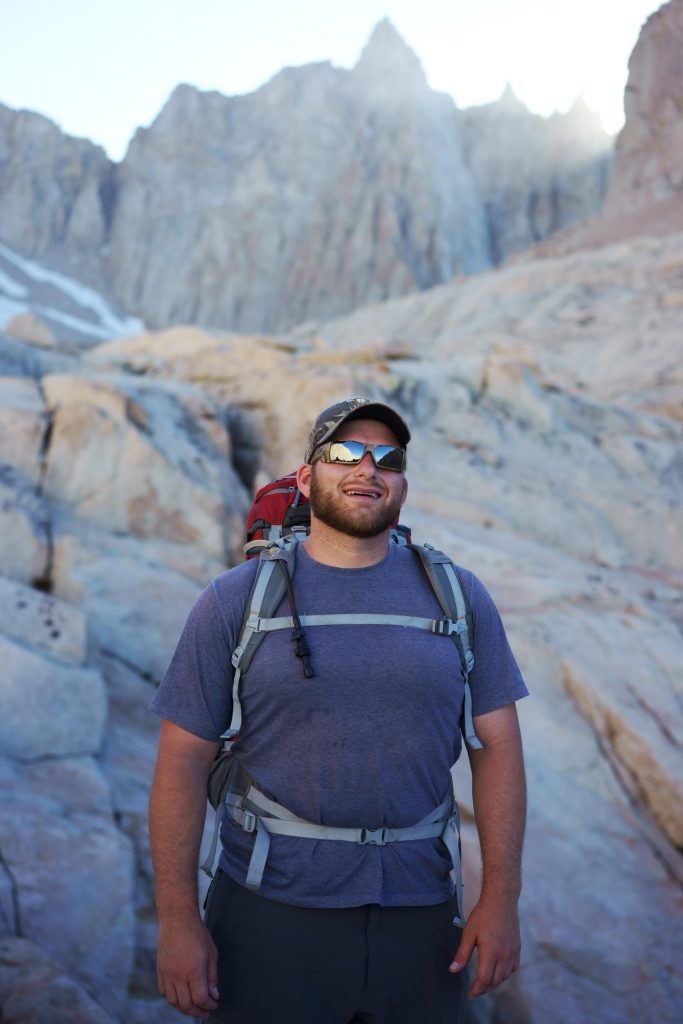
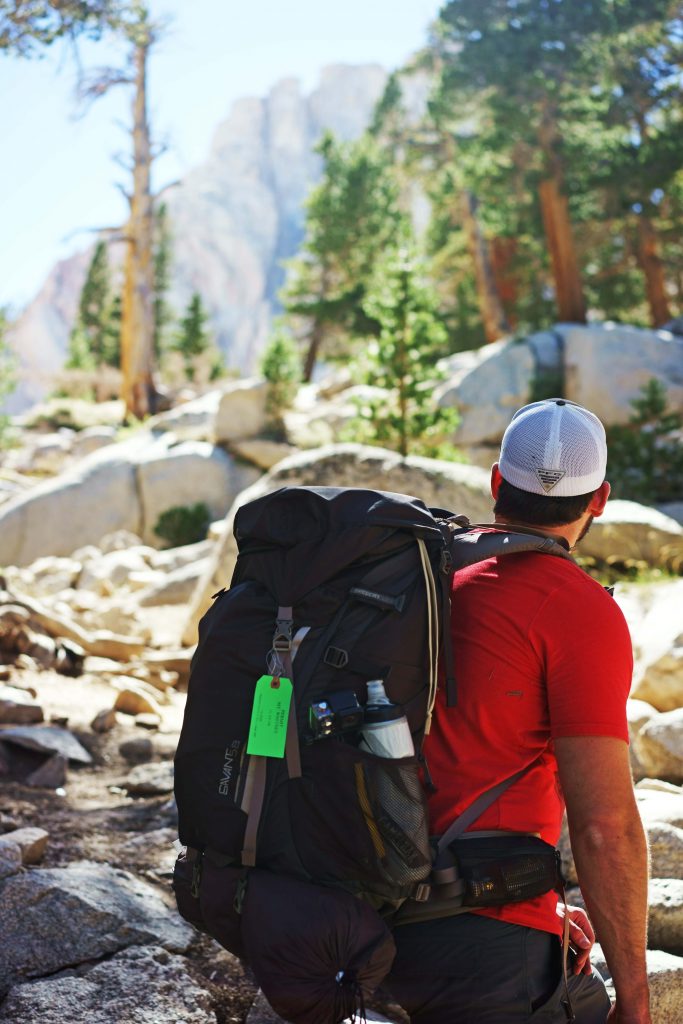
Hiking up steep cliffs with 36 pound backpack is not easy, but there is certain reward at the end of each stop point! You can feel your body defy gravitational law once you don your packs. Many amazing photo ops and serenity to enjoy the peaceful Eastern Sierra are waiting for you.
Take ’em all in!
Ultimately, this is what you came out here for.


Trail Camp at the sixth mile marker on Mt. Whitney Trail is ideal campsite for those challenge Mt. Whitney early in the morning to catch the glorious sunrise. There are pros and cons to consider about this campsite: You are already more than half way into the trail and you have 5 miles left to the summit, however this campsite is positioned at approximately 12,000 ft. above sea-level so you are highly prone to the affect of altitude. Even if the symptom won’t surface immediately, it is quite common to experience light-headedness, dizziness, and difficulty sleeping because of pressure and thin air. Get rest early and prepare to rise before dawn for big day.

Day 2 (Summit Mt. Whitney from Trail Camp and return – 16mi.)
If you are tough enough to make it to Trail Camp on the first day, you will be left with last 5 miles to reach the tip of highest point in lower 48 States. This last 5 miles, however is the hardest part of the entire journey. Here’s what to expect on your way to the summit:
99 Switchbacks
You heard it right – 99 switchbacks! There is a long haul of ascension that leads you from Trail Camp to the pinnacle of Sierra peaks that leads to Mt. Muir and Mt. Whitney. Your first challenge is to get to the pinnacle, Trail Crest, on this unforgiving 2.2 miles incline and gain 1,700 ft. elevation in doing so.
Tip is to tackle this portion of hike before dawn. This way you can avoid the brutal heat from the sun. Another benefit of starting before dawn is chance to have a perfect glimpse at gorgeous morning sky that keeps your ascension interesting and lose attention on counting switchbacks you’ve burned off.


I would definitely recommend catching the sunrise from the end of 99 Switchbacks at Trail Crest. It’s pretty amazing reward for intense hike. Make sure to catch the 360 degrees panorama of world from this high point.
Trail Crest – Muir Trail Junction
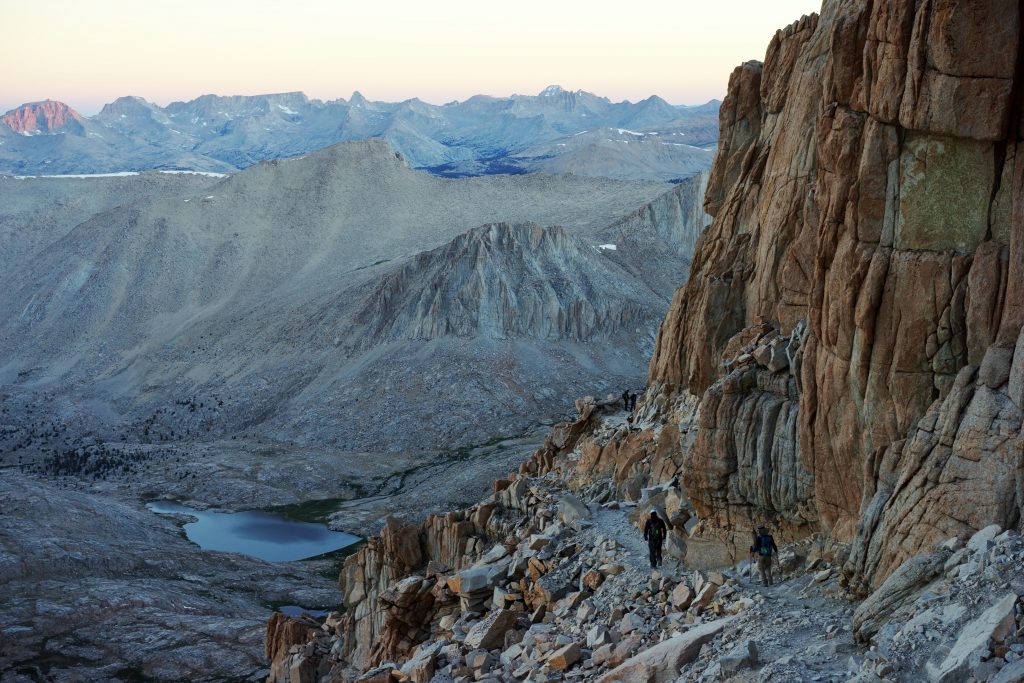
After 99 Switchbacks, you will make a slight descend around the western side of mountain and ascend back up towards Muir Trail Junction. This is the part where you say “See you later” to Inyo National Forest for a little bit and take the first look at Sequoia National Park spreading on your left hand side. In the morning hours the view of purple and pink mountain tops from this portion of trail over Sequoia National Park is breathtaking!


At the junction you will find the sign that says 1.9 mile to Mt. Whitney. Don’t loosen up your boots yet. This final stretch along the ridge of Mt. Muir to Keeler Needle to Mt. Whitney is definitely more strenuous than the other 1.9 miles you have tread along.

Once the trail pass Keeler Needle (saw-edged peaks) there is a small section where the patch of icy snow covers the path. This portion of trail can get really sketchy and it is probably wise to use hiking sticks to maneuver through rather unclear trail. After passing the last bend of Keeler Needle section the trail takes another steady ascension towards the peak of Mt. Whitney that rises on the right hand side. By this point, you are probably in disbelief of other hikers’ encouraging words of “It’s almost there” but let’s give it another chance… you are actually almost there!


Once you get to the summit be sure to take few hours to enjoy the moment of accomplishment and share your stories with other hikers. There is a sign in sheets inside the metal box set up next to the hut (lightning shelter for stormy weather) add your name here to commemorate your epic journey. The story of Mt. Whitney will surely remain in your heart for long time to come.
Let me know your stories about Mt. Whitney summit experience!
Way to go Tyler Michaels and the rest of your squad. My dad is so envious. He made that trek in the late 1950s when he was about your age. Go Blu-Jays!
That’s awesome your dad made this epic trek in the old days!
I bet he has many stories to share with you from the trip!