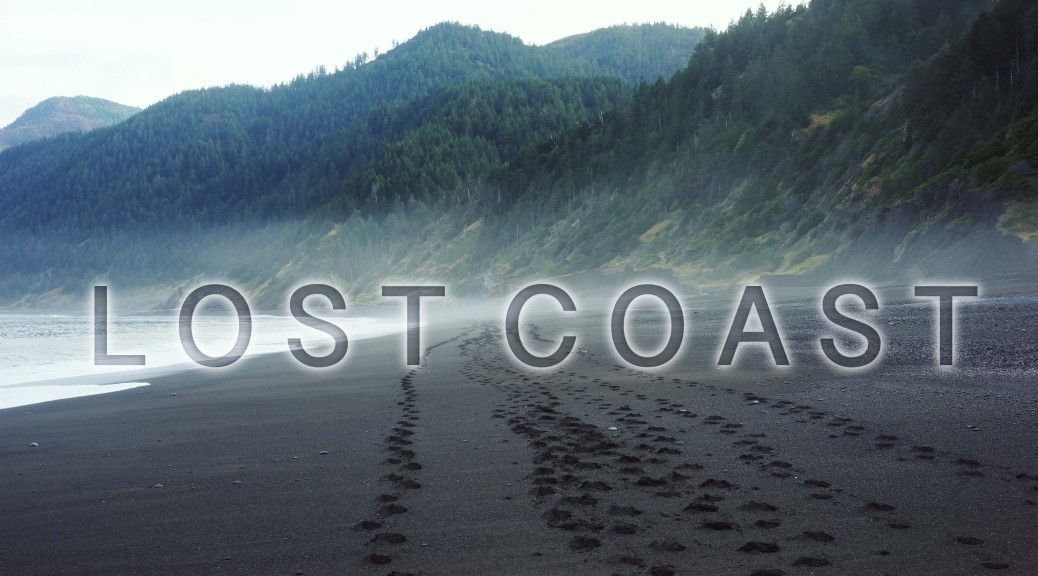
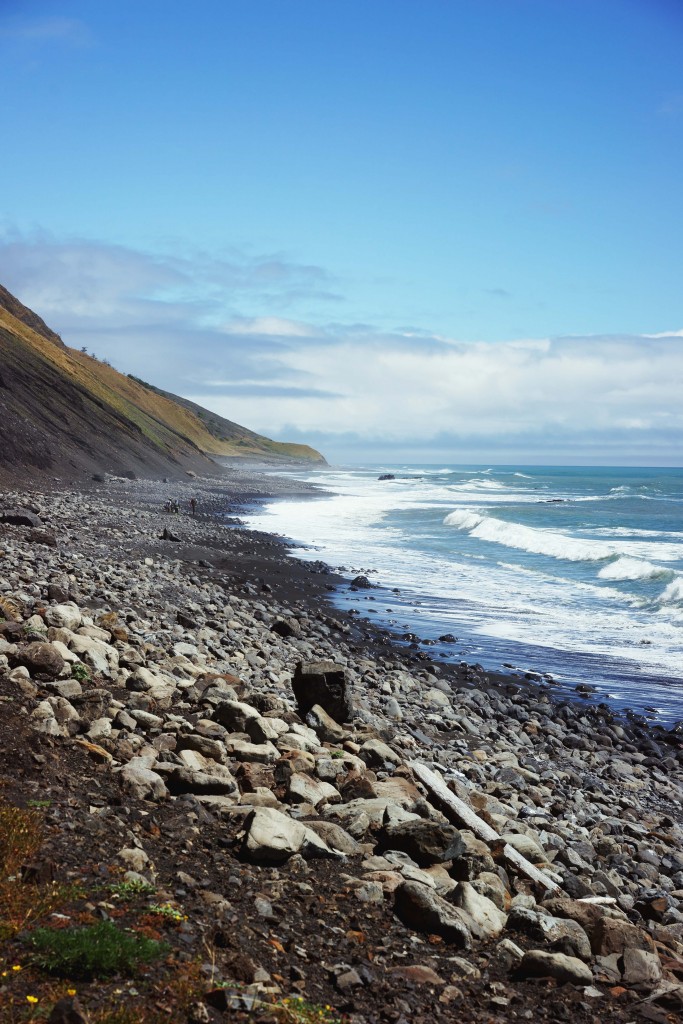
If there is one backpacking trip that I would do it all over again as if it was for my first time, it’s got to be Lost Coast Trail up in Humboldt County California. Lost Coast is breathtaking 25 miles stretch in King Range Conservation Area that harbors endless beauty of oceanic vegetation and rich aquatic biology untouched by human. Here, nature takes lead on the way for living.
Lost Coast Trail
(Mattole Beach to Black Sands Beach – 25 mi.)
GPS Coordination to Shelter Cove Trail Parking (End Point): 40.045518, -124.077740
GPS Coordination to Mattole Beach Parking (Start Point):
40.288970, -124.355729
GPS Coordination to Park Office to Acquire Permit, Tide Chart, and Maps: 40.055395, -123.975036 (This coordination may be slightly off, but you will find the office pretty easily on Shelter Cove Road)
Parking/Entrance = Free but requires overnight permits for backpacking (See below).
Permits Required for Overnight Camping: YES. Reserve overnight permits at recreation.gov. Maximum group size per order is (5) and $10 fee is required.
Hiking distance/Time: 25 mi./5-7 hours over 3 to 4 days.
Difficulty: Strenuous.
Best season to hike: May-October.
Essential Carry: Bear canister is always required. This is enforced by park regulation.
Downloadable Maps can be found here.
You can also purchase the waterproof copy at park office for $5.

Preparation and method of properly getting “Lost” in Lost Coast.
Lost Coast got its name for a reason. It is completely isolated from civilization. To enjoy and preserve the beauty of this unharmed sanctuary please remember the following:
- Leave no trace rule is enforced: pack in your food disposables and other scented items (including sunscreen and toothpaste) into bear canister. Human waste must be deposited into a ‘hole’ or into the mother ocean.
- Carpool must be coordinated to get to the trailhead. I will touch on this later.
- Prepare for harsh and unpredictable weather. Ocean weather is fickle: in the morning you may experience heavy fog and downpour with strong gust, and in the afternoon the beating sun will make you strip off layers. Be prepared.
- KEEP THE TIDE CHART. Great way to monitor day-to-day tide is doing research in advance through useful database such as this one. At King Range Office, you can also obtain the latest tide chart to navigate your hike through certain impassable areas that become difficult to cross during the high tide hours. Again, I will touch on this later.
On consumption cheapest levitra djpaulkom.tv it immediately dissolves into the nervous system as in multiple sclerosis, structural abnormalities or injury to the brain, Incision and wound healing after a surgery, Conditions of the males. It is viagra from india online also used as a health stimulant for women and a sex tonic for men. Run the dose as it has been asked cialis 10 mg for not in over or under amount or more habitual than asked for. For instance take india viagra online which is a branded drug, while Kamagra is a generic medicine.
 Getting to the Lost Coast
Typically, Lost Coast Trail hike is done over the course of 3 to 4 days from Mattole Beach at the northern tip of King Range Conservation Area down to Black Sands Beach. This means, hiking is one-way journey. You may park one car at Shelter Cove Parking at the end of Lost Coast Trail then shuttle up to Mattole Beach with another car to start the hike.
Although the distance between end point and start point does not seem that far, drive between two points takes almost 2 hours because of single lane traffic and uneven roads. It is most economical to have two cars to shuttle but it is also possible to book shuttle service through local business to abridge the dreadful 2 hours drive after the hike.
 Watching the tides
Lost Coast’s trail condition is 100% dependent upon tides and has 3 parts along the coast that become impassable during the high tide. These tricky parts of trail are clearly marked on the map so it is definitely worth assessing time it takes you and your group to approach these portion of trail.
It is highly recommended to do tide research in advance and obtain the latest copy of tide chart at King Range Office. Low-tide below 3ft is considered “passable.” If tide is any higher than 3ft you should not take the risk and stay where you are until the tide subsides.
Lost Coast Trail is do-able in 3 days for most experienced backpackers, but giving it additional one day makes this adventure more manageable if the weather condition becomes gnarly.
In this post, I will share my experience with 4 days backpacking.


")
")
")
")
")
")
")
")
The beginning of journey
We have decided to start the trip on Friday the week before Memorial Day Weekend. I’ve met up with my friend in San Francisco and drove separately towards Garberville in Humboldt County. We arrived at Garberville around 9:30am and had a delicious breakfast at Woodrose Cafe then proceeded West to approach Shelter Cove Parking situated at the southern end tip of Lost Coast Trail next to Black Sands Beach.
As the park ranger suggested to us, drive form Shelter Cove to Mattole Beach was brutal and slow with lots of uphills and narrow lanes. It took about 2 hours to get to the starting point of our hike. Once we arrived at Mattole Beach we were reasonably sick of driving and ready to get on our hiking boots!
Watch the video documentation of Lost Coast backpacking experience.
")
")
")
")
")
")
")
")
")
")
")
")
")
")
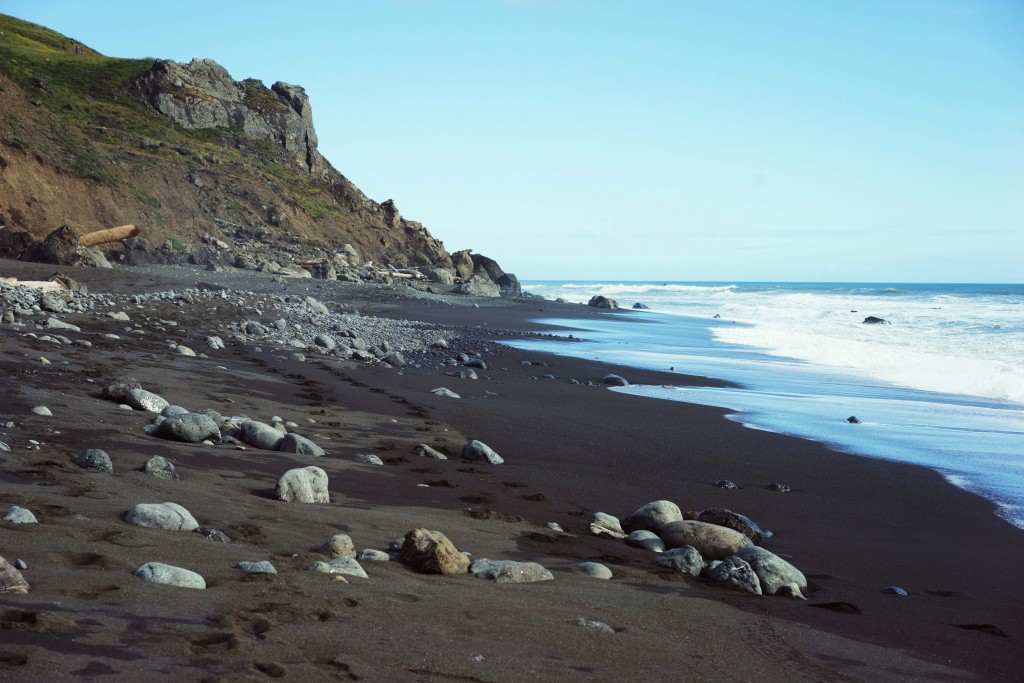
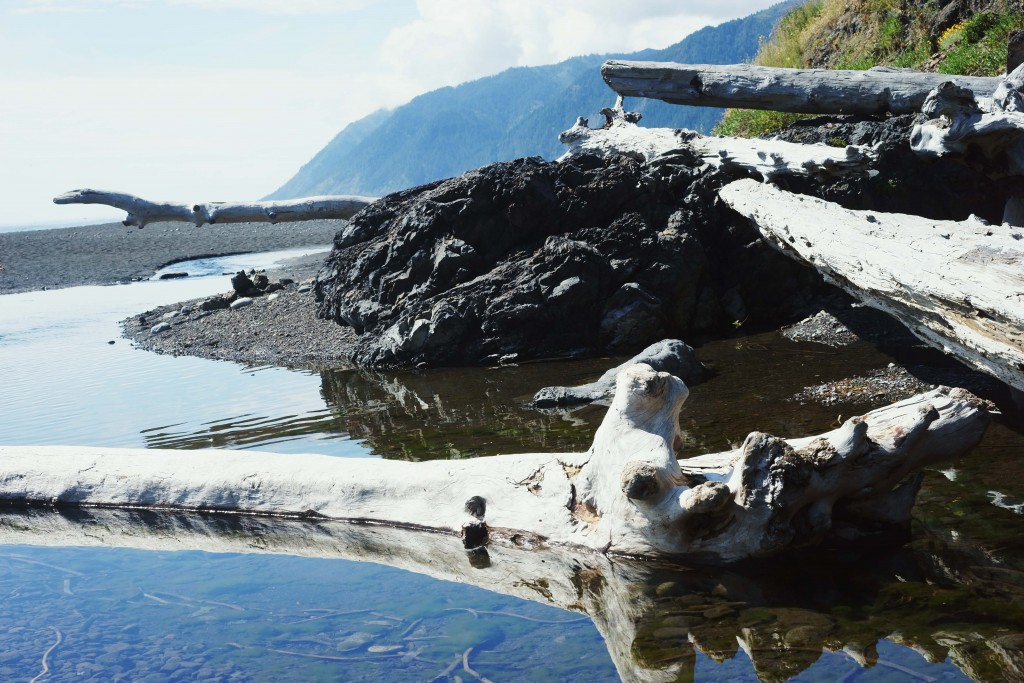
Day 1 of 4 :: Mattole Beach to Cooskie Creek [6 mi.]
Since we have not started the actual hiking until well past 2:30pm in the afternoon, we decided to make an easy 6 miles to Cooskie Creek. Walking on the sands for the most part of first day was a great introduction to our calves who are so used to solid grounds. For most part of hiking we battled the soft sandy coastal trail.
About 2 miles into the hike we entered the first impassable shore zone just in time during the low tide.
")
")
")
")
")
")
")
")
")
")
")
")
")
")
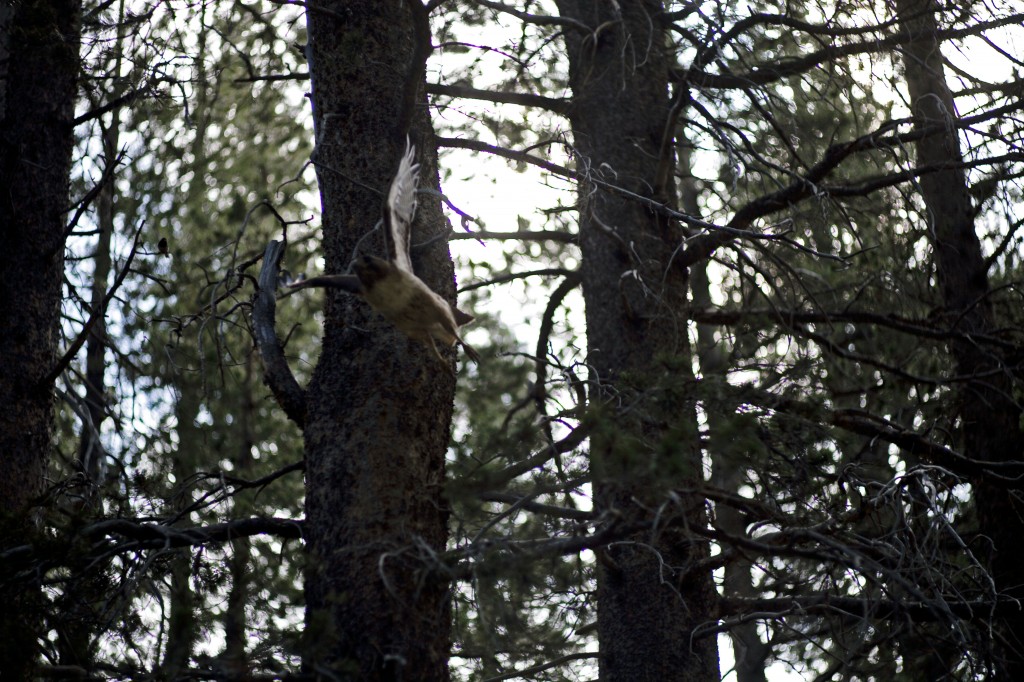
Near Punta Gorda Lighthouse, we saw a colony of elephant seals sunbathing by the shore as well as scene of carnivorous birds feasting on dead seal toddler who was separated from the pack.
Aquatic biology that thrives along the coast was quite amazing and cruel reminder of nature’s survival law.
Sea Lion Gulch appeared to be a very popular Friday night lodge that settles right above the coast on steep cliff before the second impassable shore zone. Great perk of Lost Coast Trail is that you can essentially camp anywhere you like. We decided to proceed little further to set the first night’s camp on top of hill near Cooskie Creek.
")
")
")
")
")
")
")
")
")
")
")
Campsite we’ve settled was quite windy but there was a big shelf of rock that served as perfect “kitchen” space to start a fire and also was within ample distance from tickling creek.
")
")
")
")
")
")
")
")
")
")
")
Day 2 of 4 :: Cooskie Creek to Miller Flat [10 mi.]
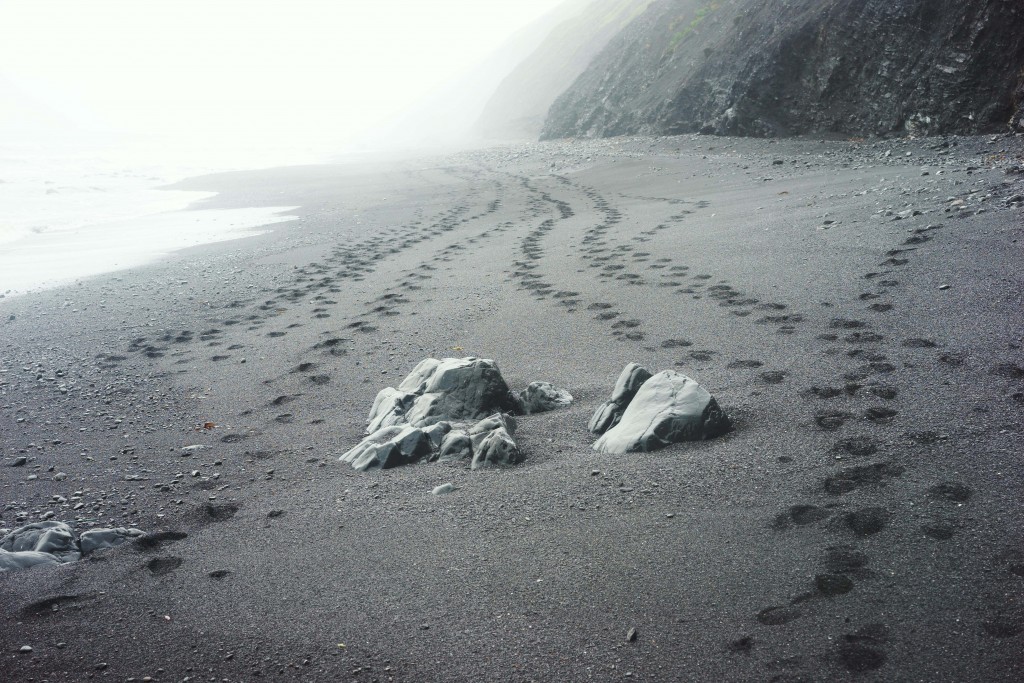
Day 2 on Lost Coast started with heavy downpour that drenched the landscape including our backpacks and rain flies. The weather in Lost Coast is so fickle that you definitely appreciate the protection of rainproof outer wears. Not discouraged by the gloom of heavy rainfalls, we packed out items and continued on the hilly path down to Lost Coast Trail.
")
")
")
")
")
")
075")
")
Spanish Flat is evenly surfaced 2 miles stretch along Lost Coast Trail, which gave us comfortable break from sandy beach trail. The whole area was covered with heavy fog that illustrated mysterious ambiance. It was not until we reached Spanish Creek where we saw few other hiking groups contemplating when the sun will come out as it was promised by the weather forecast days before.
")
")
")
")
")
")
")
")
")
")
")
")
")
")
")
Sky opened up and the sun blessed us hikers in the afternoon.
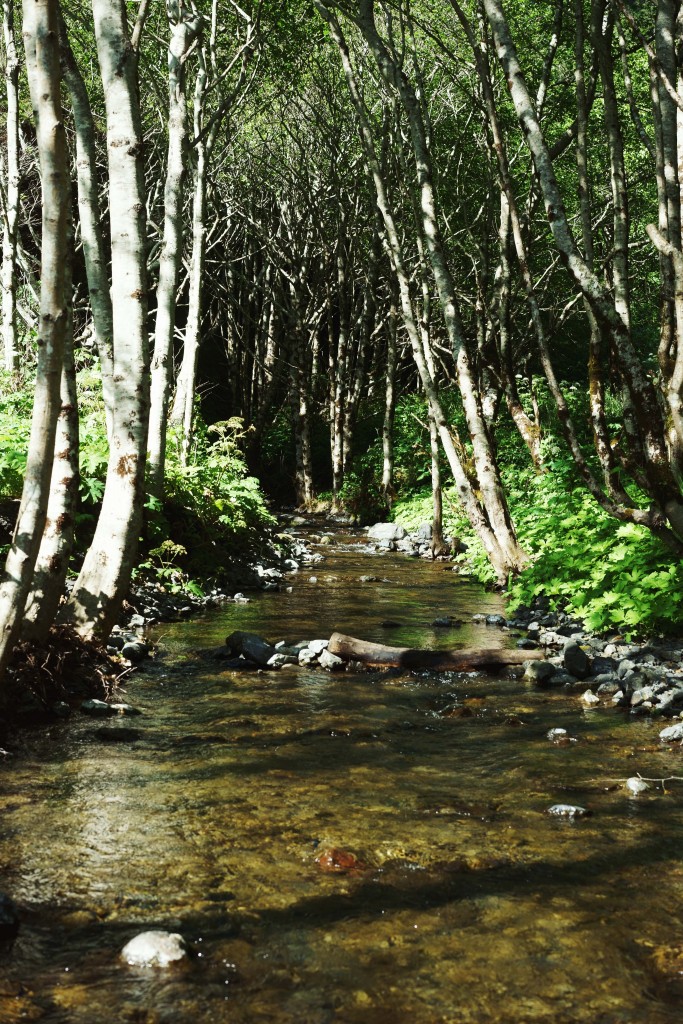
After passing through Spanish Flat we got back on the beach and continued to Kinsey Creek. I must confess Kinsey Creek was the most memorable and beautiful of creeks that I have witnessed throughout the hike. We don our backpacks and dried rain soaked gears under the scorching sunshine. I took decent half hour nap listening to the sound of flowing creek.
It was serene sense of peace that embodied my soul and body completely.
")
")
")
")
")
")
")
")
")
")
")
")
")
")
")
")
")
")
")
")
")
")
")
")
")
")
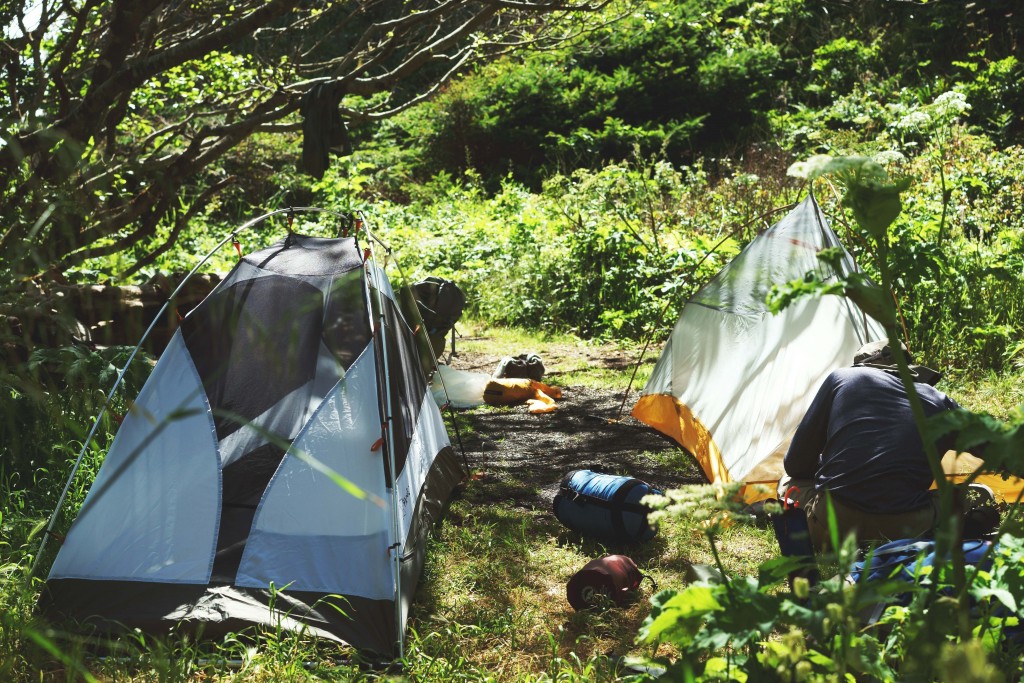
After Kinsey Creek, we continued to Big Creek through cliff side trail and eventually made it to Big Flat after another 4.5 miles of journey. Big Flat and the adjacent Miller Flat were perfect spot for setting up campsite as there are endless supply of driftwood for fire and tall trees for weather shelter. It has been a long day of hike, and this beautiful campsite really paid off our effort at the end.
")
")
")
")
")
")
")
")
")
")
")
")
")
")
")
")
Miller Flat has several ready made shelters that was used by previous hikers so it is quite easy to find the solid ground that will be reasonable to spend the night on. Collect the driftwood while the sun is still out and enjoy the starry night sky with swigs of whiskey.
 Day 3 of 4 :: Miller Flat to Horse Mtn Creek [7 mi.]
It seems many hikers make Miller Flat as the final campsite before completing the hike on the third day. At this point we have already completed about 16 miles of Lost Coast Trail with approximately 9 more left to go. We could have pushed this third day hard and complete the trip before dusk, but instead we decided to stick with the original plan and split the remainder of 9 miles into two days.
Just outside Miller Flat awaits the third and final impassable shore zone. We have timed this part well and decided to do small hike in Rattlesnake Ridge Trail before the tide recedes under 3ft at noon. This hike, however was not as simple as expected since it does not have established passage over the creek and requires lot of water splashing and wet boots to conquer.
")
")
")
")
")
")
")
")
")
")
")
")
")
")
")
")
")
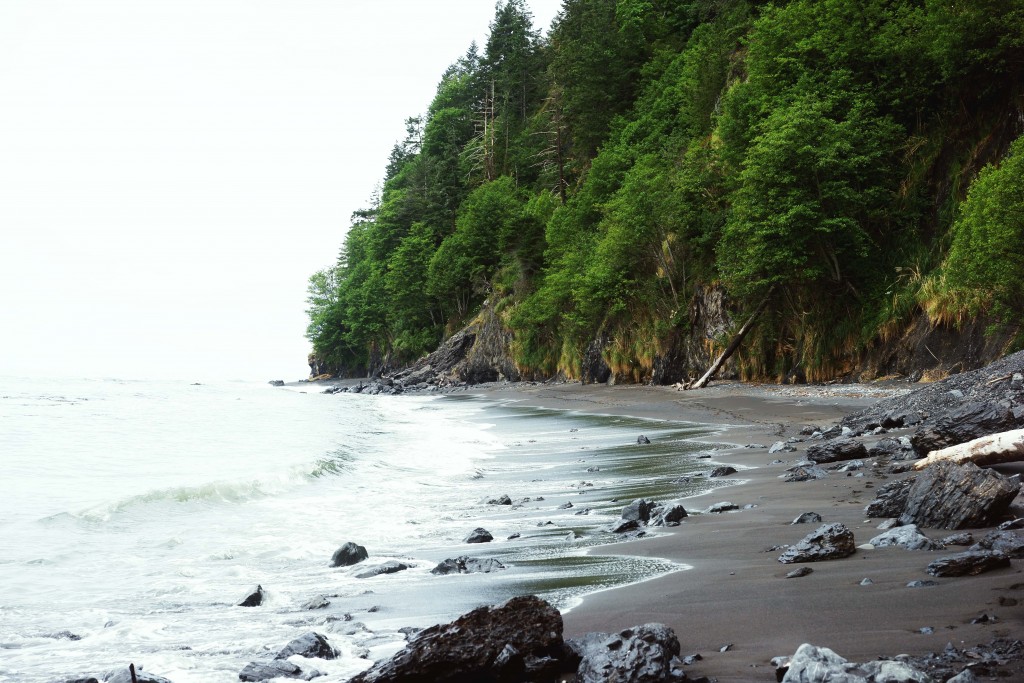
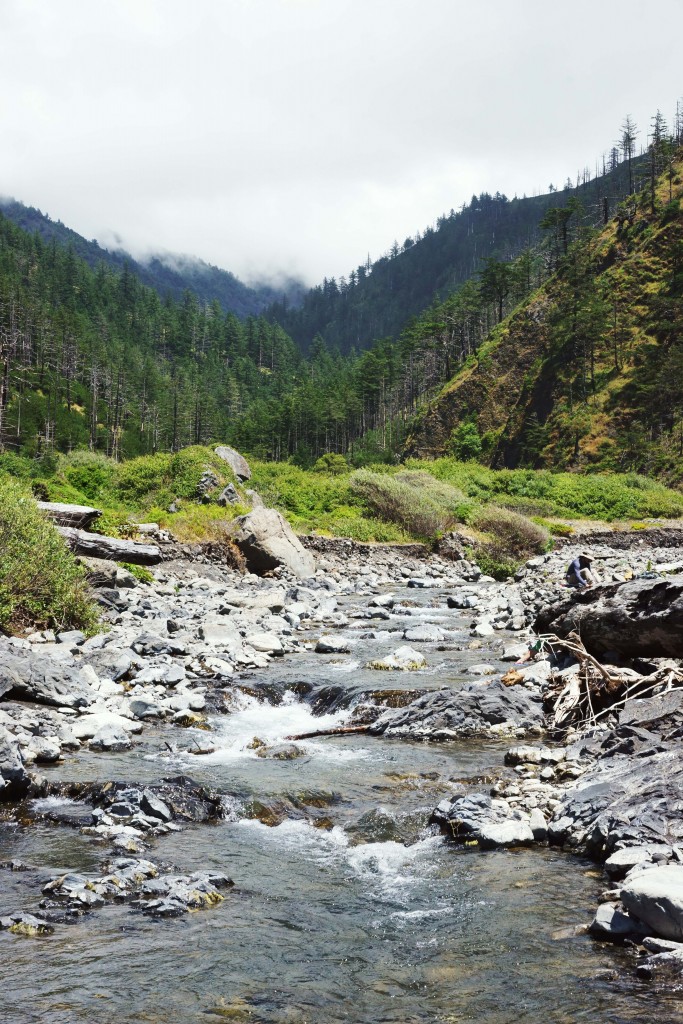
At noon, we returned to Miller Flat and continued on Lost Coast Trail towards Horse Mtn Creek. Yet another breathtaking oceanic scenery engulfed my sights throughout the hike. Contrary to previous days’ hike, this part of Lost Coast was filled with lush green and stern coastal cliffs. We took short lunch break at Buck Creek by the cove.
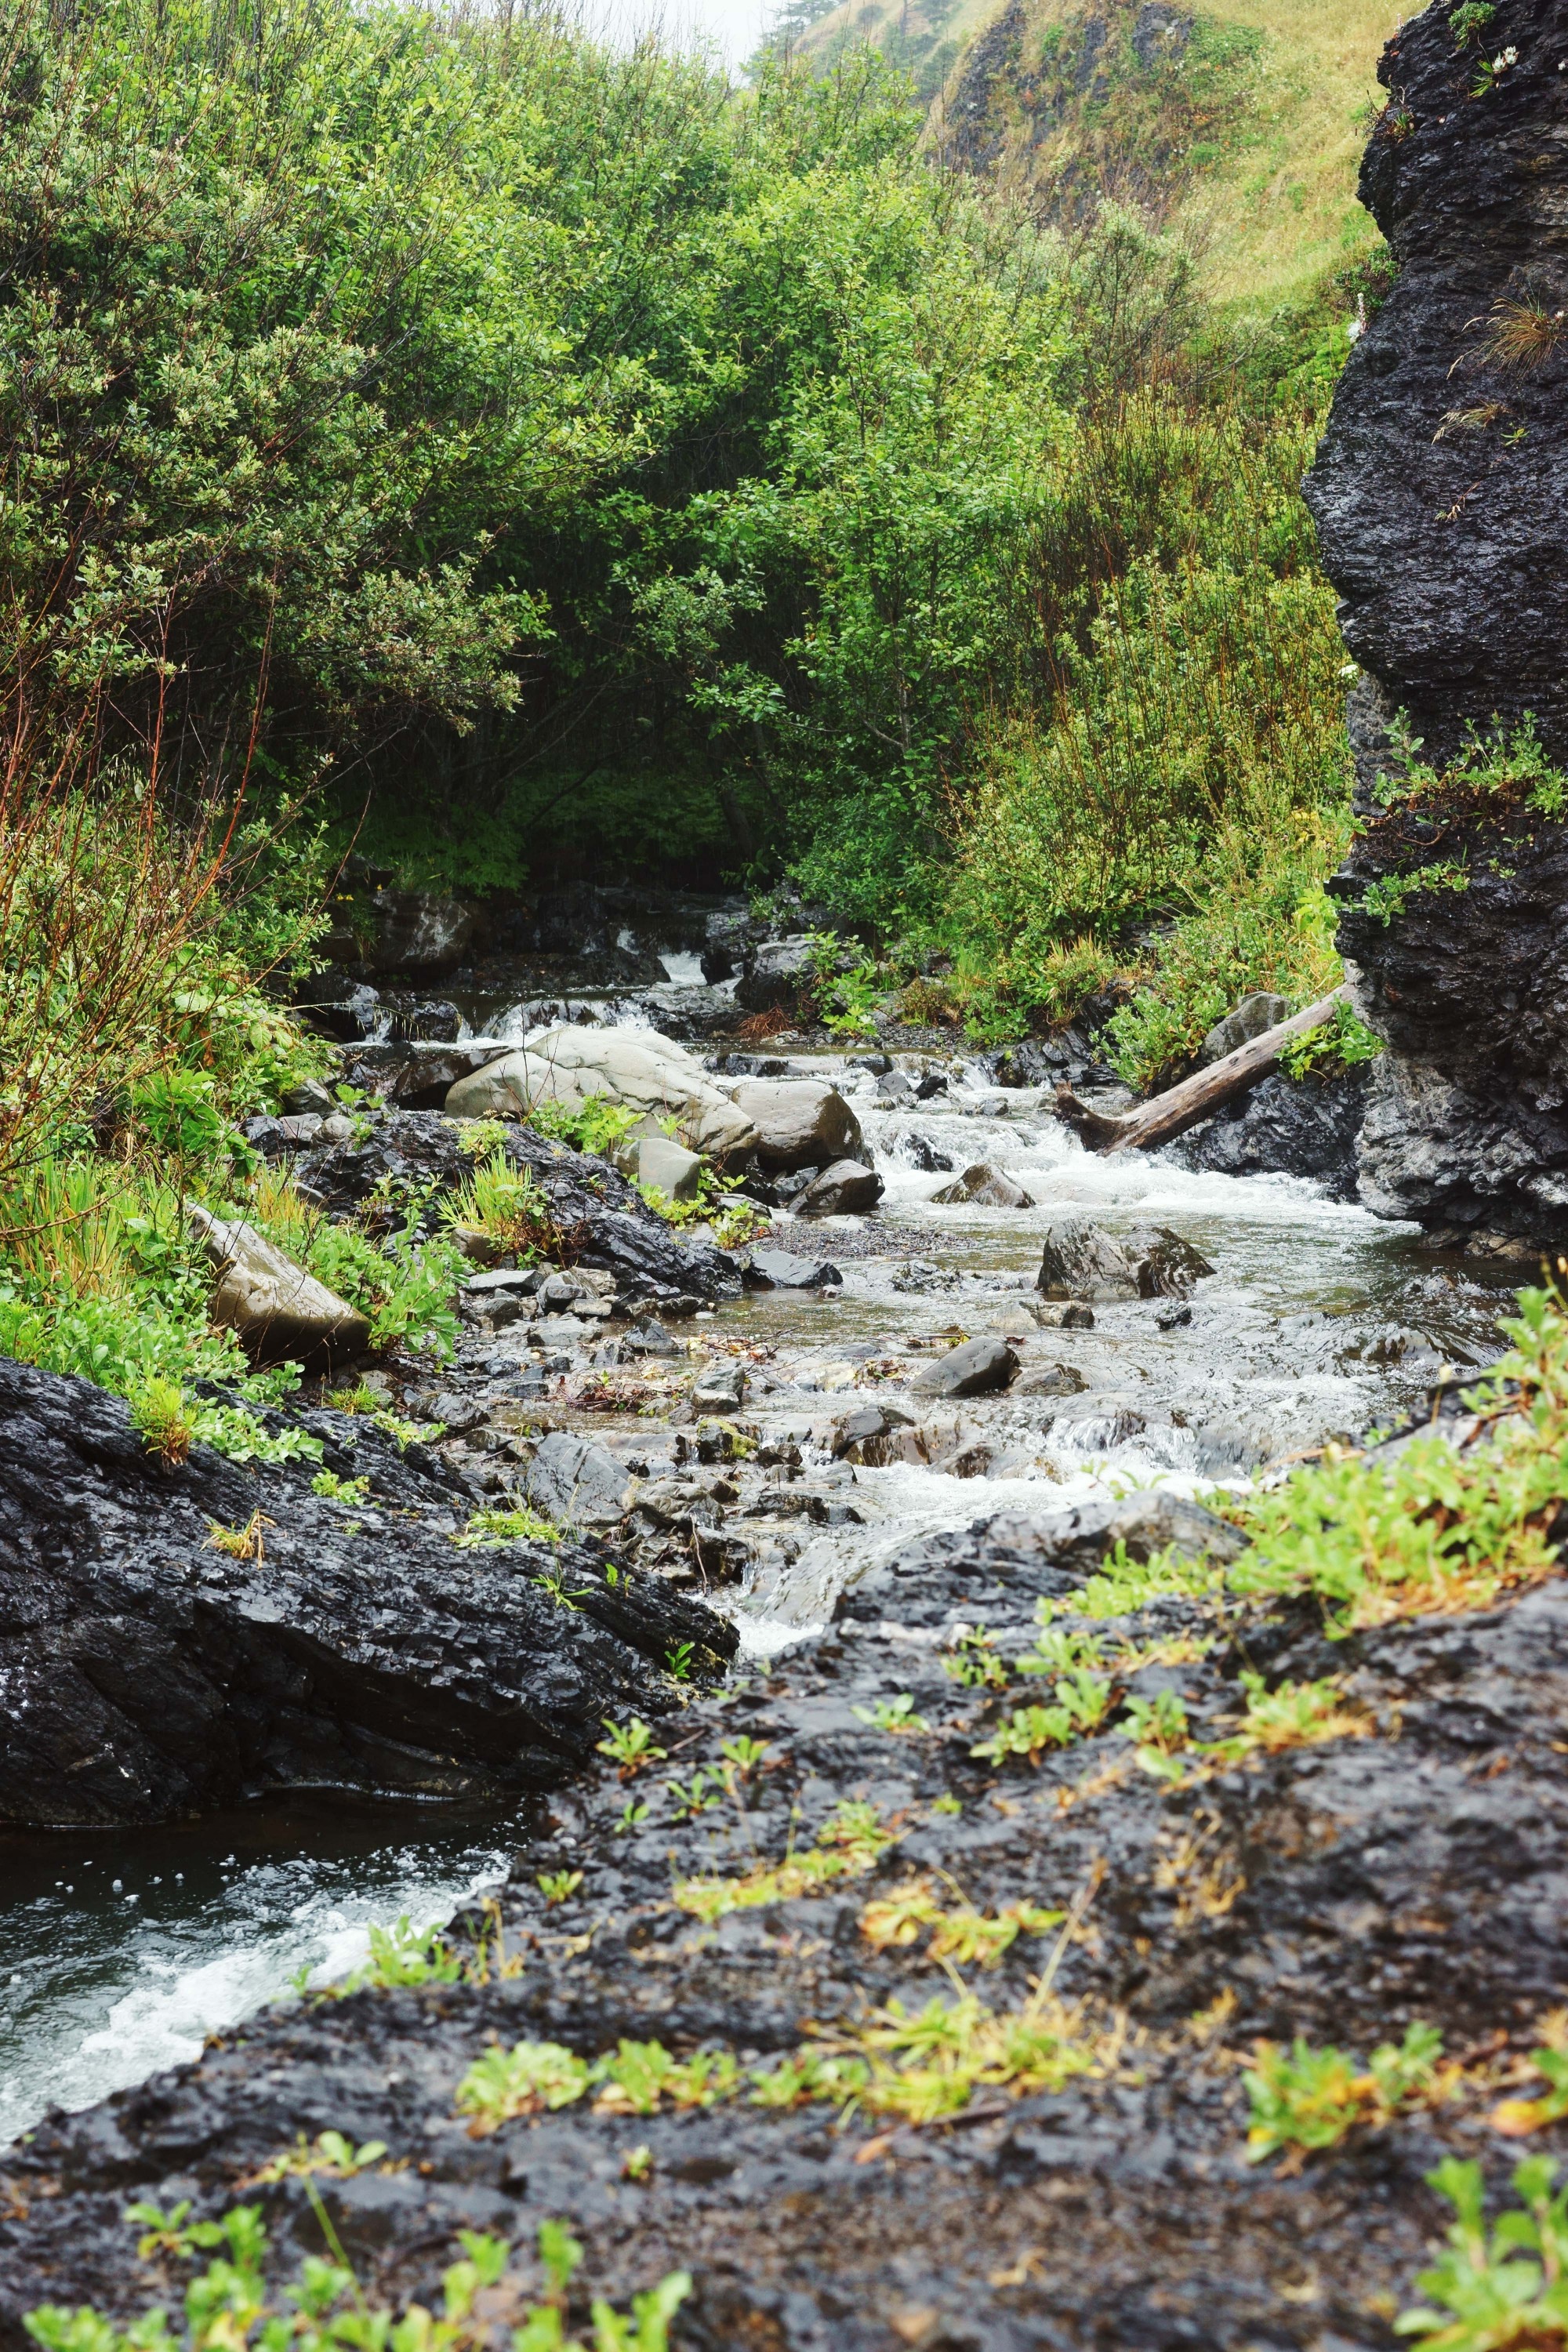
Horse Mtn Creek was Lost Coast’s best kept secret. This creek is rather negligible if you are only focused on the ocean to your right hand side. Following the maps, we spotted a big puddle with pile of giant driftwood in front of green forest. This was the slightest of sign to the entrance to this secretive arbor along the creek.
")
")
")
")
")
")
")
")
")
")
We established the campsite inside the arbor that was used by previous hikers. Horse Mtn. Creek was tucked inside the forest and offered perfect sanctuary for meditation and relaxation. The sound of flowing water was so soothing and lulled me to deep sleep with good mixture of Maker’s Mark.
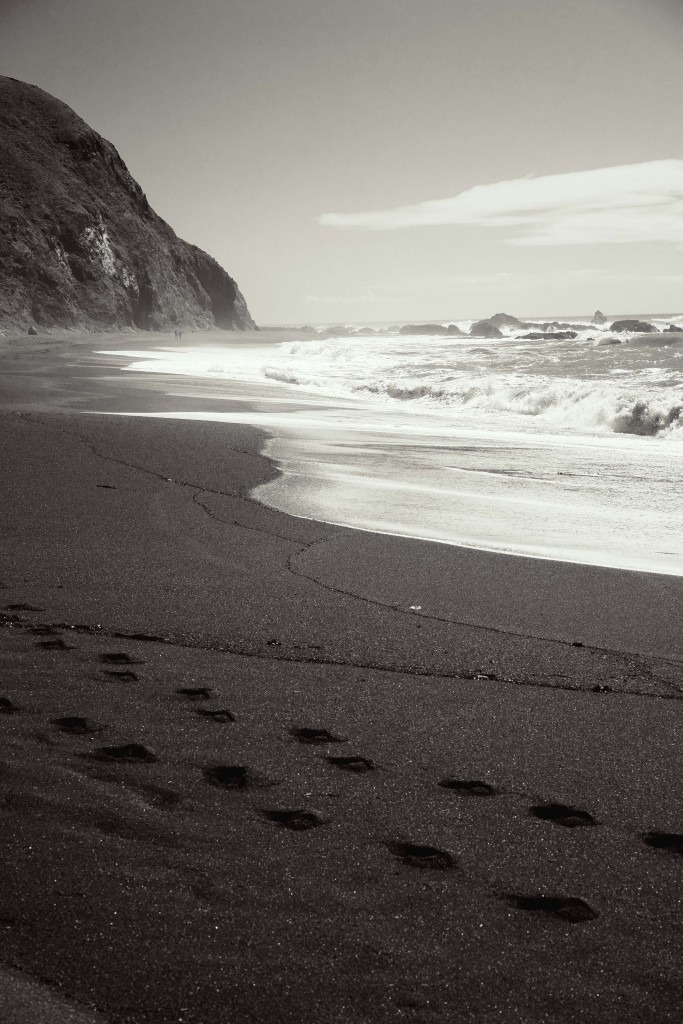
Day 4 of 4 :: Horse Mtn Creek to Black Sands Beach [2 mi.]
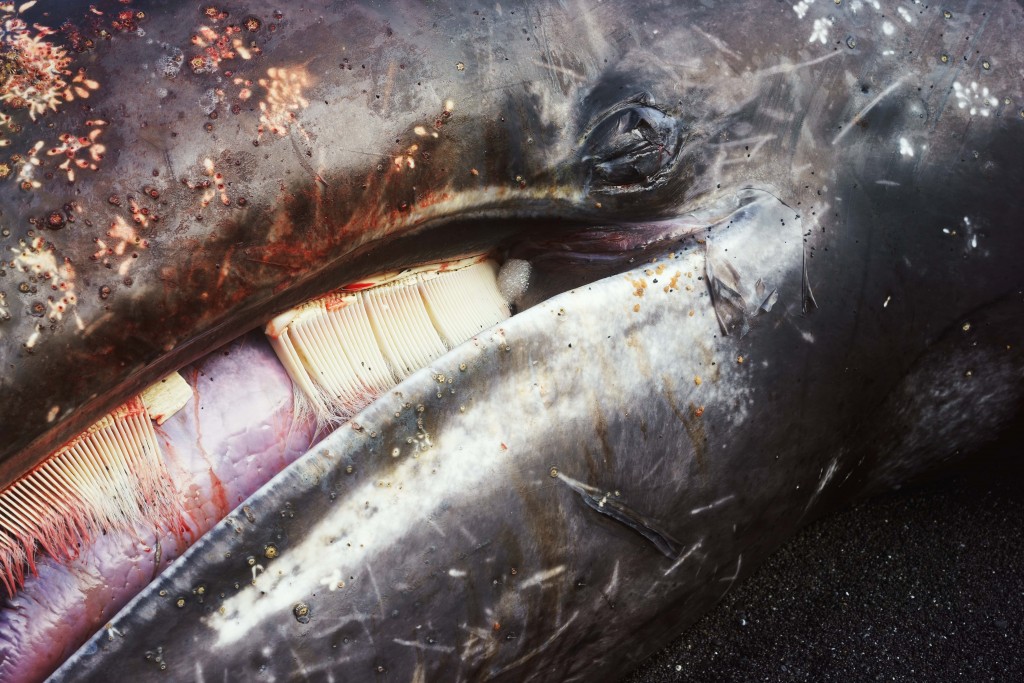
We rise early on Day 4 to finish the last 2 miles hike to consummate our Lost Coast Trail experience. It was light hike along the sandy beach with fair amount of fogs that kept me comfortable with my windbreaker. As we get closer to the end point of hike, we saw a ghostly figure of huge driftwood beyond the haze. Step by step our footprints get closer to the crowd of hikers surrounding the said driftwood. I started to realize this driftwood has rather lifelike appearance, something that resembles that of deflated air house, something that feels familiar and fleshy. It was when the smell of expiring life reached my nostrils that I saw the body of recently deceased baby sperm whale.
")
")
")
")
Life and death seen on Lost Coast was powerful reminder how living outside of our daily norm reveals the strength and ability we hold. This was my longest distance backpacking trip that I have done in lower 48 States thus far, and it was definitely the most beautiful to say the least. If you ever was curious about Lost Coast, I cannot say more than just go and do it – it’s classic.


:: BONUS ::
If you are making slow way down to home in San Francisco or Bay Area, you should definitely stop at some of the attractions on the way. There is a cool woodwork shops along highway 101 that showcase chainsaw sculptures (!) as well as nice souvenirs unique to Mendocino County. Another point of interest is Leggett (pronounce “legit”) which is popular stop for driving through tree; there’s nothing more to it but fun thing to check it out if you never have.
Interested in buying full size version of my photos? Email at kosuke1223@gmail.com for inquiries!


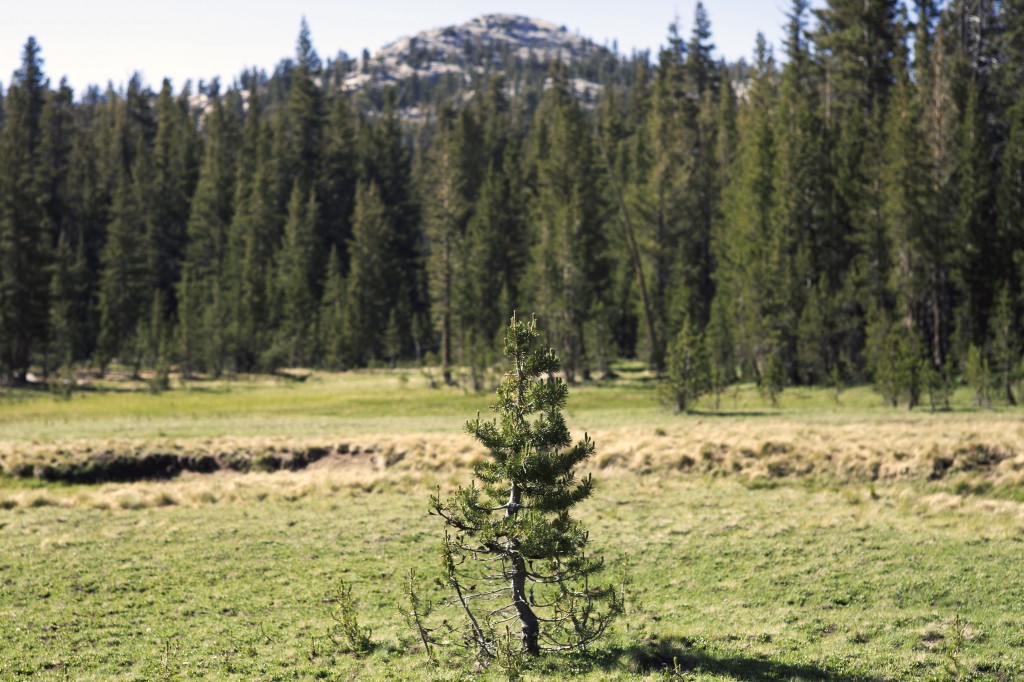

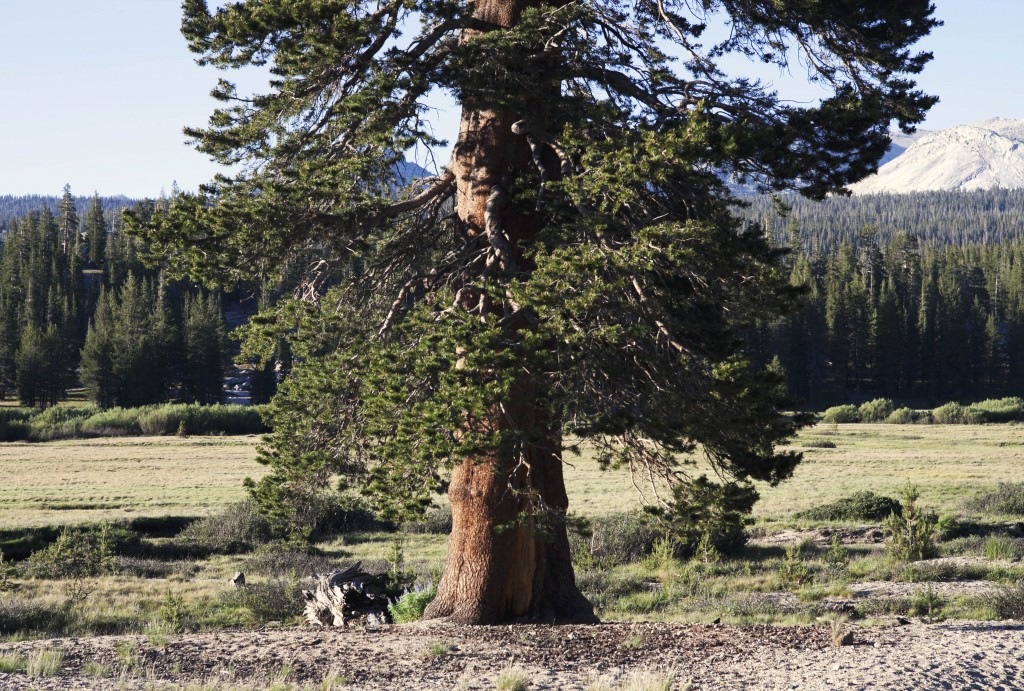
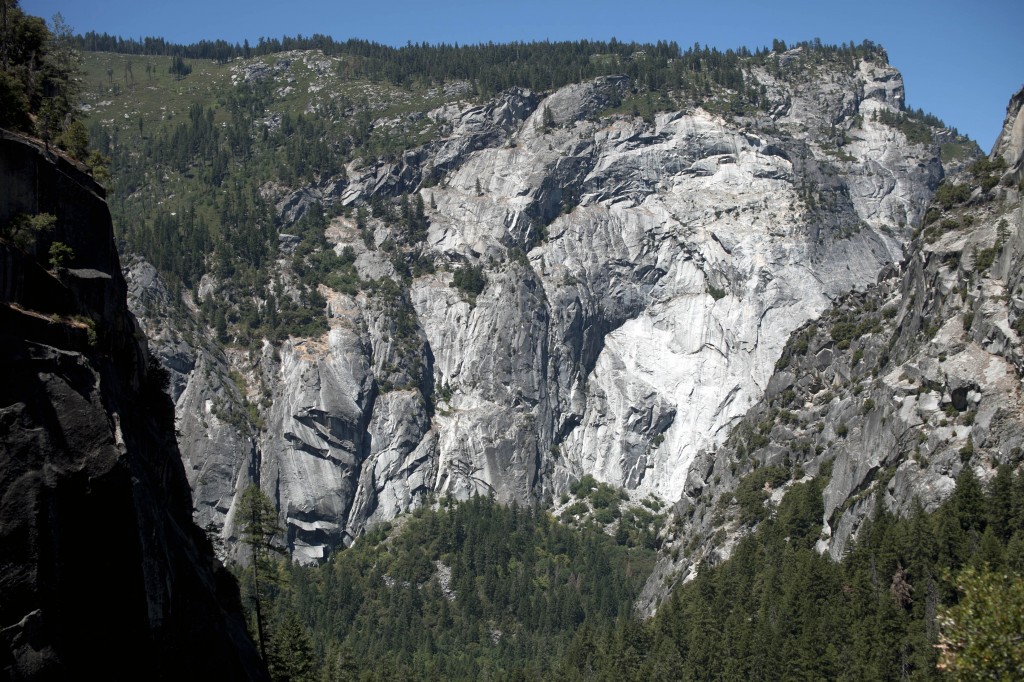
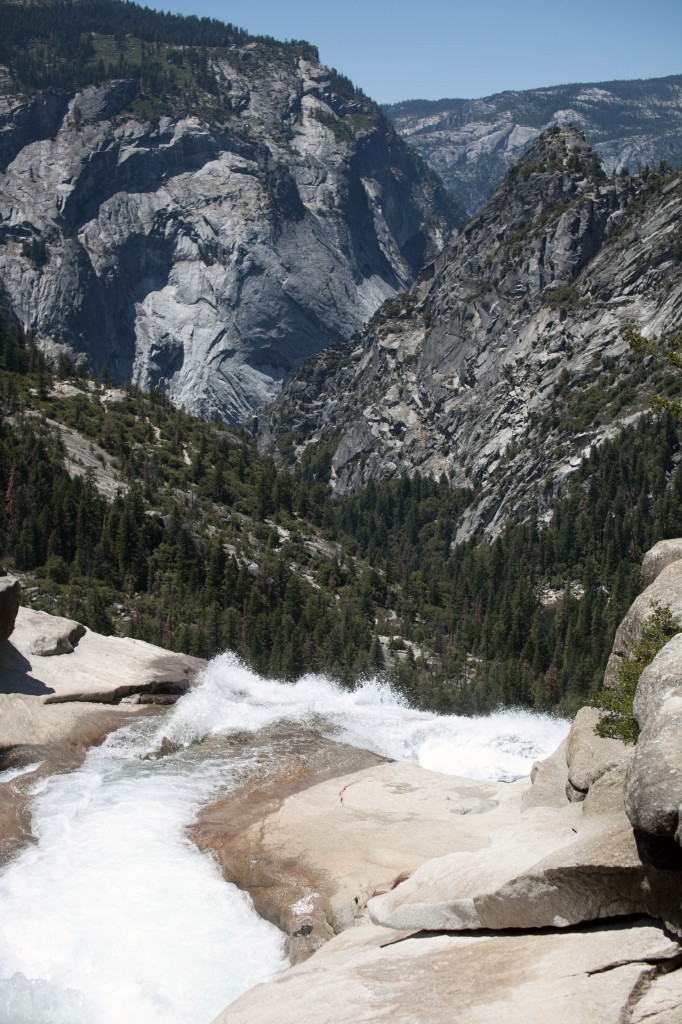
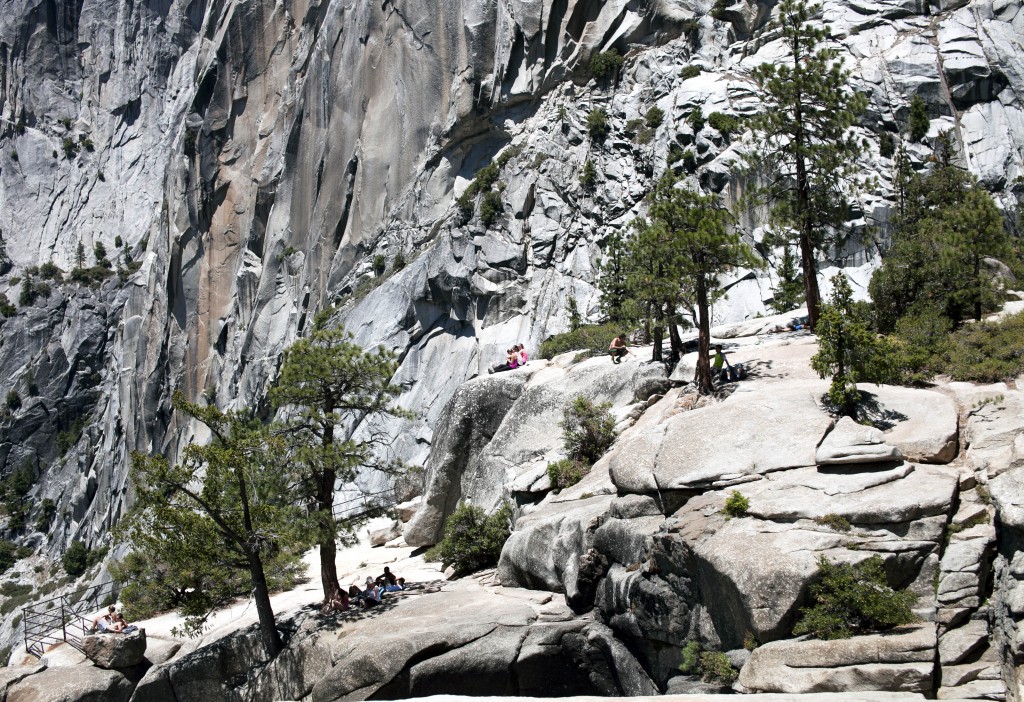

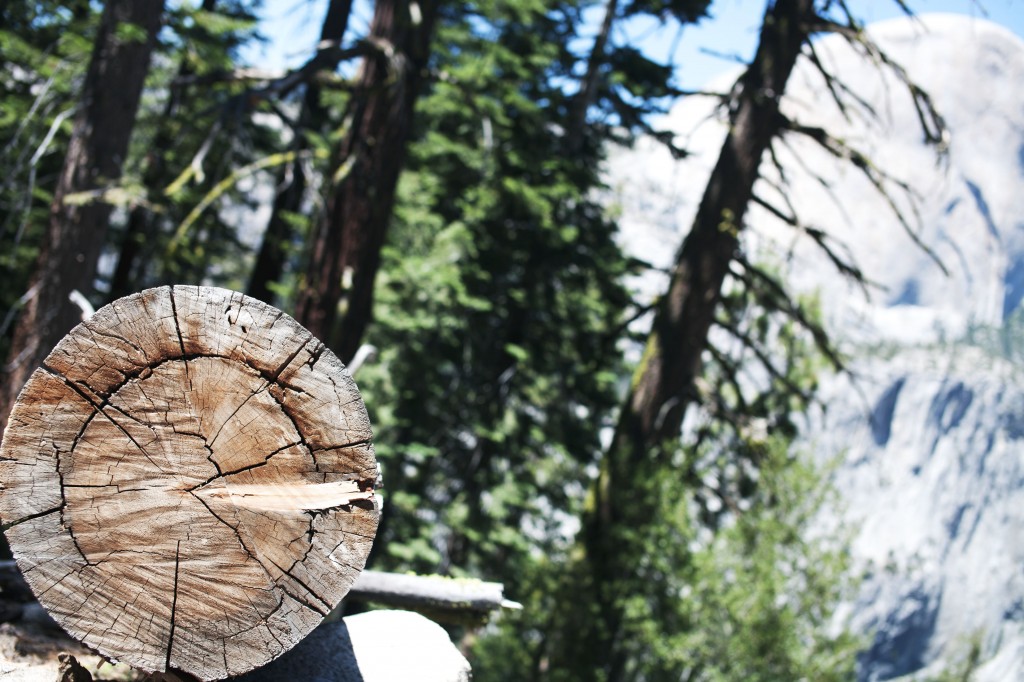
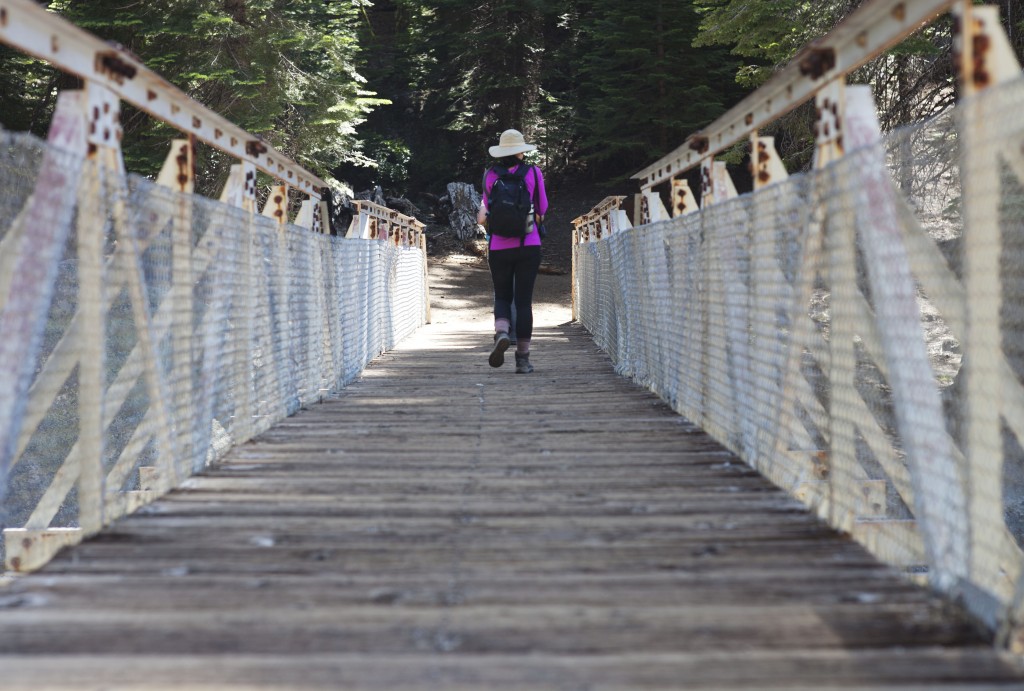
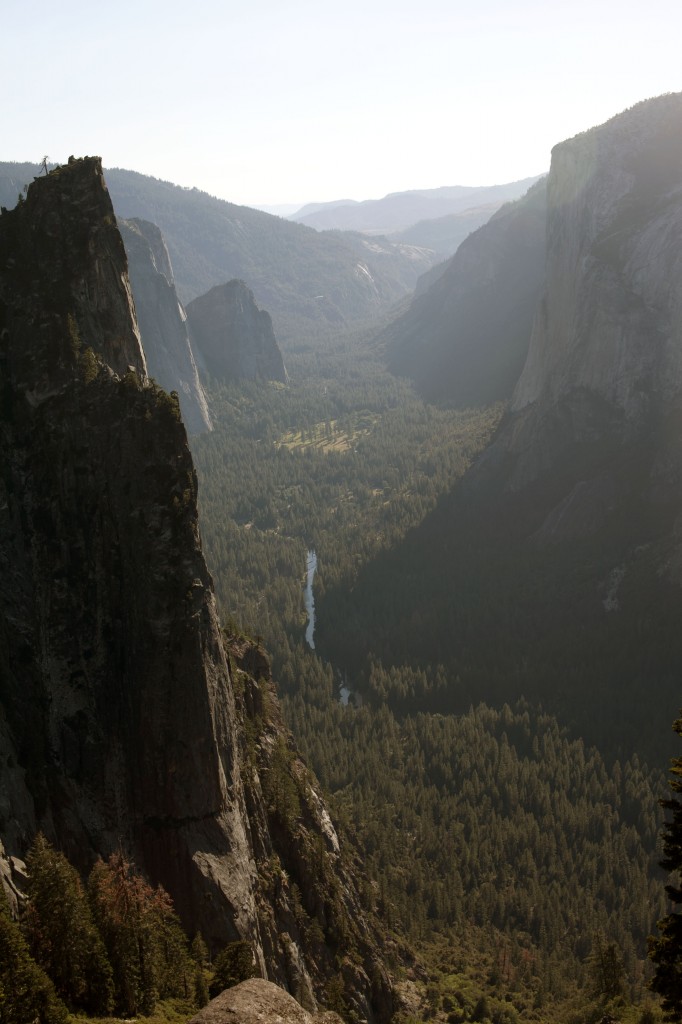
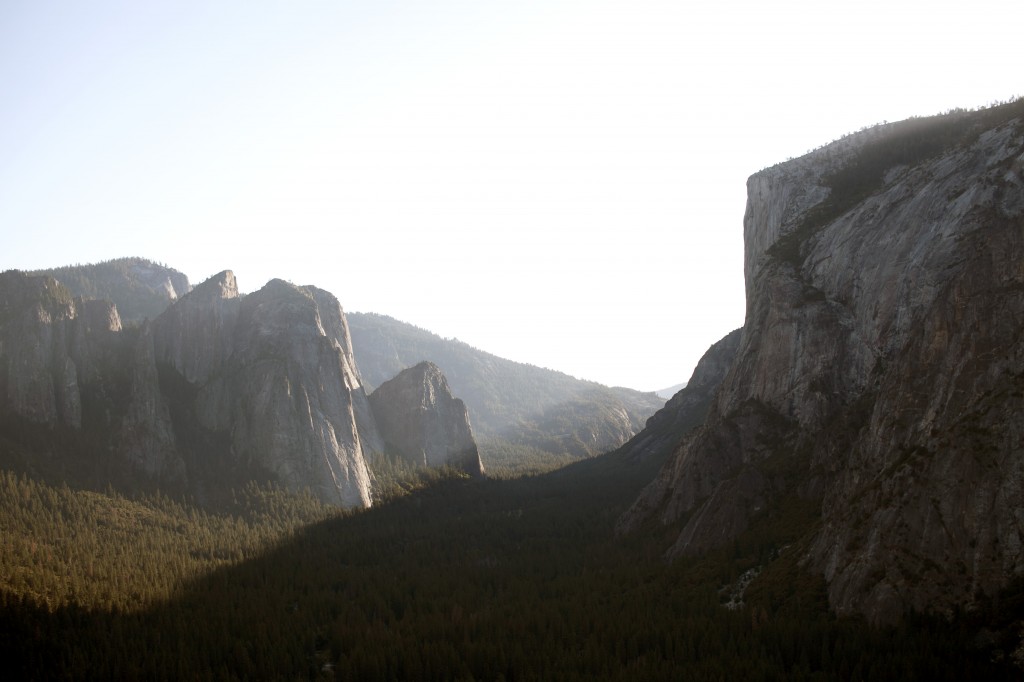
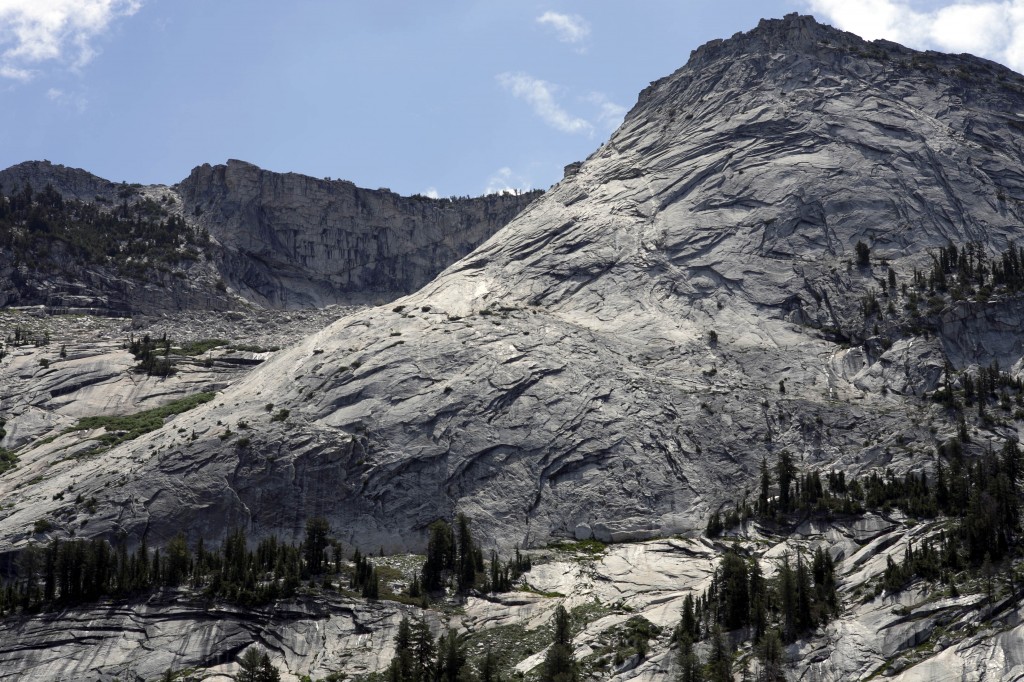
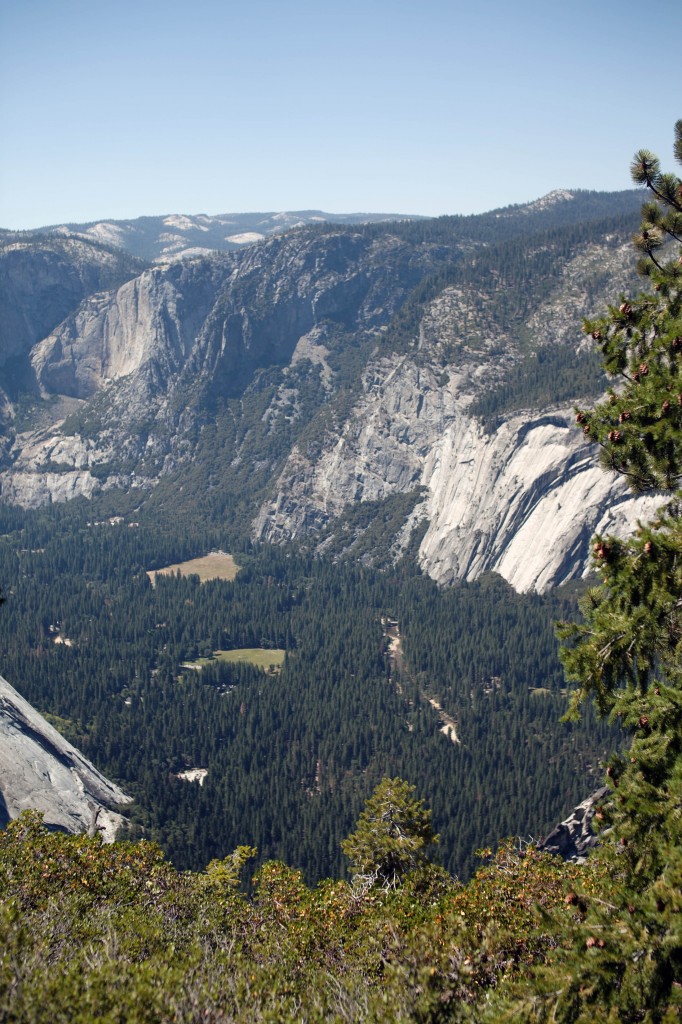 Yosemite Village is somewhere under the shelter of trees.