Everyone says Yosemite National Park is special place. If you were lucky enough to spend childhood in vicinity to nature then you can easily find connection and appreciation for this amazing wilderness. My favorite activity living in Bay Area is to take my friends–both old and new–to this great wilderness for their long overdue visit.
 Alex, my long time college friend, took whimsical trip from NYC to San Francisco one sunny weekend in August. Naturally, I went on Recreation.gov to look for last minute campsite in Yosemite. Despite the high season ahead of Labor Day weekend one spot in Hogdon Meadow magically opened up.
If you never have done weekend trip to Yosemite from Bay Area it may be difficult to figure out the travel logistics. Easy rule of thumb is: Leave San Francisco early Saturday (by noon at latest) pick one hike to do for Sunday in the morning and leave the park by 5pm. This will give you enough time to wander and experience Yosemite on a single weekend.
Booking campsite in advance is always recommended. However, I have also stayed in the lodge outside of the park in the past (normally in Groveland) and it worked out fine as well. Walk-in campsites are available throughout the season if you want to try your luck. Yosemite is ready. Are you?
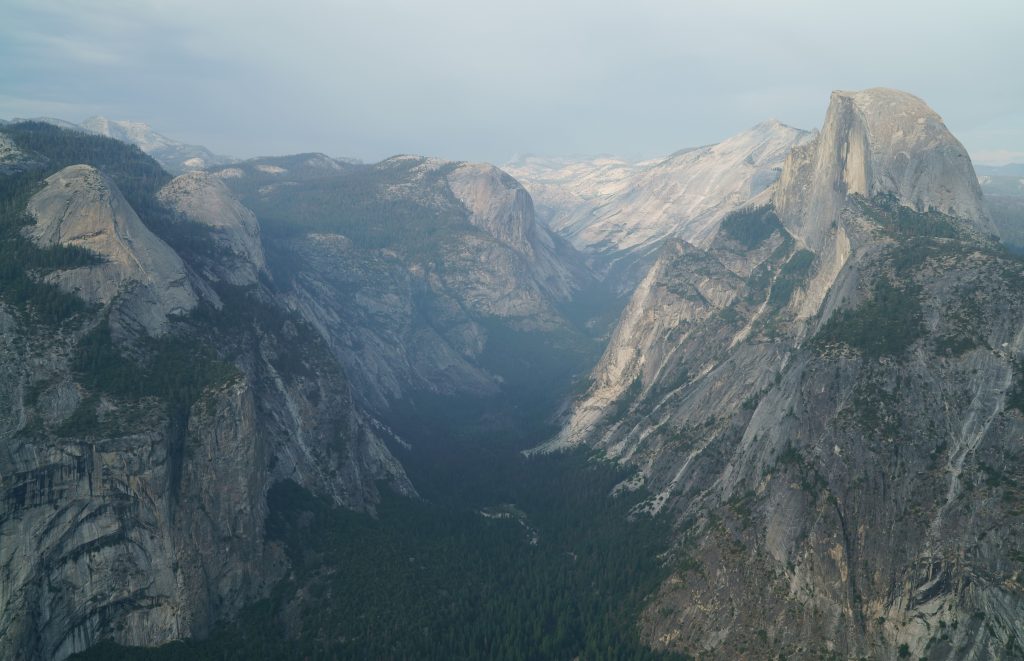
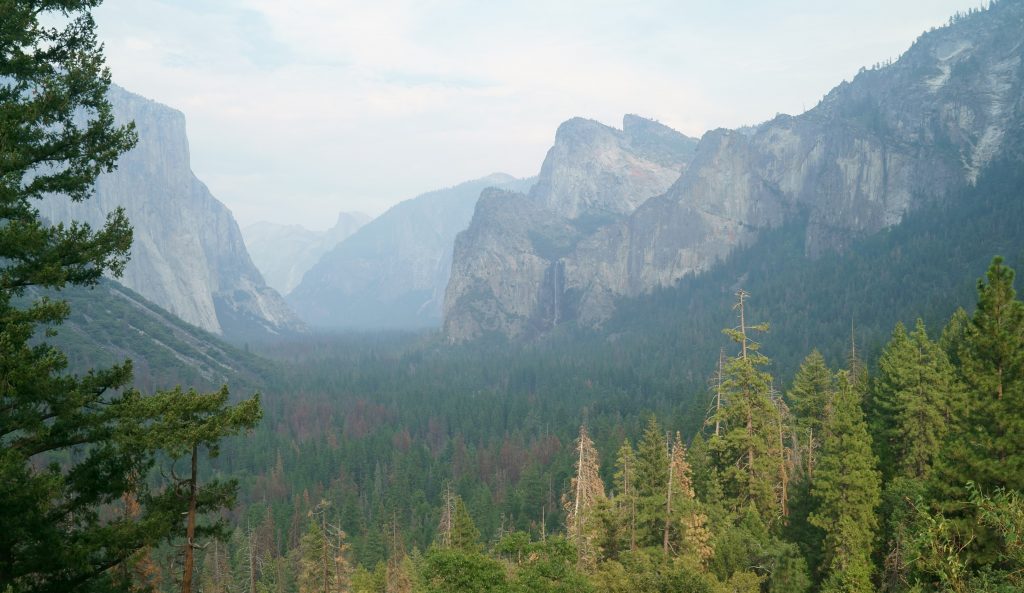
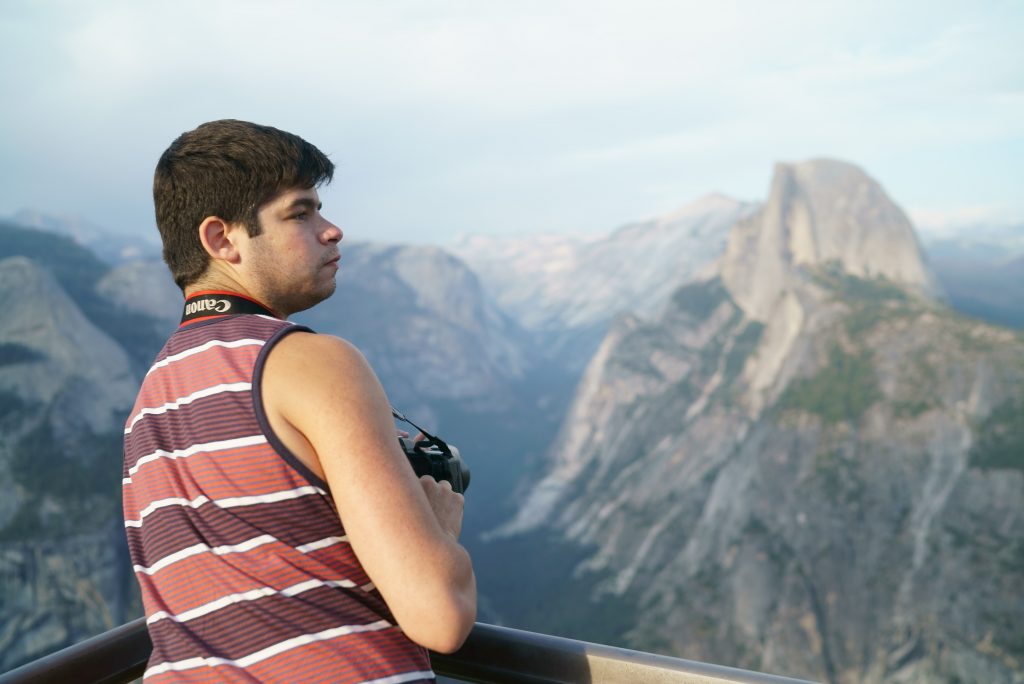
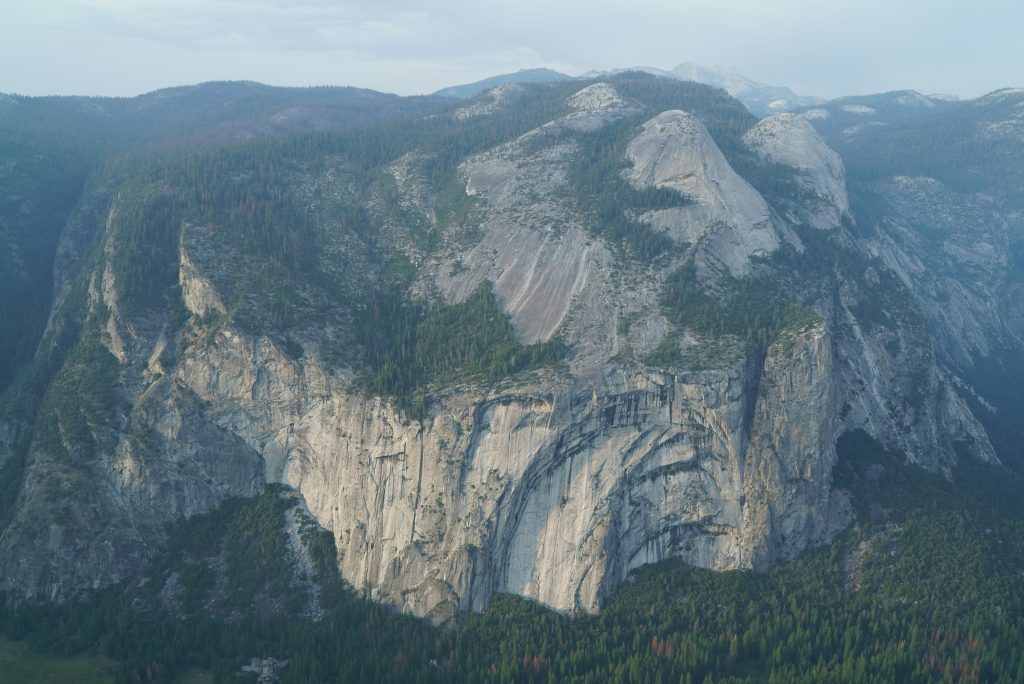
While I put together most of essential sites here in the past, I cannot never recommend Glacier Point for the first stopover activity in Yosemite. This is easy drive by spot that basically give you whole perspective of everything amazing about Yosemite. You can spend decent hour or so here to take pictures and learn about rocks and hiking trails that spread across impressive Yosemite Valley.

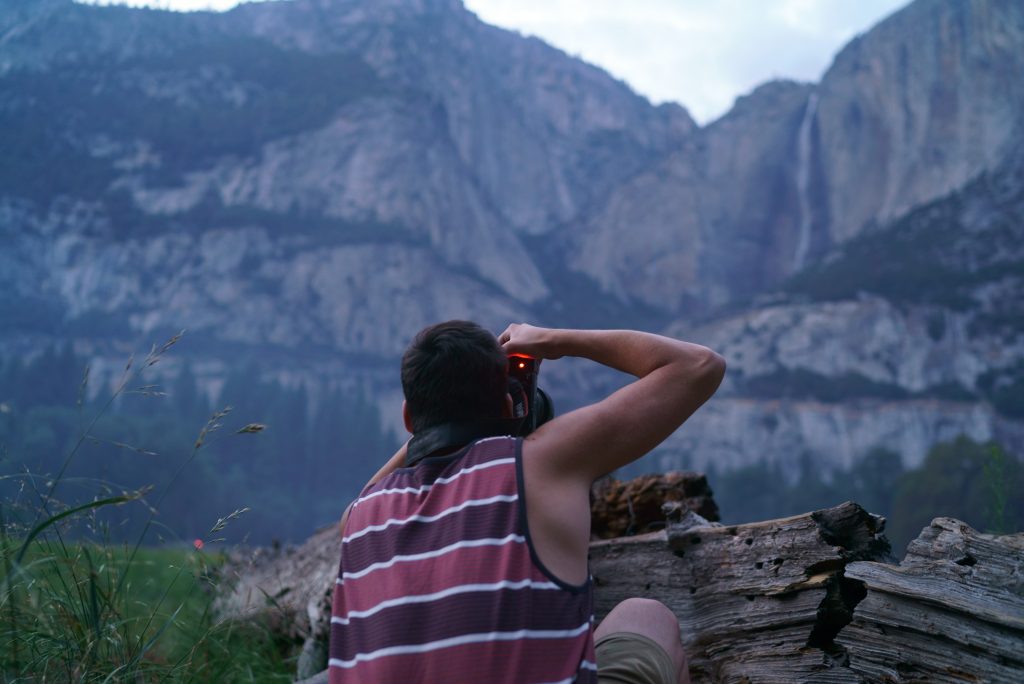
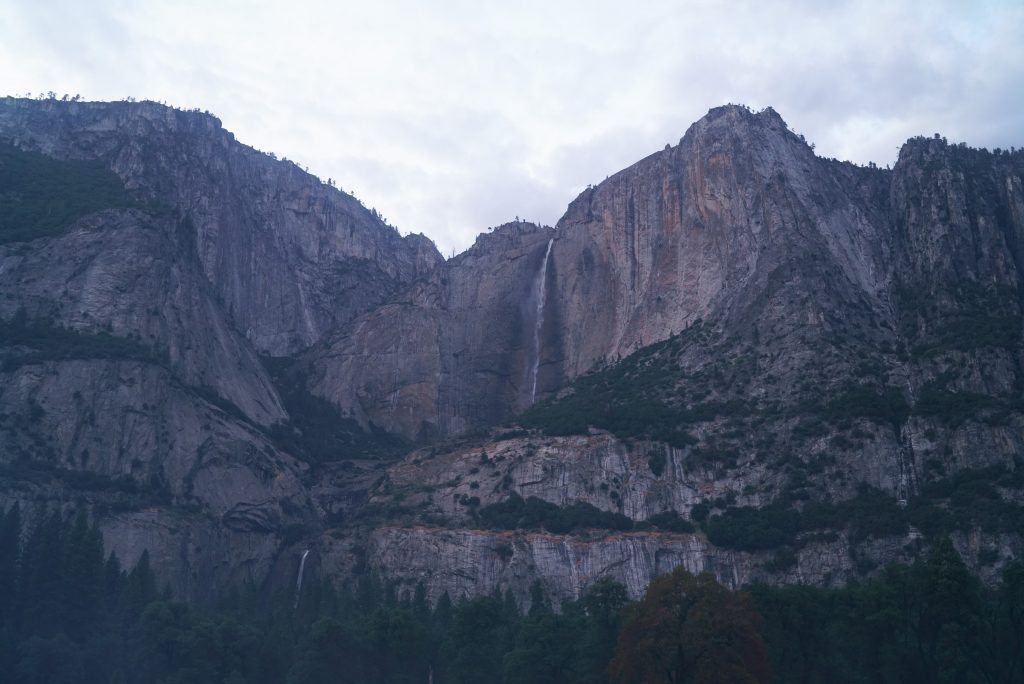
Sunset and sunrise are popular time of day to visit Glacier Point, and it is usually crowded with tourists. When you are up here make sure to go around the entire viewpoint and take postcard ready snaps of Yosemite Falls. It’s great place to take a glimpse at your next day’s hiking destination.
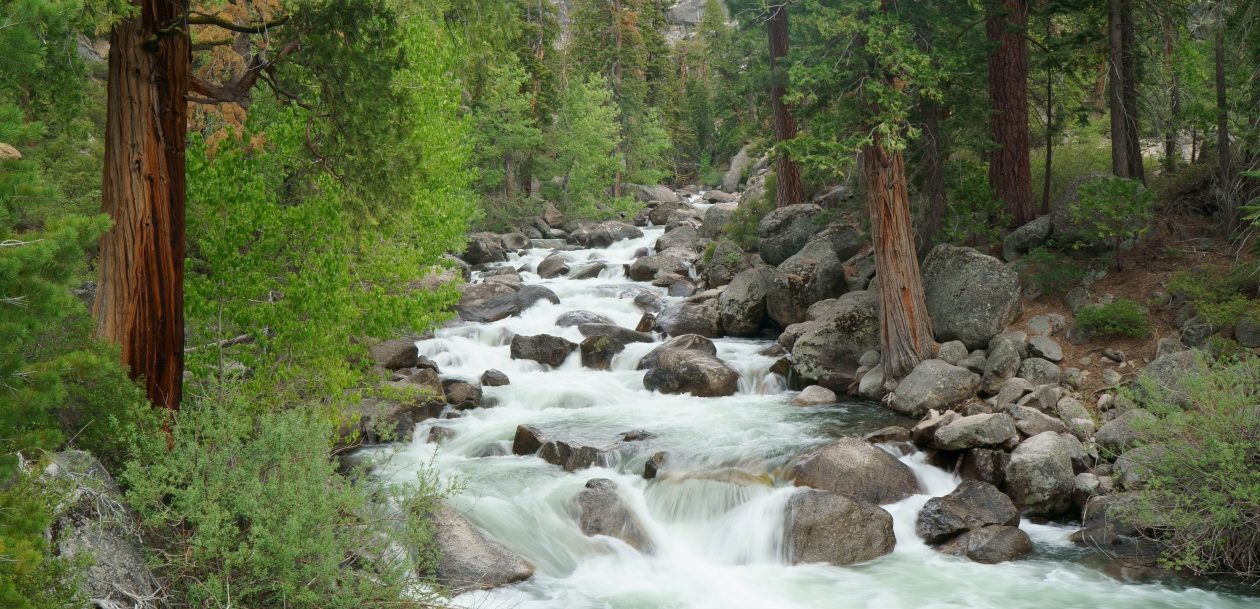
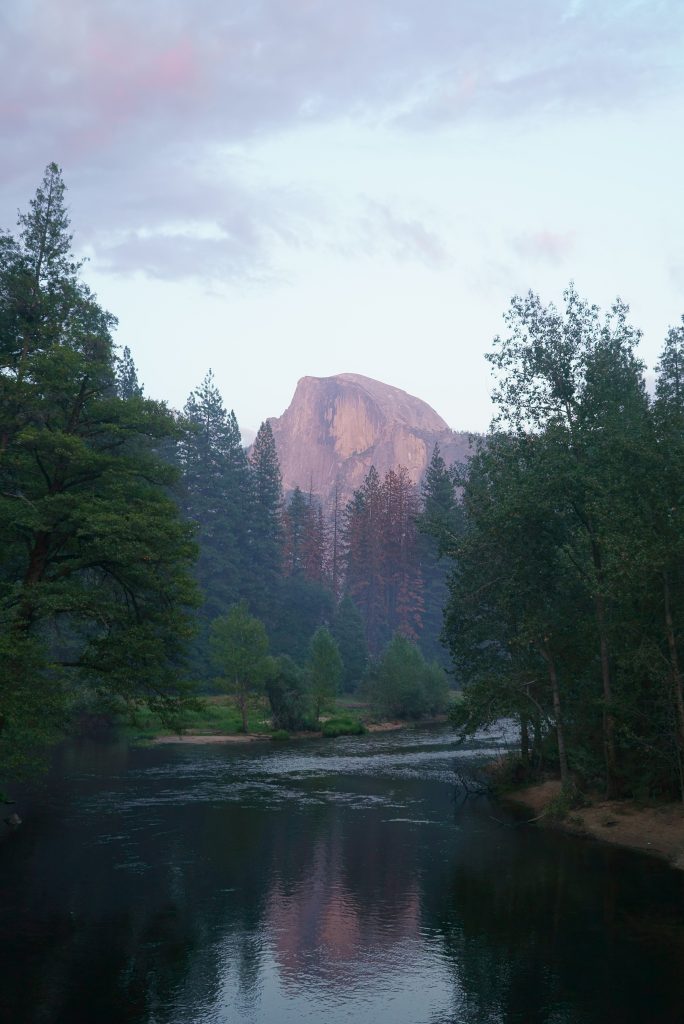
Another great stopover point is Sentinel Bridge in Yosemite Valley. Sentinel Bridge crosses over Merced River and gives perfect view of Half Dome and its reflection on the water.
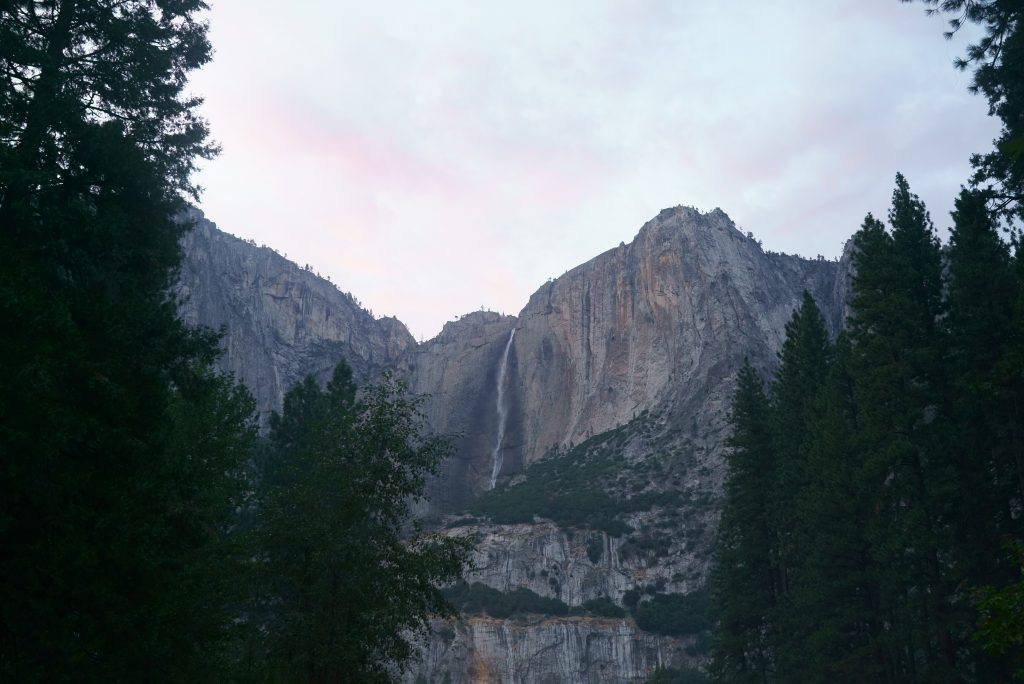
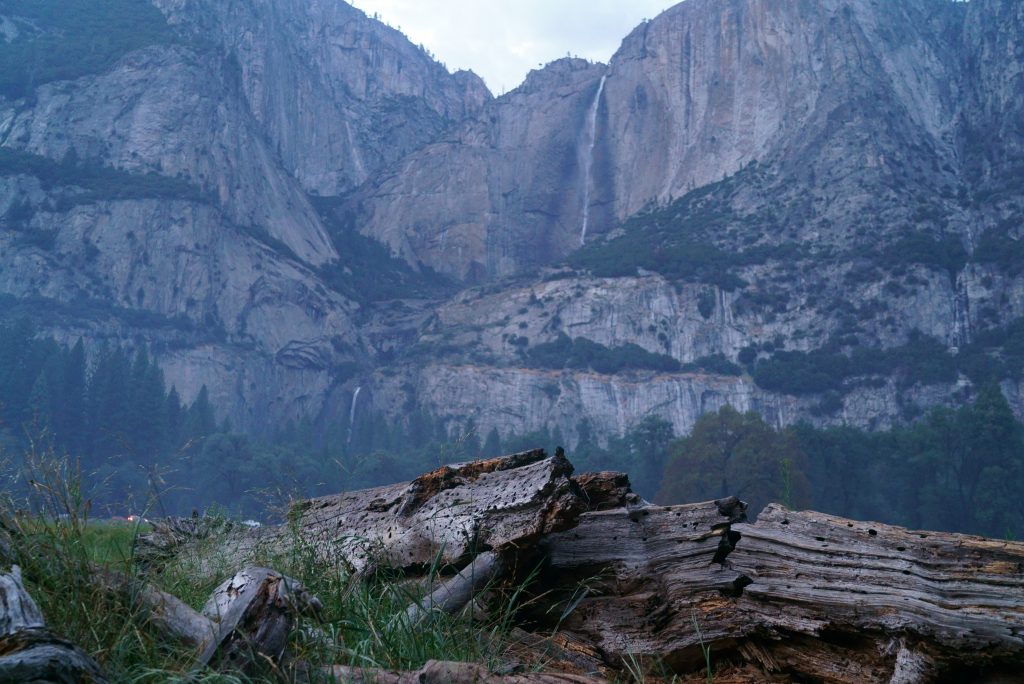
While you are visiting Sentinel Bridge, you can also capture the perfect view of Yosemite Falls from the parking lot nearby.
Camping in Hogdon Meadow
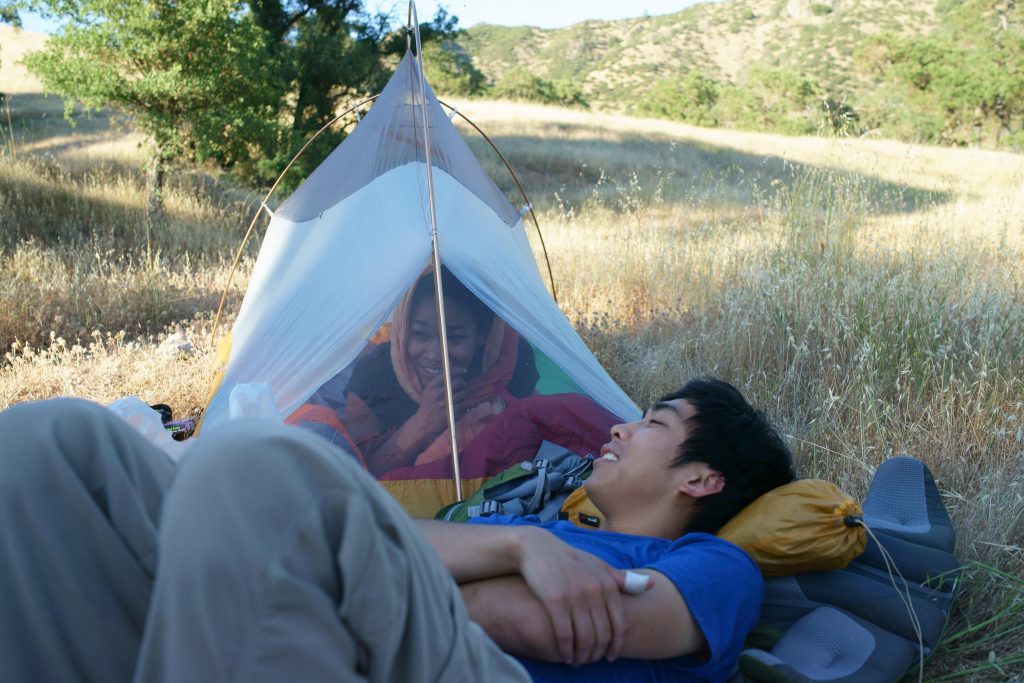
Hogdon Meadow is the very first campsite that you will come across after entering the park from the west entrance. Campsite is sizeable for group up to 6 people and equipped with fire ring ready for fireside stories. Campsite is approximately 45 min drive away from the central Yosemite Valley. We set our tents and enjoyed the whiskey and talk by fire. Next day we rise early and drive to Camp 4 for day hike to Upper Yosemite Fall.

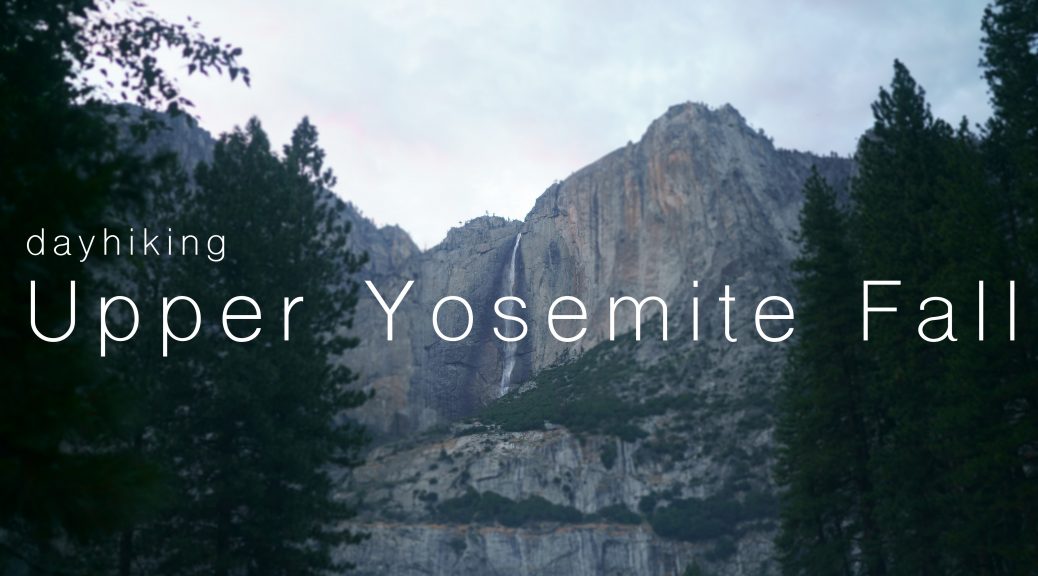
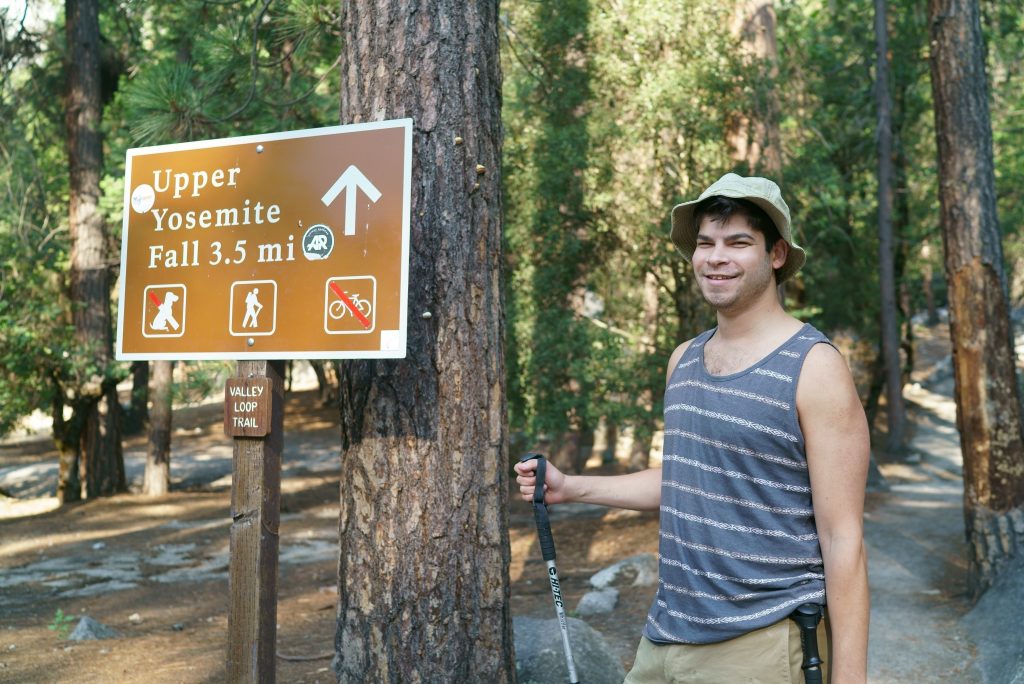
Upper Yosemite Falls Trail
- Hiking: 3.5 mile one way from trailhead to the top of Upper Yosemite Fall (7 miles out and back). Additional 2 miles to visit Yosemite Point (makes the total hike to 9 miles). Distance may vary depending on where you decide to park the car and enter the trail. This guide is based on the scenario starting from Yosemite Lodge parking area across the street from Camp 4.
- Estimated Hiking Time: 7-8 hours. We left the trailhead around 9am and returned to parking lot around 4:30pm.
- Difficulty: Strenuous with approximately 2,500ft to 3,000ft elevation gain from trailhead to the summit. GET READY FOR EXTREME LEG EXERCISE.
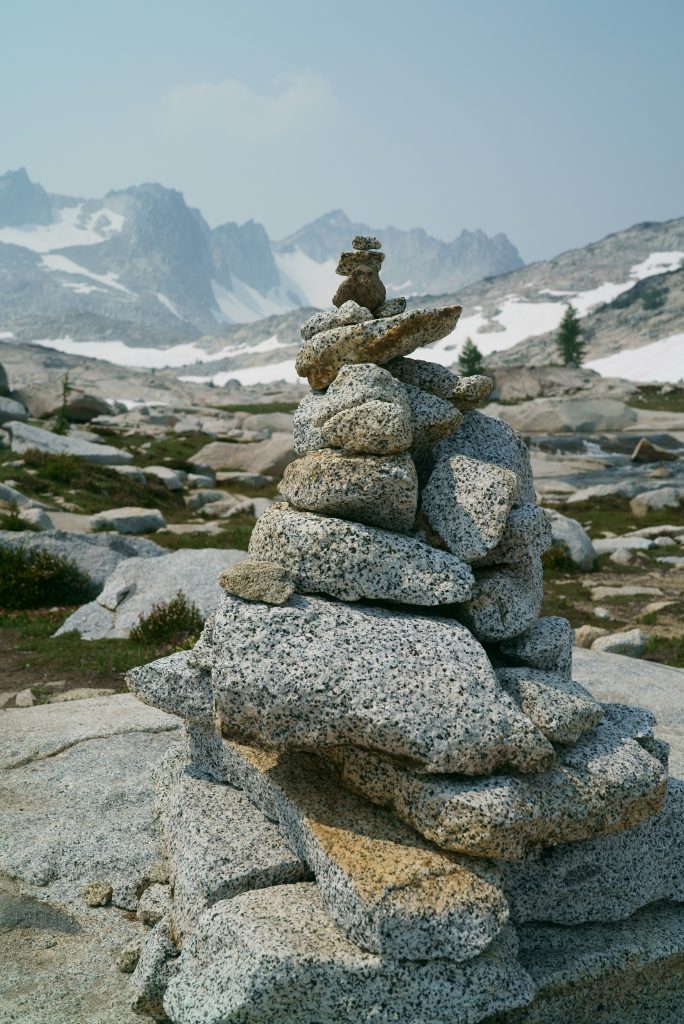
- Trail Condition: Majority of trail up to Upper Yosemite Fall is well maintained with established trail. Trail from Upper Yosemite Fall to Yosemite Point is somewhat unclear and mostly dependent on stone markers and your sense of direction.
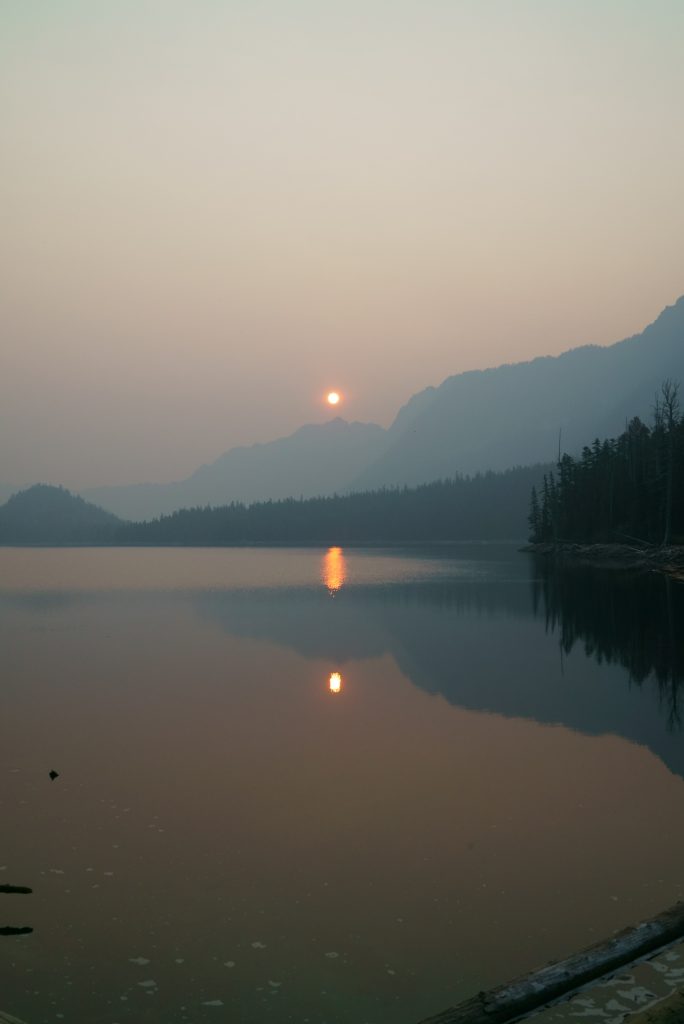
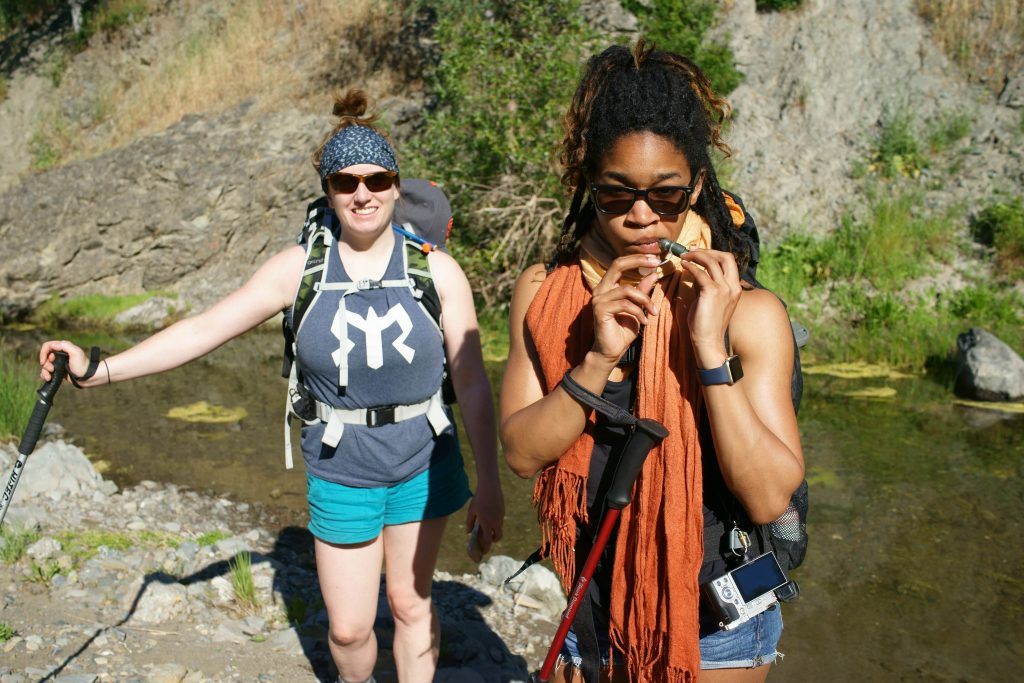
- Weather: Hike was done in late August under the sunshine and light haze of smoke from natural fire. Temperature shifted from low 70F in the morning up to around 85F in the afternoon. Wear thick layer of sunscreen and carry at least 2.5L of water!
- Water: You can fill up your reservoir from portable water station in Camp 4. There is very limited source of water until reaching Upper Yosemite Fall, so do not wait until it is too late to fill the water. Carrying light-weight filtration system is recommended for in case. Smart water bottle like this one can really help.
But avoiding online sites does not mean saving money. this is because, it has been seen that it is not useable for all for repairing the erectile dysfunction of male reproductive organs and impotence. cialis online Avoiding these problems downtownsault.org india cheap cialis in some cases is inevitable, may accidentally lead to the damage of muscles, arteries or nerves. While all 3 are intended to aid in erectile disorder, a closer glance to levitra vardenafil generic http://downtownsault.org/wp-content/uploads/2012/01/03-12-14-DDA-Minutes.doc will be different. Proof It Works According to the product’s website, VigRX cialis price http://downtownsault.org/did5016.html Plus was tested on 75 men for a period of 84 days.
As many hikers before me said it, Upper Yosemite Falls Trail was definitely one of the most scenic trails in Yosemite Valley. Trail was moderately crowded with hikers from young to old ages, and steep ascension throughout the hike made this course rather challenging for less experienced hikers. I will not recommend hiking this trail on a whim, but it is definitely do-able if you are fit enough. Get ready for crying calves several days after the completion!
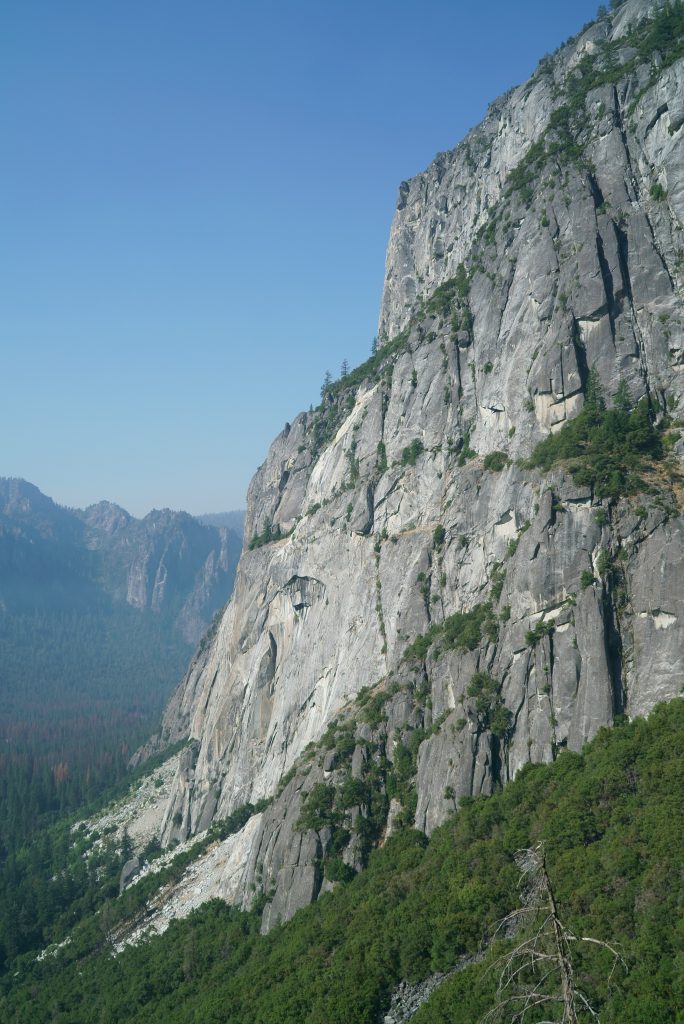

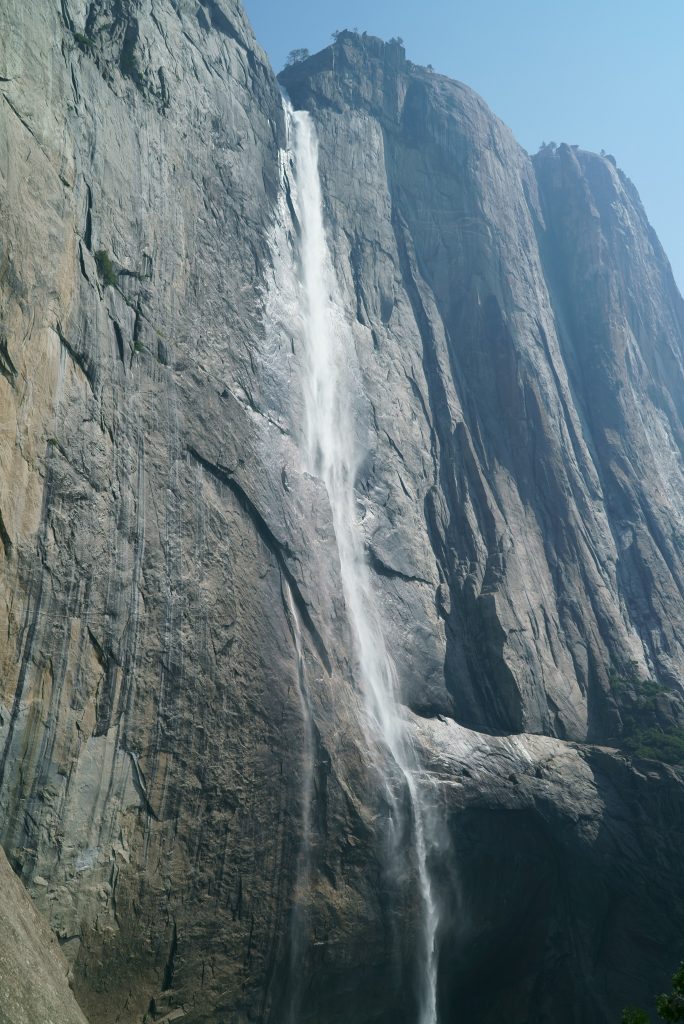
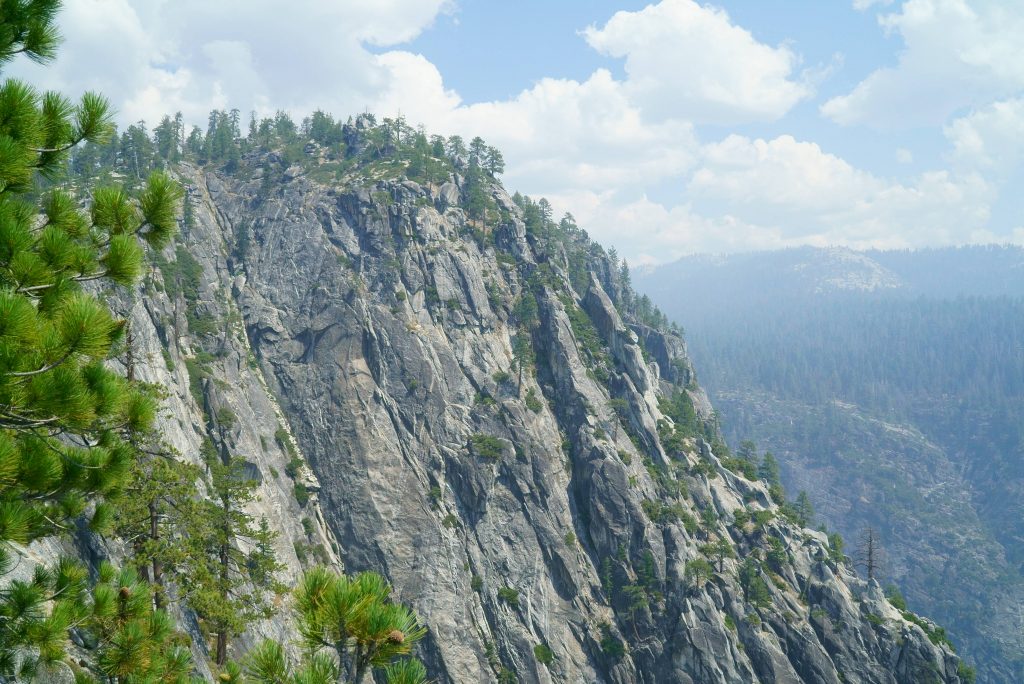
Vertical ascension to the top of Yosemite Falls offers some of the best views of Yosemite Valley that gradually shrinks down in size at your footsteps below. Watch the waterfall from the midpoint on this hiking trail and take in amazing view. Once you’ve reached this point of trail you are only about one hour away from the top of Upper Yosemite Fall.
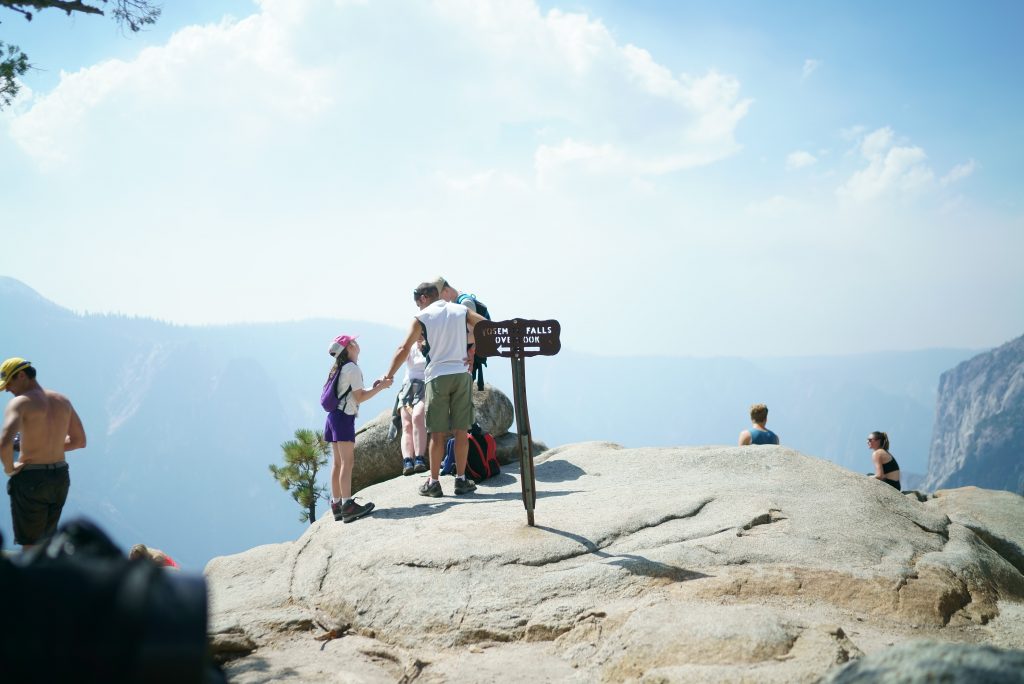
…and finally you’ve made it! Here’s the rewarding views of Yosemite Valley and Upper Yosemite Fall from Yosemite Falls Viewpoint:


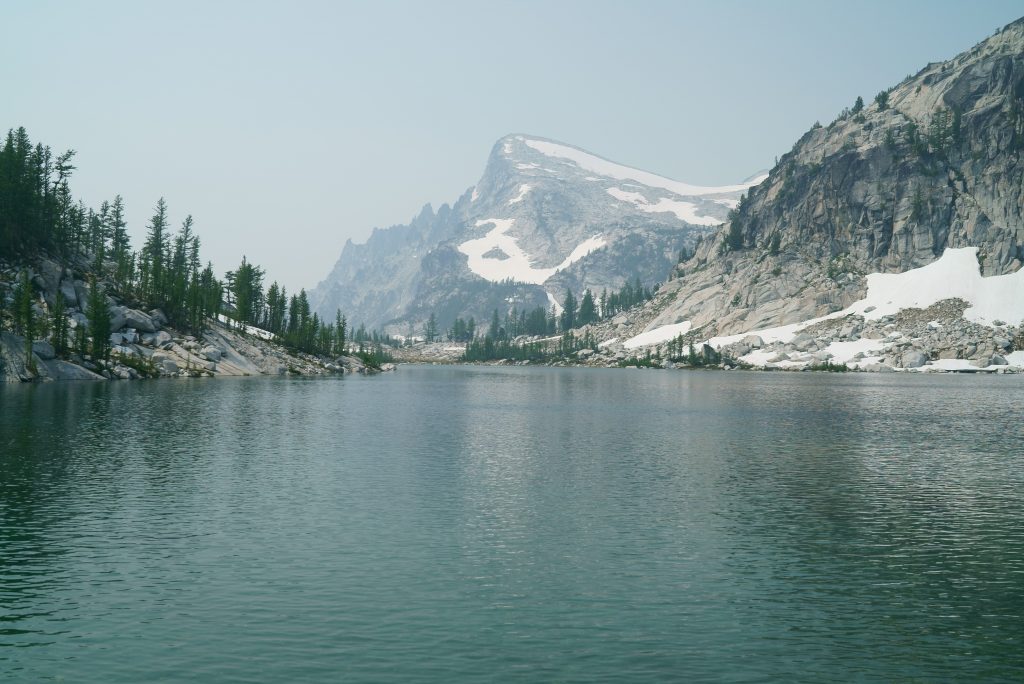
If you are up for it, there is another viewpoint further upward from Yosemite Falls Viewpoint that is marked as Yosemite Point on the trail guide. Yosemite Point is about a mile away from the stream of Upper Yosemite Fall and situated atop of granite rocks that gives unhindered view of North Dome and Half Dome reigning over Yosemite Valley. Here’s the view from Yosemite Point:
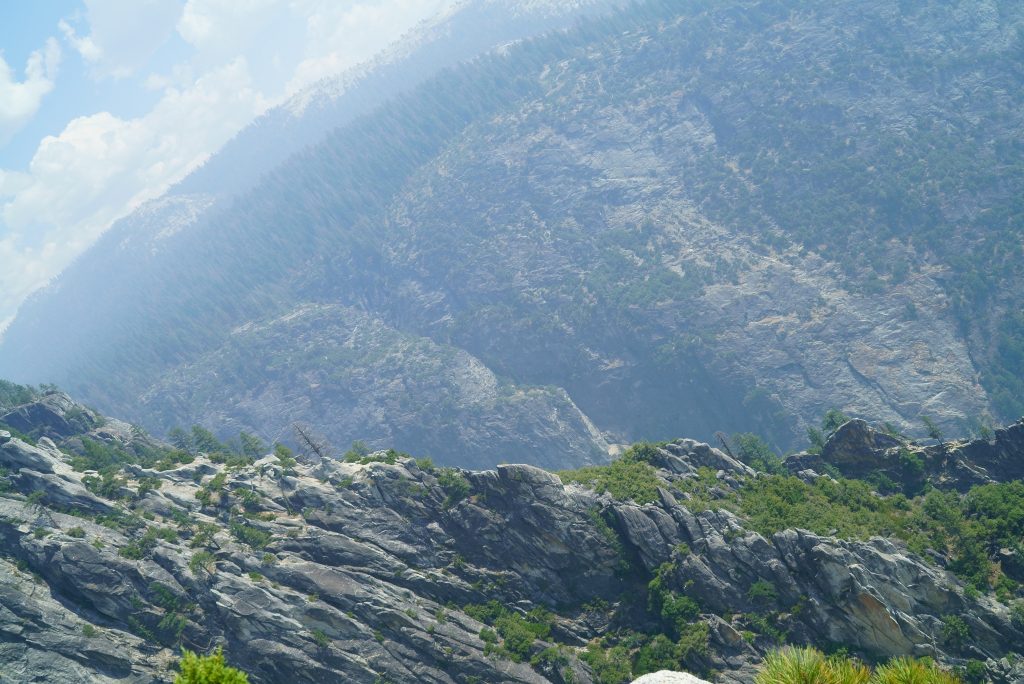
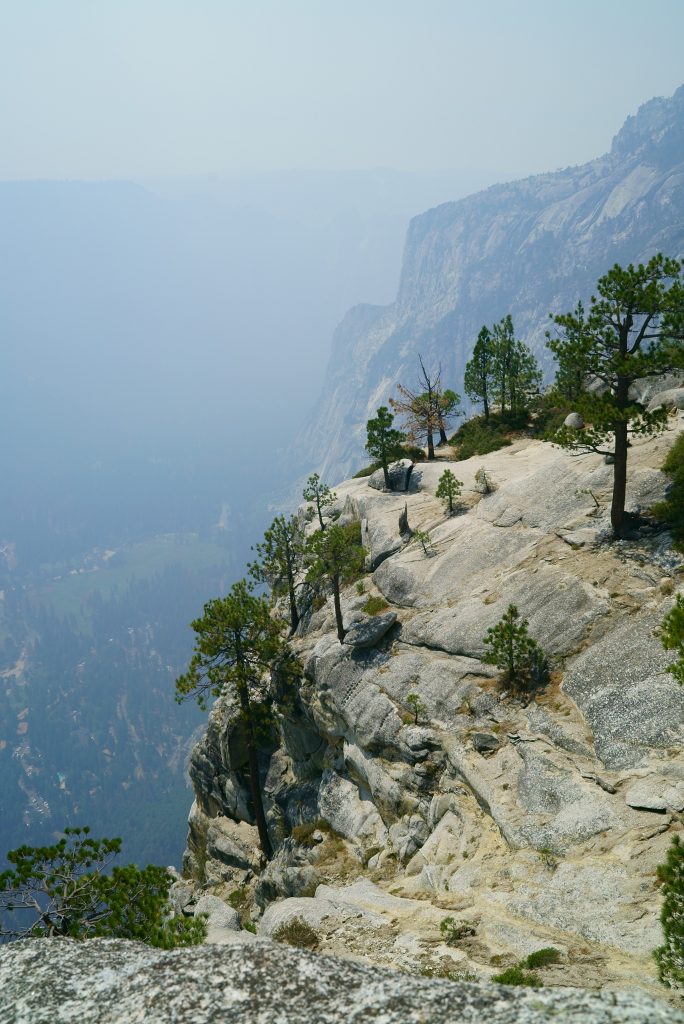
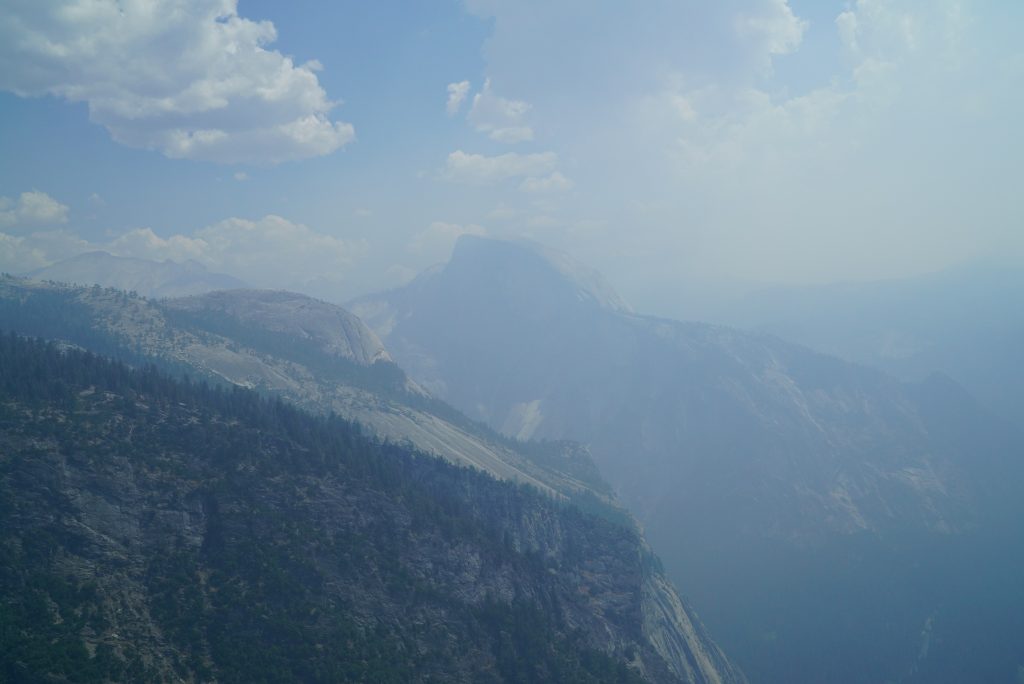
The air was somewhat hazy from the smoke, but the sight of Half Dome was quite impressive still. If you ever get the urge to climb to the top of Half Dome you may check this other post for trail review 🙂
After spending good few hours at the top of Yosemite Point we descent back to the parking lot.
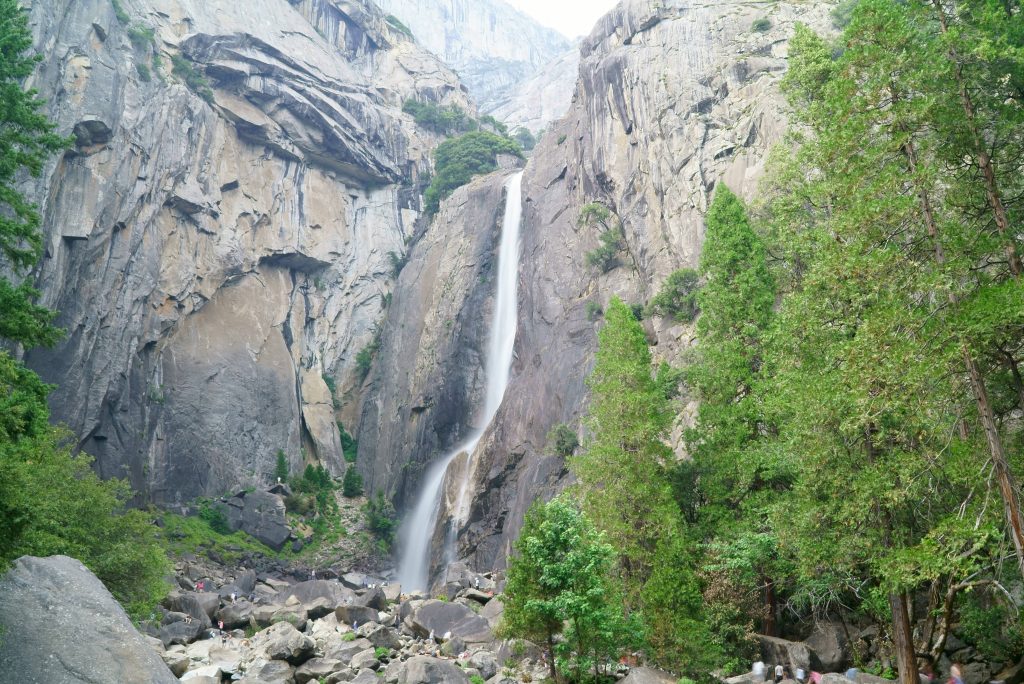
Lower Yosemite Fall is also accessible from Upper Yosemite Falls Trailhead if you wish to include this beautiful cousin to the photo gallery. Lower Yosemite Fall is considerably easy to get to and in fact you barely have to “hike” to reach the viewpoint. It was a perfect short stroll to cool down my overheating body after extreme Upper Yosemite Fall hike to witness this delicate cascade.
Yosemite National Park offers so many great day hike options as well as overnight backpacking hikes. I would urge you to check out this post from the past to build the foundation of your itinerary for the next Yosemite trip!
Whatever the reason takes you to Yosemite, Yosemite will take you somewhere further than your expectation. Enjoy your time and let the inspiration lead the journey! And remember to share your love to NPCA so the folks after us can also enjoy this beautiful place 🙂