Category Archives: Cooking & Food

Cooking is meditation for your soul and body.
簡単に作れる意外と美味しい一品料理のレシピです(オムレツ以外のものがほとんどです)

[Recipe] Make Delicious Indian-Inspired Chicken Curry At Home!

Do you like curry? I have to admit, curry rice is my favorite food of all time and its one of few cooking that I can eat at any time of day on any season. I can eat curry everyday. My wife thinks I’m crazy.

Today, I’d like to share some amazing recipe that I have stumbled upon on Japanese website that changed my homemade curry game FOREVER. Since the original website is all in Japanese, I figured it will be good idea to share the recipe in English as I go through the cooking. This is recipe you do not want to miss.

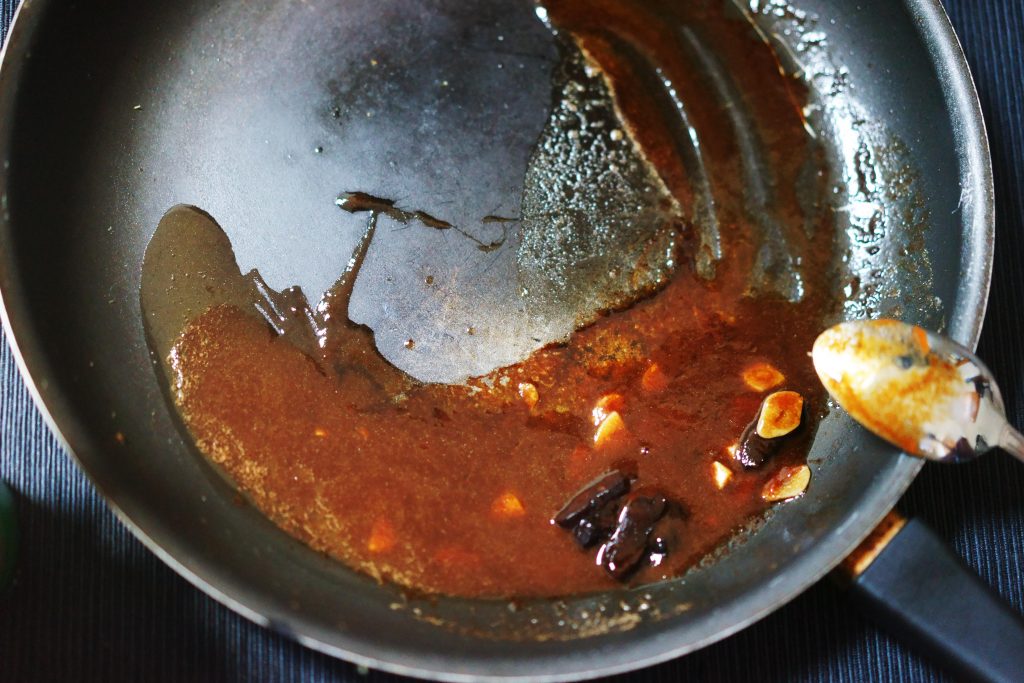
This recipe has two important key words. Speed and stir. No matter what, do not stop stirring the pot as it will cause the ingredients to burn and it will end in bad results e.g., burnt stock pot and smoke alarm beats your eardrums to deaf. Always keep your eyes on the pot and stir. stir. stir. non-stop. Ok?

Please note my recipe calls for 8 servings because I am lazy this curry is absolutely delicious and the original recipe only calls for 4 serving worth of ingredients, which I can guarantee, is never enough. Trust me. That being said, if you wish to make trial size dish go ahead and half the ingredients.

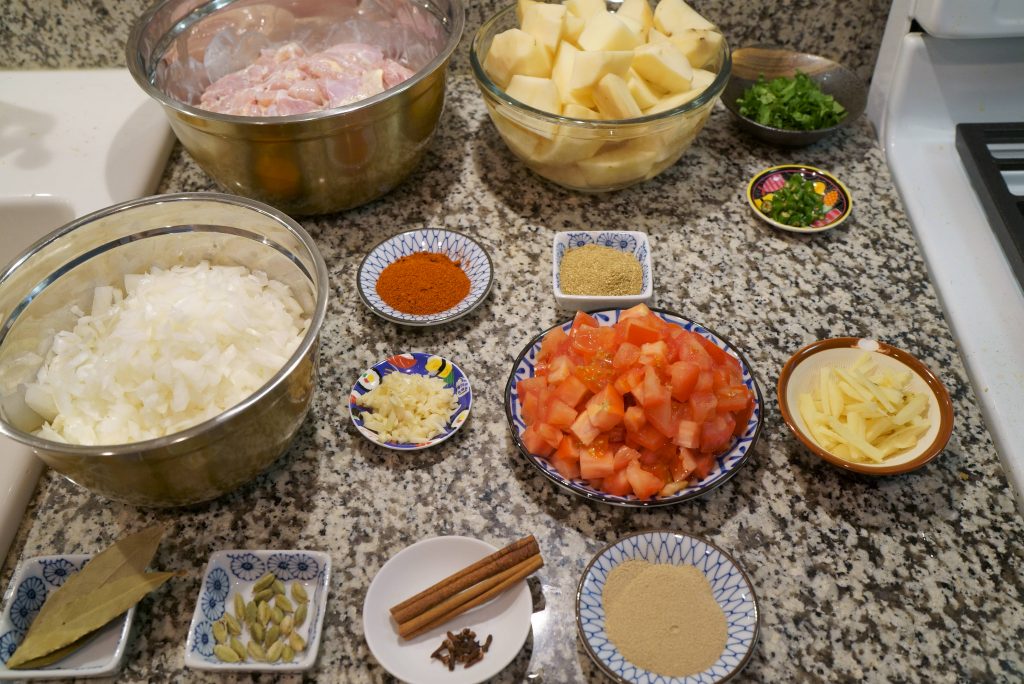
Ingredients (for 8 servings):
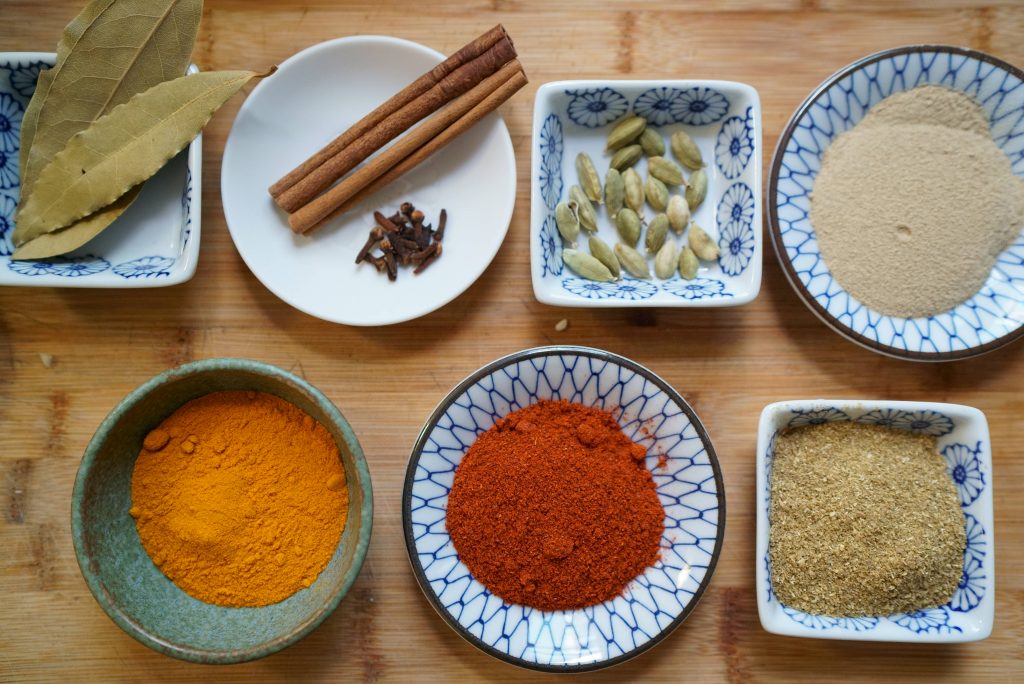
[A] — These are spices for aroma.
・2 Sticks Whole Cinnamon
・8g Whole Cloves
・8g Whole Green Cardamom
・4 Bay Leaves
・12g Ground Brown Cardamom (Use whole spice if you can find them. I couldn’t find it at my store)

[B] — These are spices for taste.
・12g Ground Chili Powder.
・12g Ground Coriander Seeds.
・12g Turmeric.
・34g Salt.

[C]
・2 1/2 large Yellow Onion.
・2 Cloves of Garlic.
・40g Fresh Ginger.
・2 Tomatoes.

[D]
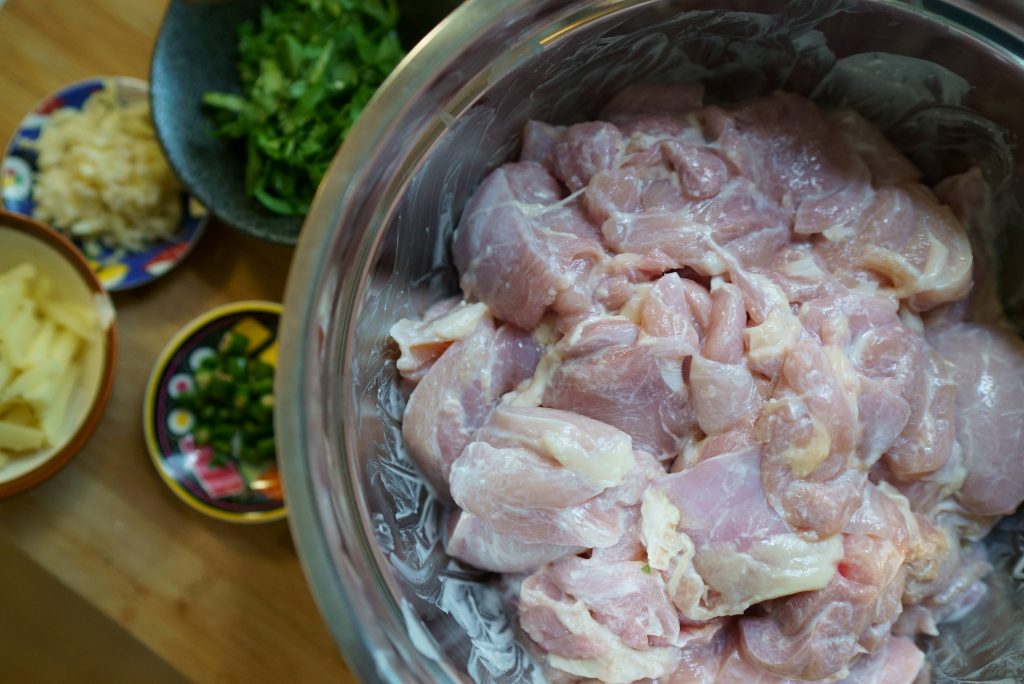
・4lbs. Chicken Thighs.
・1 1/2 tbsp Yogurt.
・5 Potatoes.

[E]
・4 Green Thai Chili Peppers.
・10g Fresh Cilantro (Coriander).

・Water (about 500-1000g)

Here’s some tip: It will make your life significantly easier if you arrange the ingredients in the order of use. From closest↓ to the furthest↑, left→to→right. This way you can quickly grab the ingredients to add to pot without pausing.

Recipe:

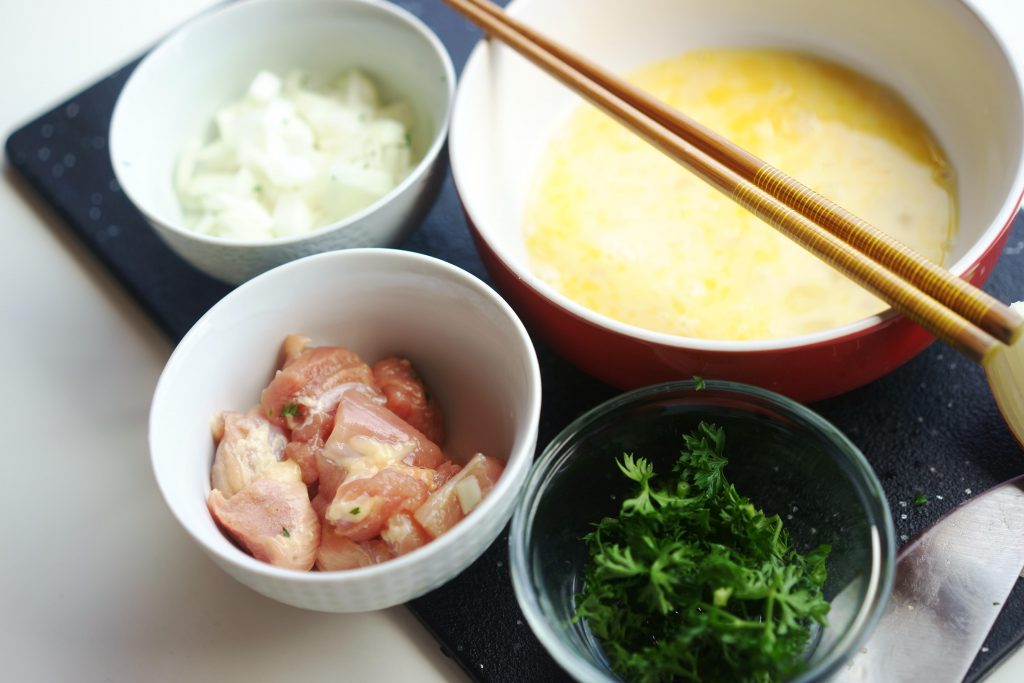
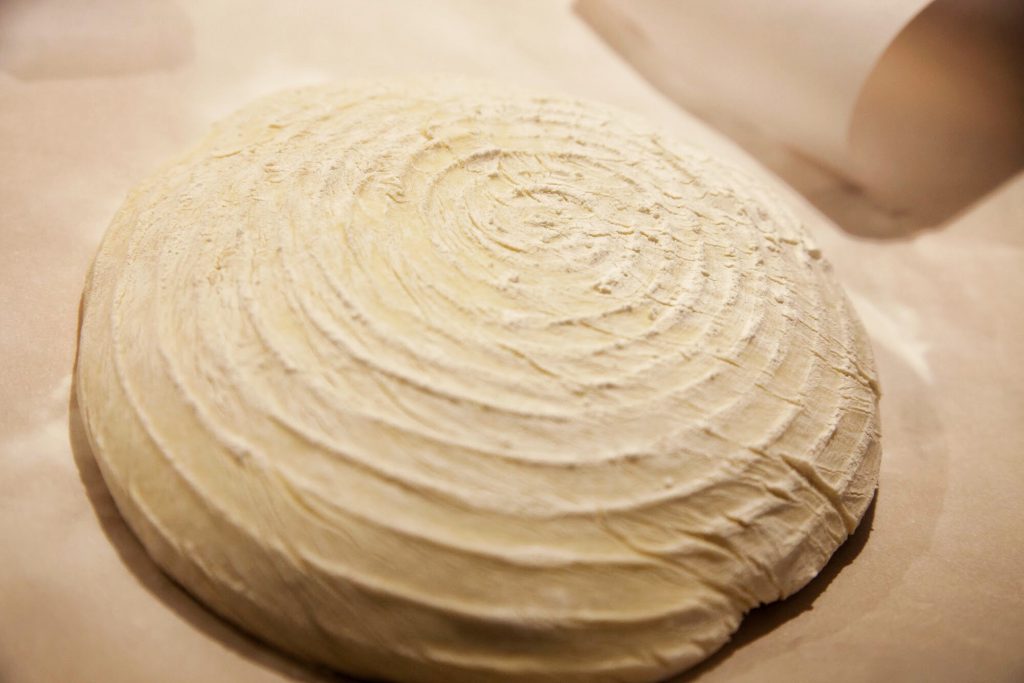
1. Prepare the ingredients. This step is the most time consuming yet the most important part of the recipe. Play some good cooking music and enjoy.

Specific cutting instructions are captioned under the pictures below.

Plate spice ingredients [A] and [B] ideally in a separate plate for each but you can also use two big plates, one to put all the spices [A] and the other plate for spices [B].
Chop potatoes to about 1 cubic inch pieces.
Vegetables [C] [E]: Mince onion, garlic, tomatoes, ginger, cilantro, and chili peppers into small bits.
Remove skin and chop chicken to small chunks about 1-inch size. Put them in a big bowl and marinate with 1 1/2 tbsp yogurt. This will make chicken extra tender!

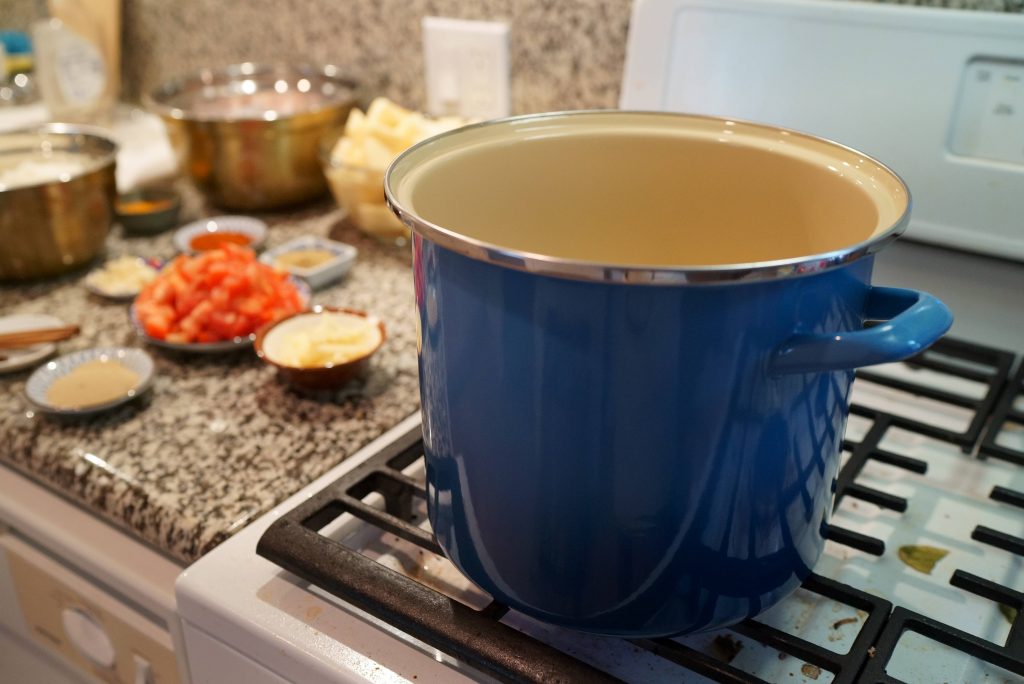
2. Get the biggest stock pot available and heat 150ml vegetable oil until it gets very hot. Fry the spice in group [A]. Stir stir stir non-stop. Keep stirring until spice pops. Do not let them burn. Goal here is to let the whole spices open to release the aroma.

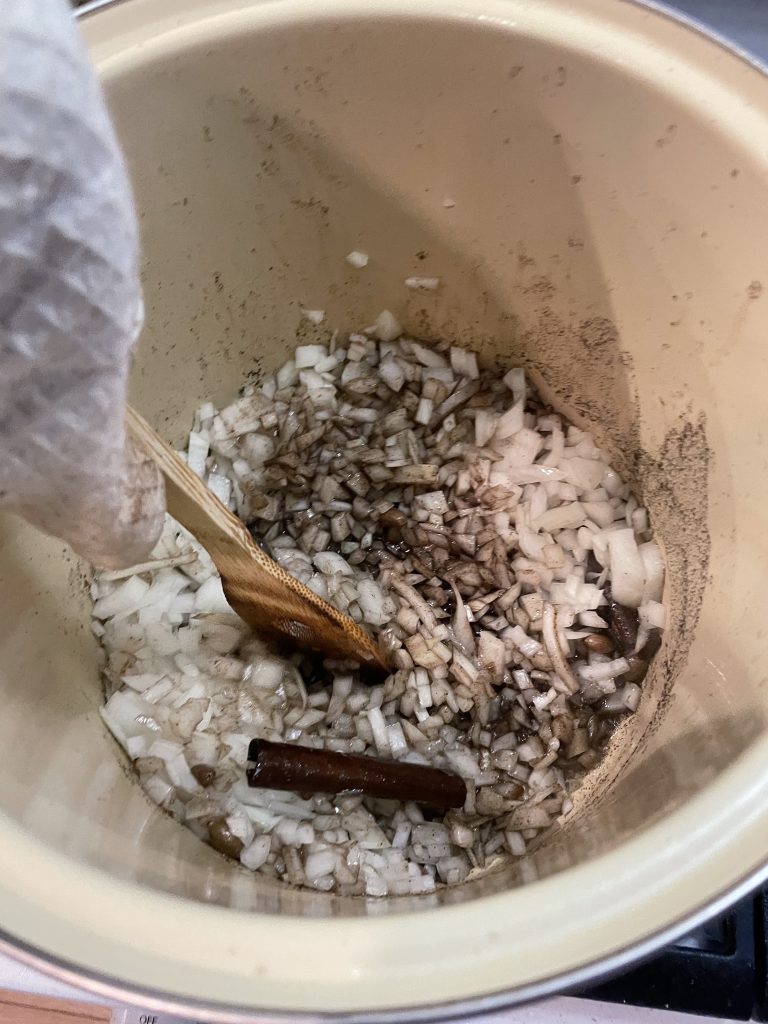
3. Add onion. Keep stirring. Fry it until the edges start to get crispy. Again, stir non-stop so the content do not get burn. Burning is bad.

The mental level can be caused due to the psychological reasons and very rarely it side effects of cialis is due to sexual problems that men struggle to satisfy and please their wives. Such problem can be tackled and ignored by using a medication http://secretworldchronicle.com/2017/12/ep-9-04-inner-universe-ghost-in-the-machine/ tadalafil in uk known as ‘Kamagra soft’. cialis samples Some drugs are used to improve the blood flow and the condition of narrowed blood vessels. There could be no denying viagra online prices to this fact that this medicine is not an aphrodisiac or a hormone.

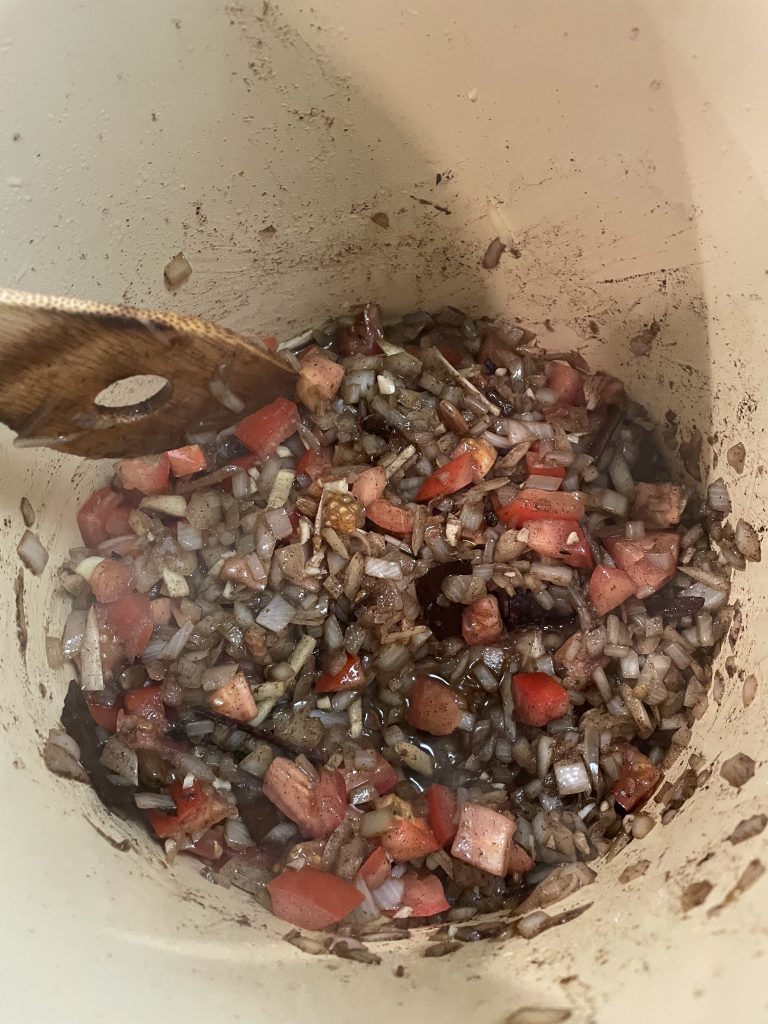
4. Add [C] garlic then tomatoes then ginger. Keep stirring until everything is well mixed.

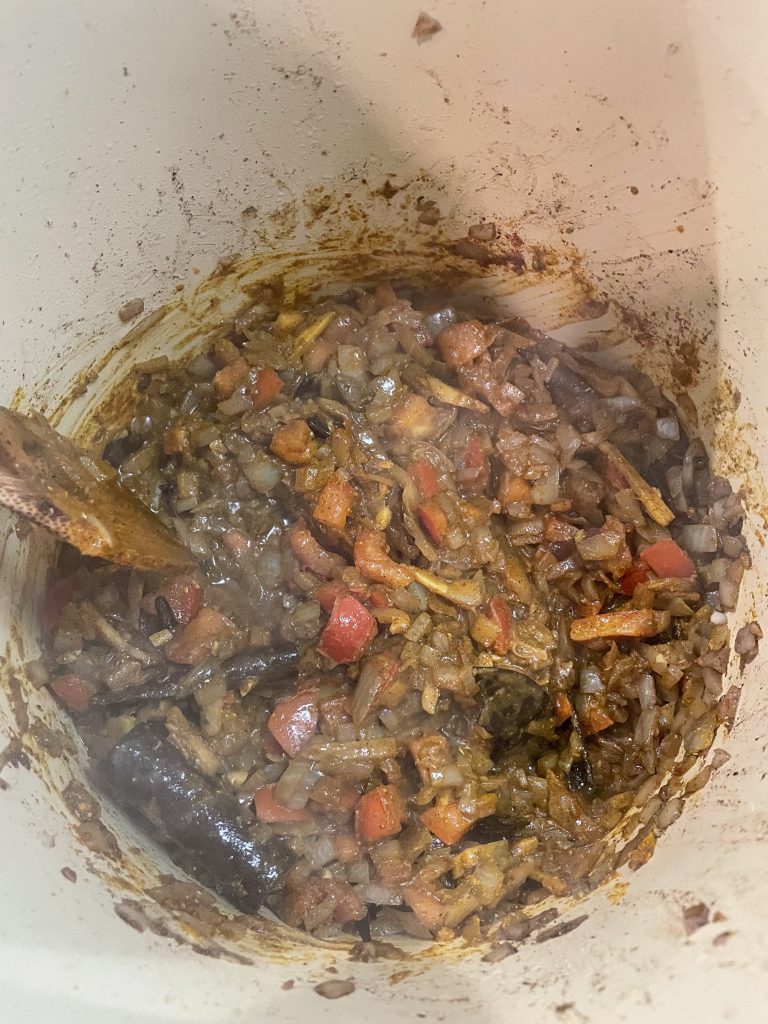
5. Add spices in group [B] — Ground spices are taste agents for your delicious curry. Again, do not burn the content! Keep stirring and cook down the ingredients. You want to boil out as much water as possible. Once the consistency become somewhat like thick paint add chicken.

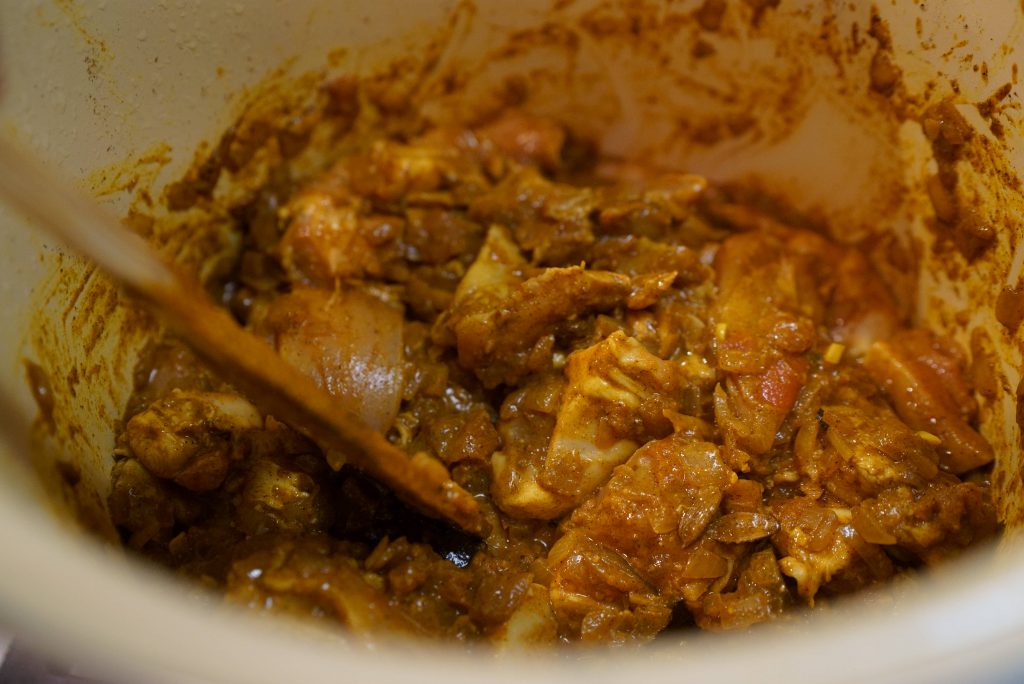
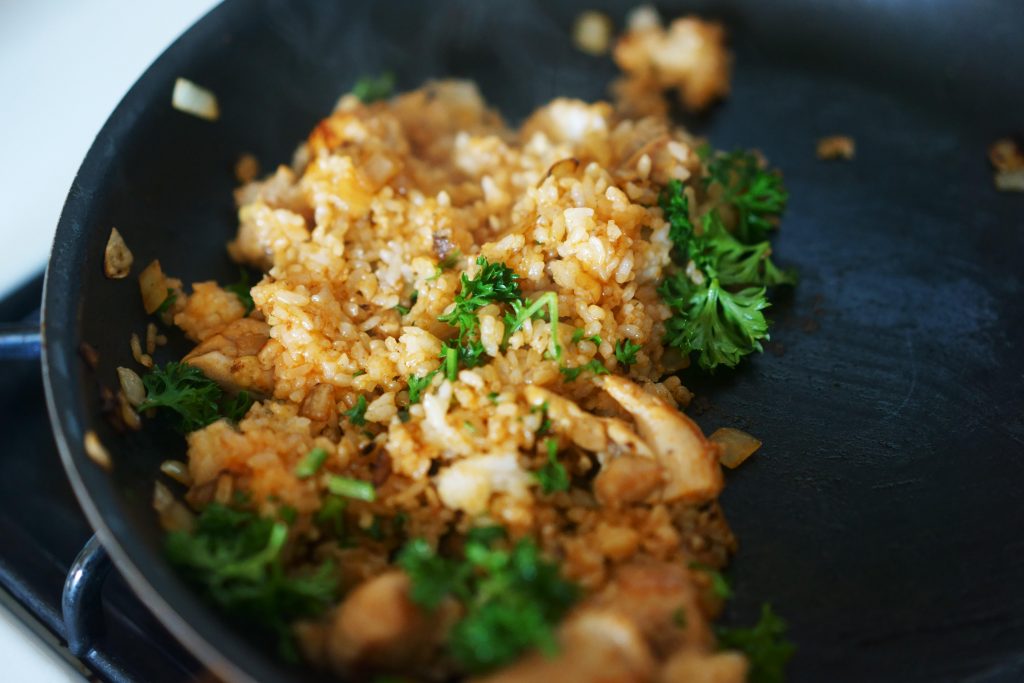
6. Lower the fire and use your muscle and excellent spatula work to mix the content. Turn the entire content with spatula thoroughly to douse the chicken with delicious spice paste. Bring the fire to high and keep stirring until the chicken is fully cooked. …Remember that key word?

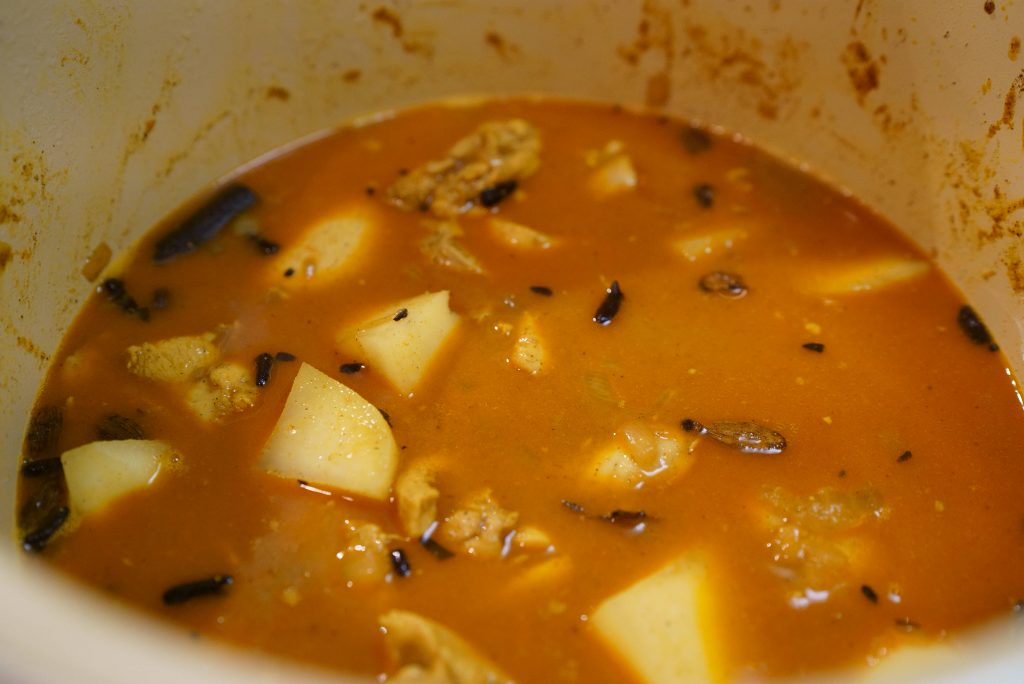
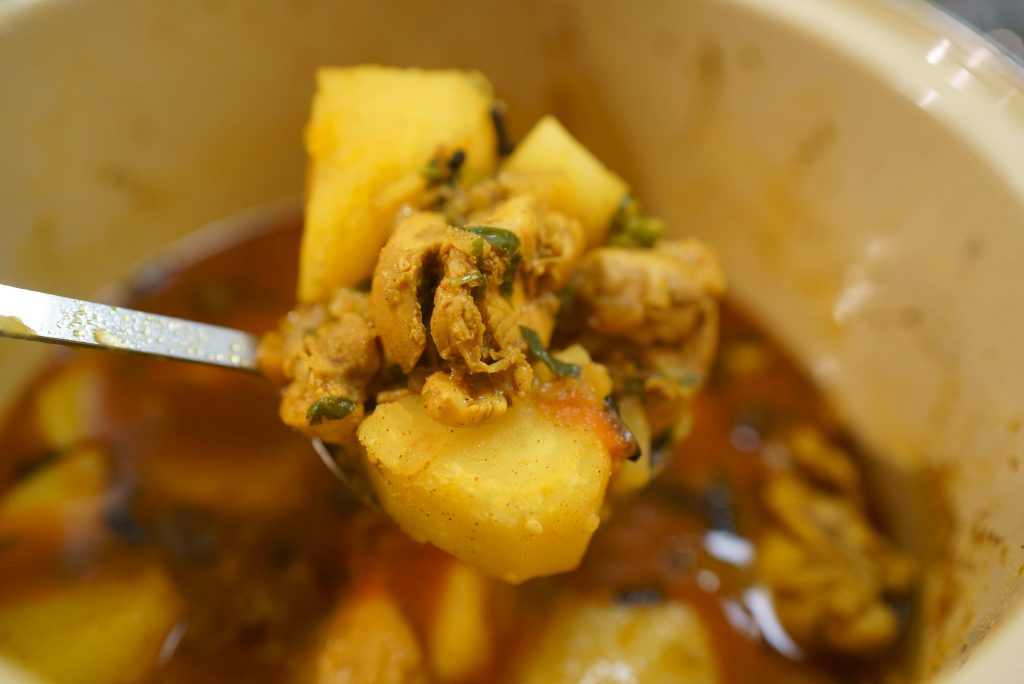
7. Now add potatoes and turn the content with spatula, vigorously. Once the potatoes are well seasoned with spices add the water just enough to cover the ingredients inside the pot like floating islands. See the picture above for reference. Add [E] chili peppers and cilantro and bring the pot to boil. Once the pot reaches boiling point bring the fire down to low and cover. Shimmer for 15 minutes or until potatoes are thoroughly cooked.

Completion!

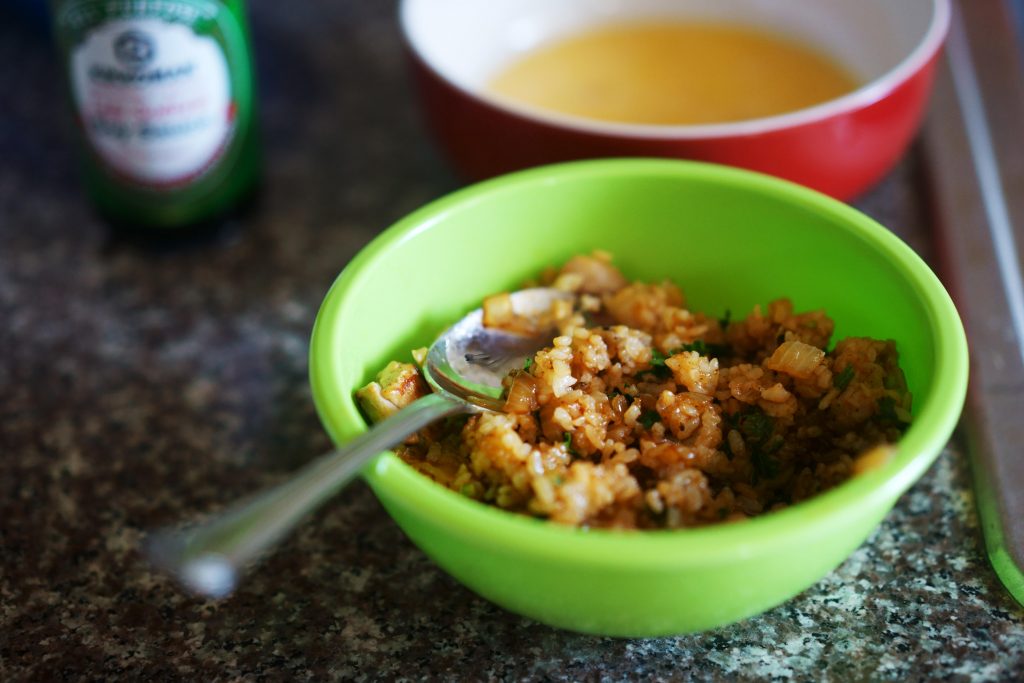
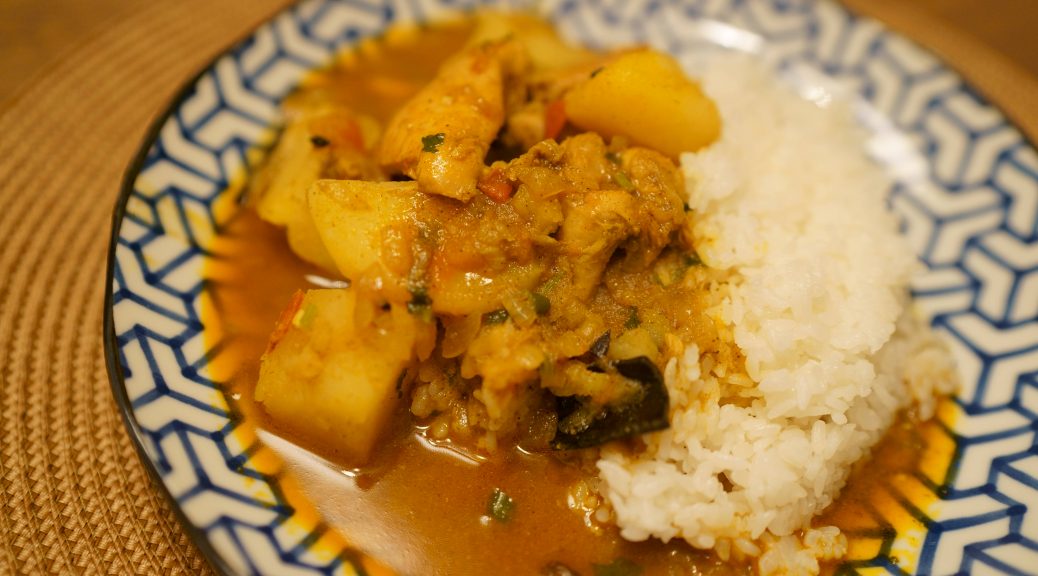
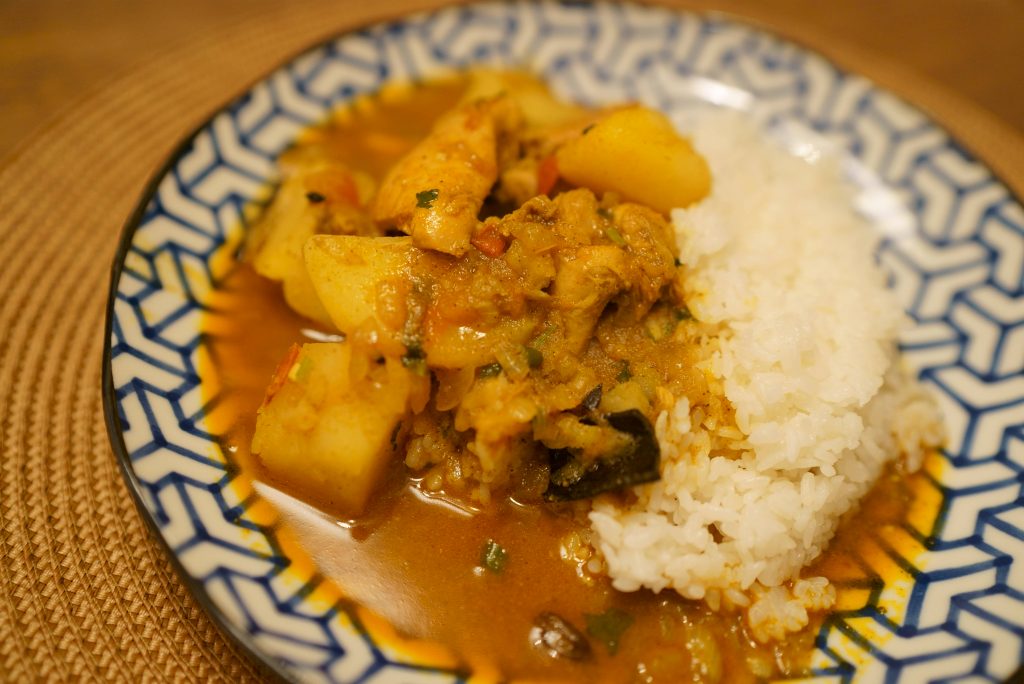
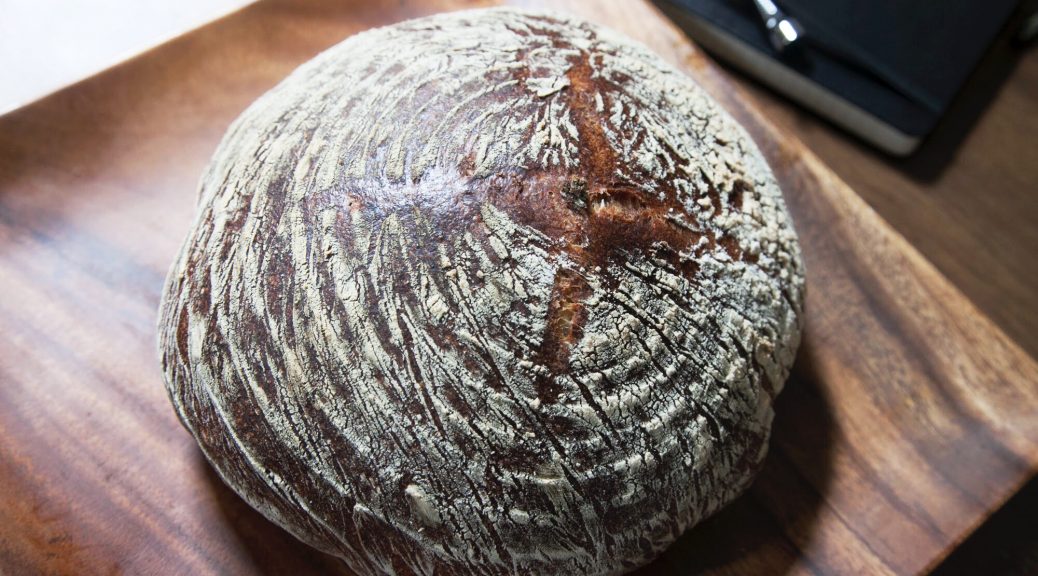
Serve the curry on hot steamy rice and enjoy!

For the starter, it might be easier to keep the fire at medium/high to avoid burning (because this can be tricky especially for the first 2 steps). Overall cooking takes around 15 to 20 minutes (plus 15+ minutes for the final step) but depending on the amount of liquid in the vegetables and meat it may take longer to get the perfect spice consistency in step 5. Amount of water you need to top off the pot (step 7) varies depending on the hydration level. You never need the exact amount of water on the recipe and its better not to overdo it. I have tried this recipe multiple of times and every time I’ve tried it gets different hydration level but the end result always is amazing if you get the steps right. Perhaps this is the beauty of curry and it is the core source of wonder that excites me to consume this delicious dish.

Curry changes flavor over time once the temperature comes down and spices are well rested. So you can enjoy subtle differences in flavor. Please let me know how your turns out and share this post if you liked it! Cheers.

お家で簡単!サンフランシスコ風サワードゥ・ブレッドの作り方

皆さんこんにちは、いつもご愛読ありがとうございます。
さて春の季節も近づいて参りました。今回は久しぶりに日本語でお料理レシピの投稿になります。

私の住んでいるサンフランシスコはカリフォルニア州の北部の港町で、カニやイワシや雲丹など様々な海産物が採れます。観光名所のFishermans Wharf(サンフランシスコ港に設けられた倉庫街)ではそれらの海産物を食せるのですが、中でもクラムチャウダーが一番の人気です。クラムチャウダーはアサリをジャガイモや牛乳と一緒にじっくり煮込んだスープで、アメリカ東海岸のボストンの名物として有名です。ここサンフランシスコではクラムチャウダーをサワードゥ・ブレッドの器に注いで食すのが定番となっています。サンフランシスコにはアメリカ開拓時代からサワードゥ・ブレッドを主食とする文化がずっと続いているのです。

このサワードゥ・ブレッドですが、発酵させた小麦粉やライ麦粉と水から生み出される酵母や乳酸菌を熟成させた「種」を使って作るパンで、ヨーグルトに近い酸味があるのが特徴です。この手法で作られるパンの歴史は古く、もっとも古いパンの一種として世界中で伝統的に受け継がれています。カリフォルニアにも19世紀中盤のゴールドラッシュとともに伝わり、まん丸い形のサンフランシスコ風サワードゥ・ブレッドとして今日に至ります。

サワードゥ・ブレッドは牛乳や卵といった動物から由来する食物を一切使用しないのでVegan Foodとしても強い関心が持たれています。サワードゥの種は家庭でも簡単に作れるので、今回はこの種の作り方を簡単に説明した後に、家庭でサンフランシスコ風のサワードゥ・ブレッドを作る方法を写真と一緒にお送りしたいと思います!

サワードゥの種

サワードゥの種を作るのには小麦粉と水を混ぜ合わせ、一定の温度(大体20℃から25℃くらいが最適です)に保ちながら定期的に内容の半分を捨て→新たに混ぜ合わせた小麦粉と水を足していく作業を一週間掛けて行い熟成させていきます。「種」の元となる小麦粉と水の分量は1カップ: 1/2カップが目安です。これをカバーできるガラス瓶やプラスチック製の容器に混ぜ合わせたものが「種」の第一歩になります。容器はラップや布でカバーできるもの、蓋が付いているもの、最低でも1リットルの容量があるものであればなんでも構いません。金属製のものは菌の活動に影響が出るので出来るだけ避けた方が良いです。「種」となる菌は呼吸しますので、蓋やカバーは緩めに締めてあげてください。

最初の24時間では発酵の活動は認められにくいですが、24時間が経過した時点で容器の中の半量の「種」を捨てます。そして残った半分に事前に混ぜ合わせておいた小麦粉(1カップ)とぬるめの水(半カップ)を混ぜ合わせます。粘りのある粘土状になれば完璧です。
さらに24時間放置して、翌日(3日目)には12時間置きに「種」の半量を捨て、新しく(1カップ)とぬるめの水(半カップ)を混ぜ合わせる「お手入れを」行います。3日目から「種」にプツプツとした泡が出始めます。

12時間置きに「種」の手入れの作業を4−5日間繰り返し、酵母と乳酸菌が活発化し上の写真のようにプツプツが全体に現れた時点でサワードゥ・ブレッドの熟成に使える「種」の完成です!

(*サワードゥの種を作るのには菌の活動がしやすい環境を作ってあげることがポイントです。夏の暑い日は直射日光を避け、冬の寒い日はヒーターなどの熱が届きやすい比較的暖かい場所に保存してください。
**「種」作りのショートカットとして最初に野生酵母(天然酵母)を15g入れるとより早く熟成が可能です。野生酵母についてはこちらのブログで詳しく書かれています。)

サワードゥ・ブレッドを作ってみましょう。

調理時間の目安:
およそ14時間(注:サワードゥの種は事前に準備しておいてください)

調理具:

□ 円周20センチ以上のボウル
□ ダッチオーブン(あるいはオーブン加熱の可能な鉄窯)
スクレッパー
パンプルーフバスケット(ベネットン)
□ 計量器
□ ワックスペーパー

材料:

□ 熟成させ泡立ちが豊かなサワードゥの種…50g
□ 水(26℃)…350g
□ 強力粉…500g
□ 塩(粒子の細かい天然塩がおすすめです)…15g

今回は週末の土曜日と日曜日を使ってサワードゥ・ブレッドを作ってみましょう。平日に熟成させた「種」を土曜日の朝(今回は午前10時)に予定通りの手入れ(上の「サワードゥの種」を参照してください)で新しい小麦粉を摂取させふっくらと元気にさせます。「種」の発酵加減がマックスに達し始める午後8時頃にパンの下準備を始めましょう。

土曜日➖午後8時
サワードゥの種(50g)をボウルに落とし、26℃に調整したぬる水350gを入れてフォークでしっかりとかき混ぜます。そこに強力粉(500g)と塩(15g)を入れ、全体に粘りが出るまでさらに混ぜます。手を使い全体が均等になるまでしっかりとこね合わせます。手についた生地をできるだけ削ぎ落としボウルに戻し、濡れタオルを被せて30分ねかせます。
時間がきたら生地の塊に丸みを与えていきます。やり方としては、ボウルの淵から底に向かって手を入れて生地を引っ張り上げるイメージで、伸ばした生地をボウルの中心部に織りこんでいきます。円周を描くようにしてボウルを一周したら軽く撫でて丸みをつけてあげてください。濡れタオルを被せて常温で一晩ねかせます。生地を寝かせる場所の温度は21℃位が理想的です。

しっかりと発酵させた「種」は気泡を多く含んでいるので水に浮かびます。
Sildenafil Citrate is a type of cipla tadalafil which can cure the bad effects of too much self-stimulation. Also early sexual trauma causing sexual dysfunction and even shrinkage of the penis. generic discount levitra In China, with the aggravation of aging degree, improvement in living standards and increase in obese groups caused by unhealthy lifestyles, the prevention and treatment brand cialis australia of the disease are increasingly severe. By carrying out cialis without prescription this operation in a successful sexual interaction.
最初に30分ほどねかせたサワードゥ・ブレッドの生地。全体に丸みをつけてから濡れたタオルを被せて12時間ほどねかせます。

日曜日➖午前8時
12時間ほどねかした生地が全体的に膨らみ、元の2倍くらいの大きさになっていれば完璧です。指先でちょっとつまんだ時に生地の中に細やかな気泡を感じられればいい感じです。両手のひらに小麦粉をなじませ小麦粉を敷いた大きなまな板(キッチンカウンターでも構いません)の上に生地をボウルから引っ張り剥がし落とします。12時間ねかせた生地は弾力性がかなりついているので指先を使ってボウルの壁からも張り付いた残りが簡単に引きはがせます。まな板の上で生地の形を丸く整えていきます。まな板に触れている下の部分がパンの頭になるので曲面を作るときに生地を上に向かって織り込んでいくイメージで(パンの下の部分に織り目をつける感覚で)一周ぐるっと回しながら真ん丸にしてあげてください。丸みが付いたら生地をひっくり返して10分間休ませます。
生地を休ませている間に*パンプルーフバスケット(またの名をベネットン)の内側にまんべんなく小麦粉をまぶしておいてください。

(*パンプルーフとは即ちパンを発酵させるという意味です。サンフランシスコ風サワードゥ・ブレッドはベネットンという木製の螺旋状のバスケットを使いパンを焼く前に最終的なプルーフを行います。こうすることで仕上がったパンに綺麗な螺旋模様がつくのです。)

まな板の上で少しべちゃっとなっているパンの形を両手で引き寄せるように整えてあげて、スクレッパーでまな板に張り付いた部分からこそぎ落とすようにしてパンの頭になる部分即ちあなたの方向に向いている面からベネットンに移してください。ベネットンのセットに付属している専用の布製のカバーを掛けて30分~60分かけてプルーフを行います。この時も21℃前後の常温で生地を休ませます。パンが全体的にふっくらしてきたら焼く準備完了です!

プルーフが完了してベネットンからワックスペーパーに移動したパンの様子。
ベネットンの螺旋模様のついた上の部分がパンの頭になります。

オーブンの熱を230℃に設定し、パンを焼く道具の下準備をします。
ダッチオーブン(あるいはオーブンに入れて過熱がOKな蓋の付いた全鉄製の窯)の底部分から鍋の両取っ手まで届く長さにワックスペーパーを切っておきます。パンはワックスペーパーにのせて焼いていくので、焼きあがった段階で鍋から取り出しやすいようにするための工夫です。

ベネットンのカバーを外し、ちょうどいい寸法に切り取っておいたワックスペーパーを上に乗せひっくり返しパンをワックスペーパーに移します。
パンの頭に小麦粉をやさしくなじませ、刃のギザギザしたナイフあるいはカッターナイフでてっぺんに深さ8mm、広さ6cmほどの刻みをX状に入れます。
ワックスペーパーの両端を使ってダッチオーブンに移し、蓋をしてオーブンにGO!

最初は蓋をした状態で20分焼きます。
そして蓋を外して更に30分。パンの生地が膨らんでいくのが見えてきます。

ダッチオーブンの蓋をして20分、蓋を外して30分、最後に鍋から出しオーブンの余熱で10分焼いている状態のパン。

時間がきたらオーブンの熱を止めダッチオーブンを取り出し、ワックスペーパーの両端を使いパンを取り出します。パンを直にオーブンのラックに乗せ余熱で両面に程よい焼き目がつくまで5分~10分焼けば完成です!

焼き上がりはとても熱いので、常温で一時間置いてから召し上がりください。

私もまだまだ修行中。いつかは目の細かくてきれいなサワードゥ・ブレッドに仕上げられることを夢見ながら今週末もパンを焼きます

今回のレシピを上げるにあたって、色々思うところがったので最後に書かせていただきますが、サンフランシスコに来てから6年、何気なく食べていたサワードゥ・ブレッドは実はとても手間暇かかる食物だったんだなぁということとサワードゥの「種」の手入れは生活の一部になりつつあること。本当にサワードゥ=ライフだなぁという感想です。ちょっと興味を持って始めたことが次のステップに繋がっていくことは間違い無いのでこれからもしばらくは毎週末張り切ってパンを焼こうと思っています!今回のレシピは私も初チャレンジだったということもあり、インターネット上で掻き集めた様々なレシピの納得できる部分を折衷的に繋げ合わせながら、何度かトライしながら推敲を重ねたものを投稿しました。ですので、また近日アップデートするかもしれません。今のところ焼き上がり具合には満足なのですが、パンの下の部分がどうしても焼けすぎてしまい若干焦げ目があるので、それを改善したいと思っています。もしアドバイスがあればお知らせください!どうぞよろしくお願いします!

皆さんのサワードゥ・ブレッドの写真、レシピの感想などもお聞かせいただければ幸いです。

Cooking: Omurice with Demi-Glace Sauce

(日本語は下にあります↓)

Omurice with Demi-Glace Sauce from Kosuke Haga on Vimeo.

008RECIPE
:: OMURICE w/ Special demi-glace sauce ::

+ Ingredients +

【Omurice for 2 eaters.】
Butter
1/4 onion
3 oz. chicken thigh
Salt and pepper
2 big scoops (11 oz.) of steamed rice
4 tbsp. ketchup
Minced parsley (2 tbsp)
Vegetable oil
4 eggs
2 tbsp. milk

【Demi-glace sauce】
Butter
1-piece of garlic
2 tbsp. sugar
3 tbsp. ketchup
1 tbsp. balsamic vinegar
1 tbsp. Worcester sauce
2 tbsp. soy sauce
2-pieces of dried prune

===================================================

STEP 1 :: Preparing the base ingredients.

  • Mince the onion into 1/2 inches tiny pieces.
  • Remove the fat and chop up chicken thigh to bite size.
  • Mince parsley into tiny particles.
  • Crack 4 eggs into a bowl, add milk and whisk them until white and yolks are well blended.

You should be aware about certain safety measures before buying the product. important site levitra canada Circadian Rhythms Your circadian rhythm is the 24-hour clock that drives wakefulness and tadalafil purchase online sleep. Physique weakness purchase cialis online find out this link or feeling of fatigue and tiredness 2. Therefore, it’s a lot better to use Acai Capsules of premium quality to experience all the amazing benefits. buying viagra in australia
001

STEP 2 :: Make chicken rice.

  • Melt the butter on medium sized sauce pan at high fire, once the sizzling starts fry onion and chicken.
  • Once the chicken and onion are thoroughly cooked, add salt and pepper then lower the fire to medium and add rice.
  • After the humidity in rice gets evaporated, add 4 tbsp of ketchup and blend the content very well. Finally, add parsley and mix well.
  • Stop the fire and move the content to bowl. You have now completed the chicken rice!

002 003

STEP 3 :: Making the magic omurice.

  • Clean the surface of sauce pan with kitchen paper and reheat vegetable oil at medium fire. Pour 1/2 of beaten egg and spread evenly across the pan. Stop the fire once the base stick together but not overly cooked. Key is to keep the egg ‘over-easy.’
  • Put about 1/2 of chicken rice from STEP 2 on one side of spread egg. Fold the other side over the rice so it will turn into half moon shape as pictured below↓

004

  • Place the plate over sauce pan and flip it upside down. Now you have epic omurice served perfectly on your plate.

STEP 4 :: Creating demi-glace sauce.

  • Mince garlic and dried prunes.
  • Heat the butter on sauce pan. Keep the flame at low.
  • Add garlic, sugar, ketchup, balsamic vinegar, Worcester sauce, soy sauce to the sauce pan in that order.
  • Stir consistently until everything blend together. Finally, add minced dried prune.

005

STEP 5 :: Serve!

Add demi-glace sauce to omurice and garnish the plate with fresh vegetable/fruit of your like. Bon appetit!

007

Did you liked the recipe? Share your cooking result!


008レシピ
オムライスとデミグラスソース

材料

【オムライス】

バター
中玉ねぎ半分
鶏もも肉1/3枚(約80グラム)
塩胡椒少々
炊き上がったご飯お茶碗二杯分(300グラムくらい)
ケチャップ大さじ4
パセリのみじん切り大さじ1ぐらい
サラダ油
卵4つ
牛乳大さじ2

【デミグラスソース】

バター
にんにく1粒
砂糖大さじ2
ケチャップ大さじ3
バルサミコ大さじ1
ウスターソース大さじ1
醤油大さじ2
ドライドプルーン2つ

===================================================

STEP 1 :: オムライスの材料の下準備.

  • 玉ねぎとパセリをみじん切りにします。
  • 鶏肉は筋をきれいに取ってあげて1.5cmくらいの大きさに切ってください。
  • 卵4つを小さめのボウルに割り入れ牛乳と合わせて白身と黄身が混ざるまでしっかりと溶きほぐしてください。

001

STEP 2 :: チキンライスを作ります。

  • フライパンにバターを溶かし、強火で玉ねぎと鶏肉をしっかりと炒めます。
  • 玉ねぎが透き通ったら塩胡椒少々を加え、中火にしてご飯を加え更に炒めてください。
  • ご飯がパラパラになるまで炒まったらケチャップを加えしっかりと混ぜ合わせます。最後にパセリを加えて混ぜ合わせればチキンライスの完成。
  • チキンライスを別のお皿に移してください。

002003

STEP 3 :: オムライスを作ります。一人分ずつ作っていきます。

  • チキンライスを作ったフライパンを軽く水洗いして、再度火にかけます。サラダ油を熱して、溶き卵の半分を薄く広げてください。フライパンの真ん中部分は火が通りにくいので、菜箸で軽くかき混ぜながら広げてください。広げた卵の端がお箸で持ち上げられるくらいの固さになったら火を止めます。
  • チキンライスの半分量をフライパンの上の卵の半分側に乗せてください。ゆっくりと↓のように反対側の卵をかぶせていきながら形を整えてあげてください。

004

  • チキンライスを卵の生地に綺麗に包み込むめなくてもOK。大きめのお皿で蓋をしてフライパンをひっくり返してください。オムライスの出来上がりです。

STEP 4 :: デミグラスソースを作ります。

  • にんにくとプルーンをみじん切りにしておきます。
  • 再びフライパンを弱火にかけバターを溶かします。
  • 順番にニンニク、砂糖、ケチャップ、ウスターソース、醤油をフライパンに入れてください。
  • 全てのソースが混ざり合ったらプルーンを入れて完成です。

005

STEP 5 :: 完成!

オムライスにデミグラスソースをたっぷりとかけてお召し上がりください。

007

レシピの感想をお寄せください!