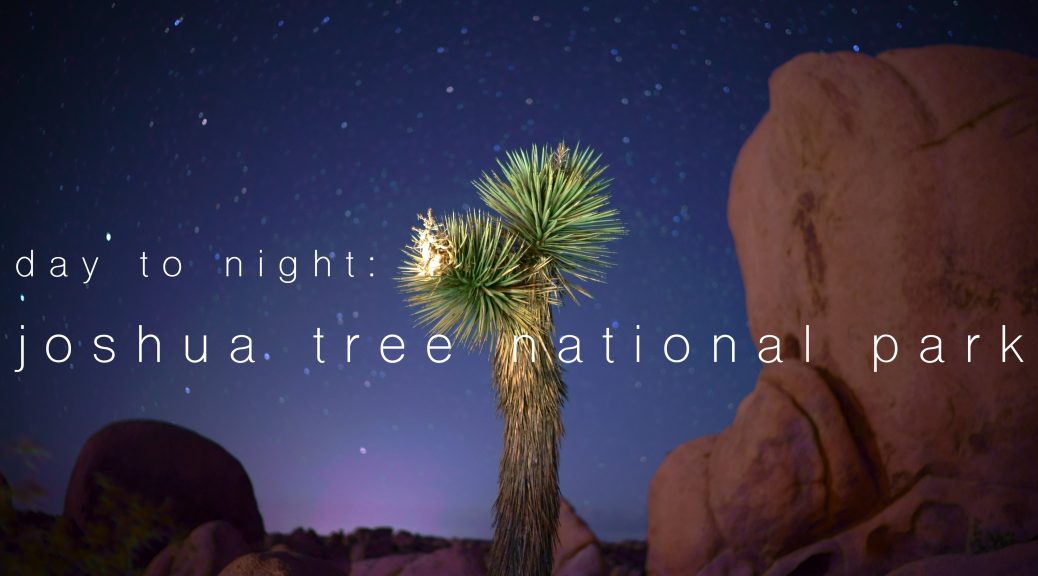
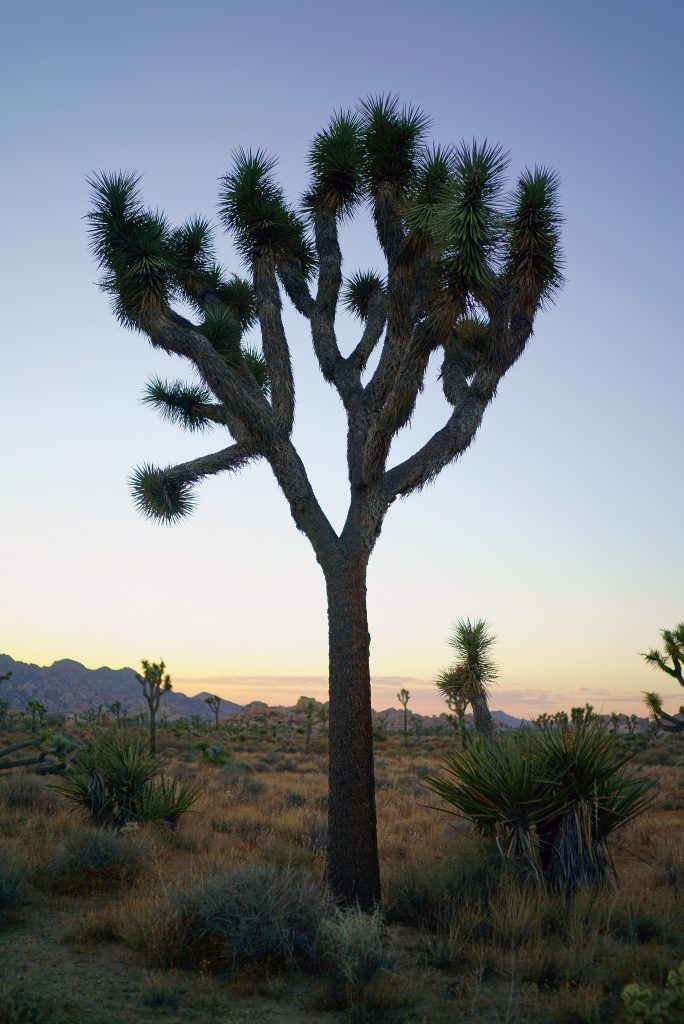
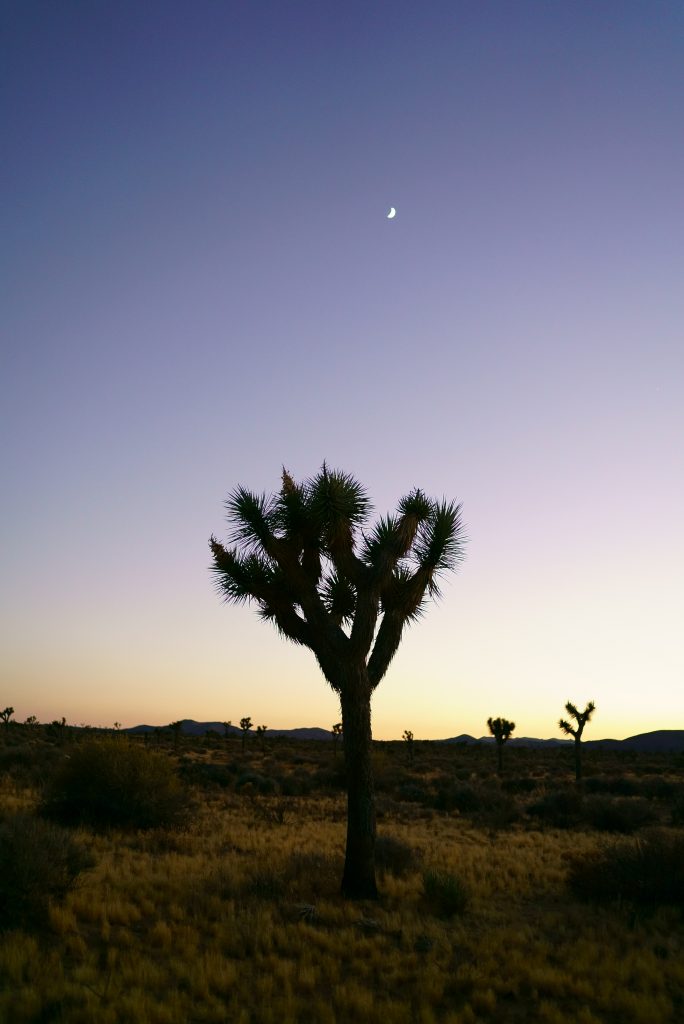
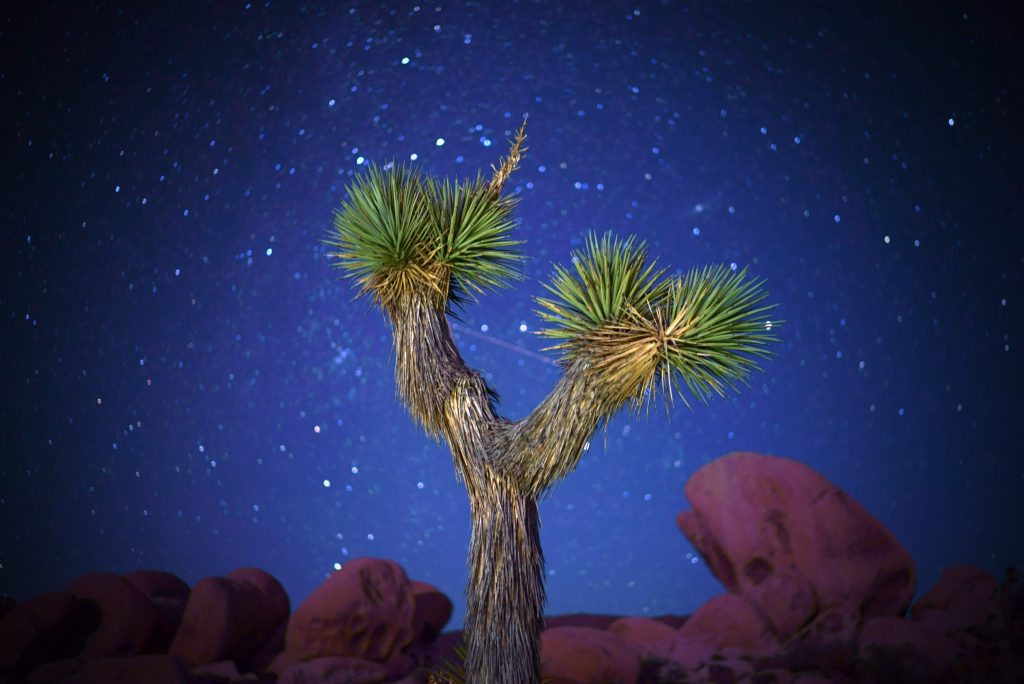
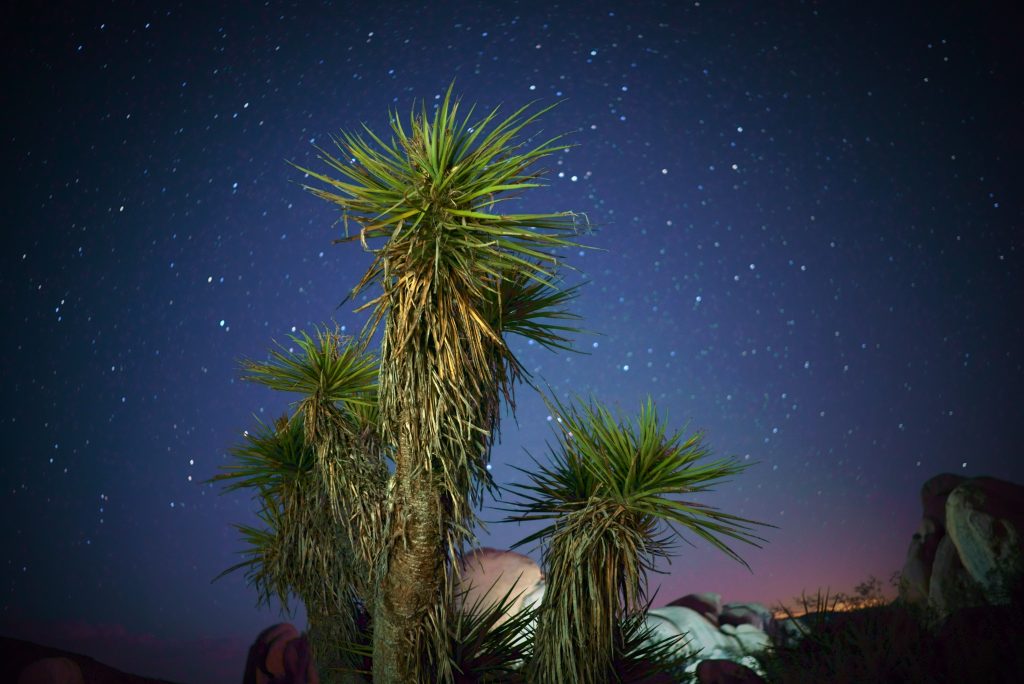
When the sun goes down in the desert, a sprawling blanket of stars and moon illuminate the subtle outline of nature’s contour. Welcome to Joshua Tree National Park. This is nature’s amphitheater that showcases kaleidoscopic view of ancient light projected on dark night skies.
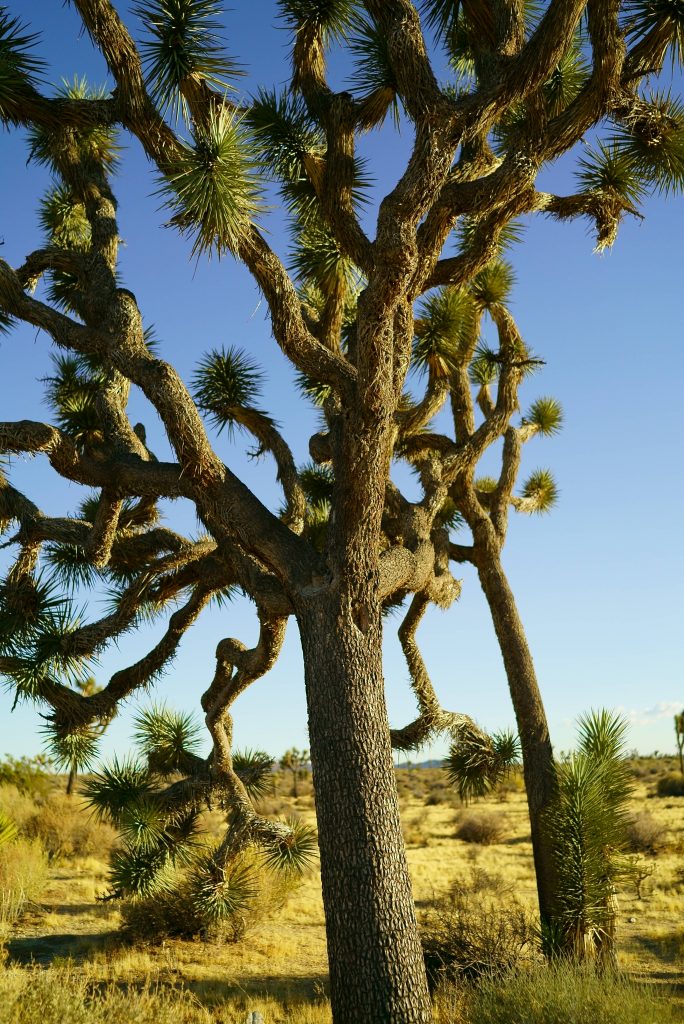
Joshua Tree National Park is merely 3 hours drive east of Los Angeles and it is one of the closest national parks to visit from the city (with Sequoia/Kings Canyon NP roughly 3 1/2 hours). The park is located where Sonoran and Mojave Deserts meet, and it is expansive home for worldly known Joshua Trees. If complete sense of isolation and lazy galaxy gaze is your jam, this is the place to go. My plan was to visit the park before sundown and document the day (and night) in the life of this grandiose place. My friend Warren has offered help to make this spontaneous trip happen and we drove out LA in the early afternoon to reach Joshua Tree National Park by evening around 6pm. Arrival timing was perfect to catch the glimpse of Joshua Tree in broad daylight just before descending sun doused the entire sight into tangerine orange daylight.
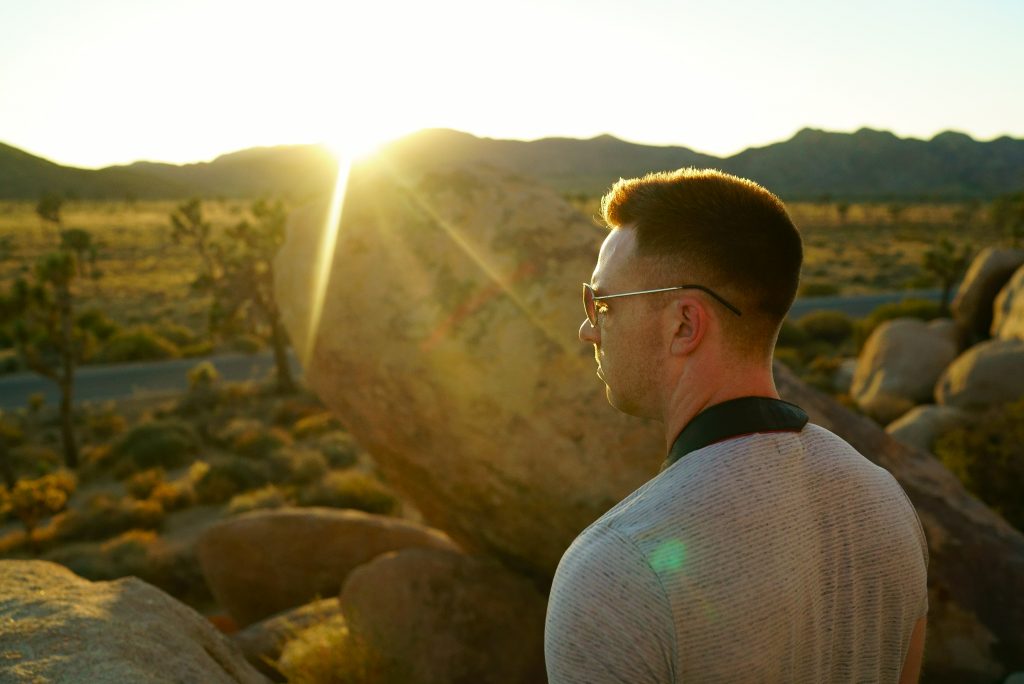
Warren staring off distance on top of rocks near Ryan Campground
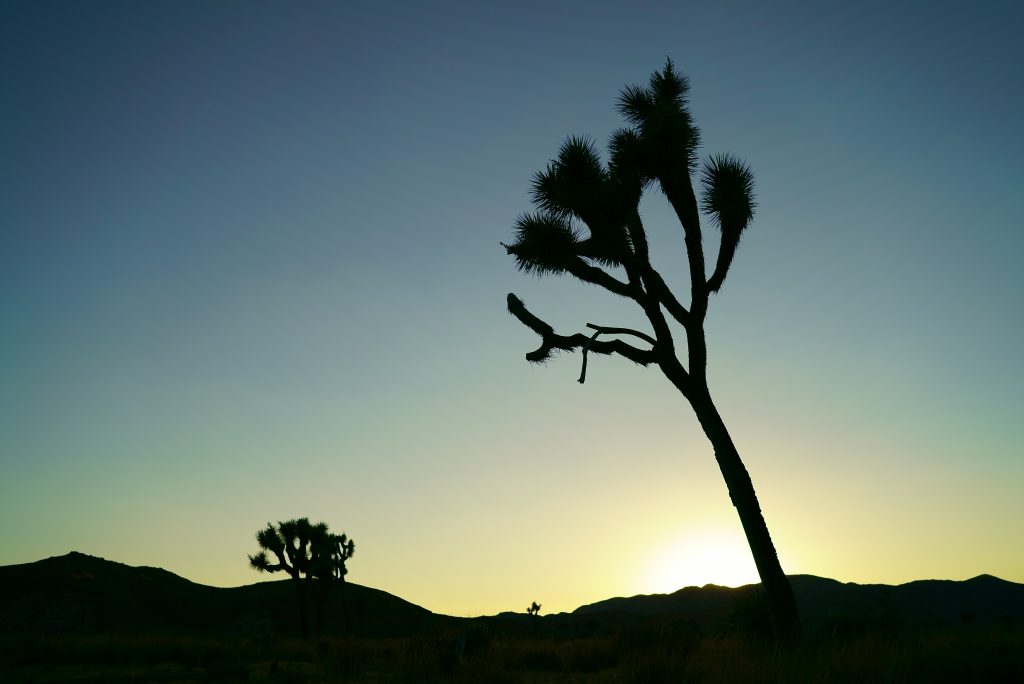
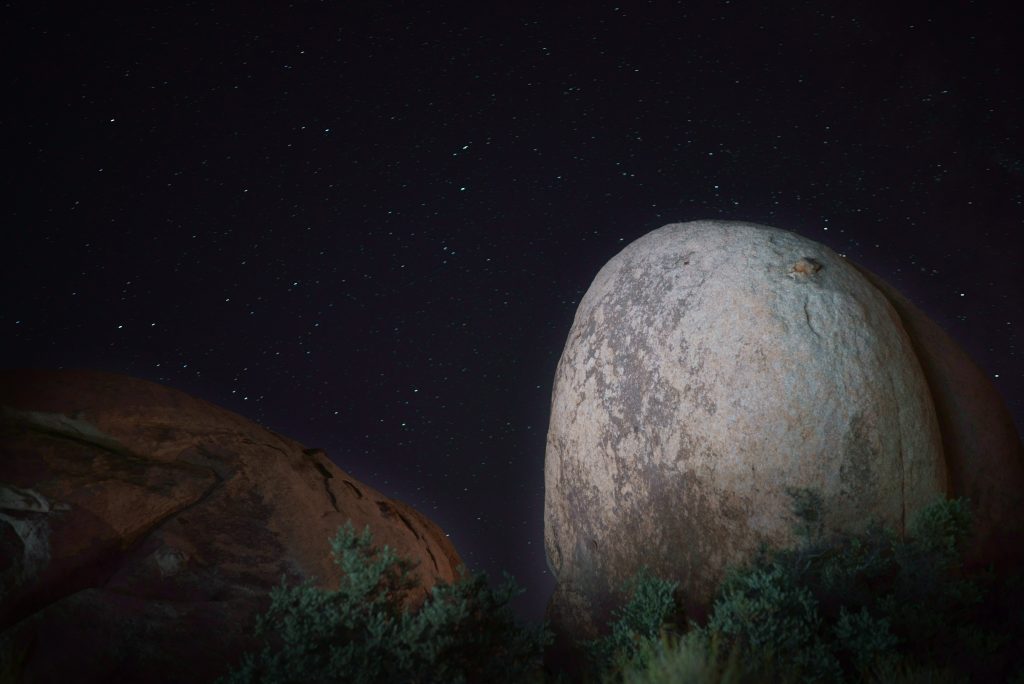
Once the sun disappeared beyond mountains, the early evening gradient started to paint the landscape with layer of royal blue. It was getting closer to optimal night photography time. We drove east to White Tank Campground to stand by for star gazing at Arch Rock.
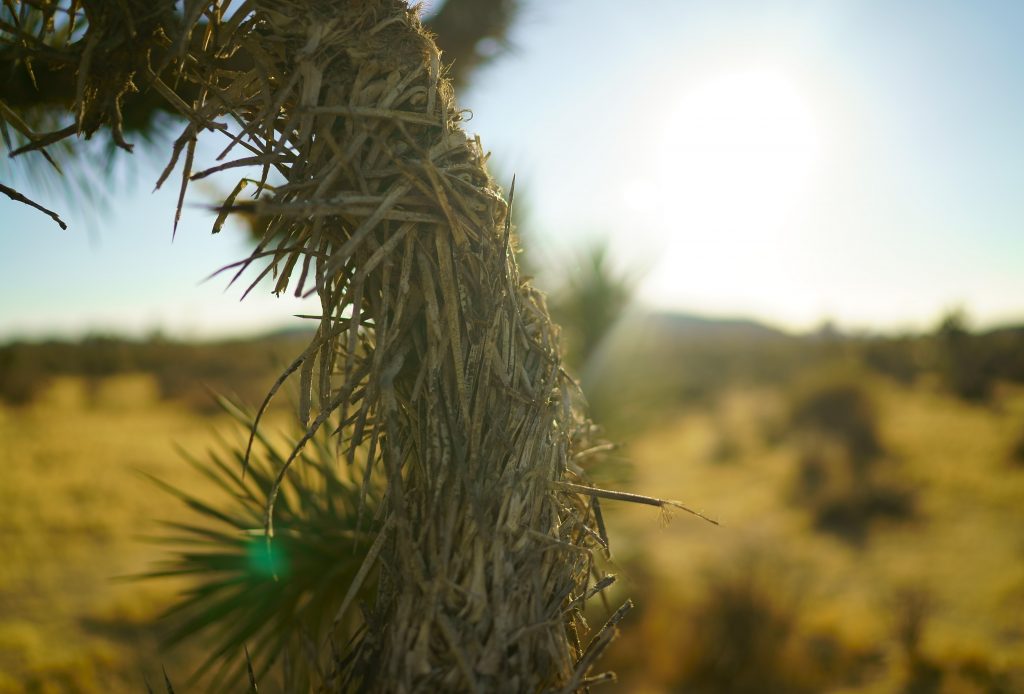
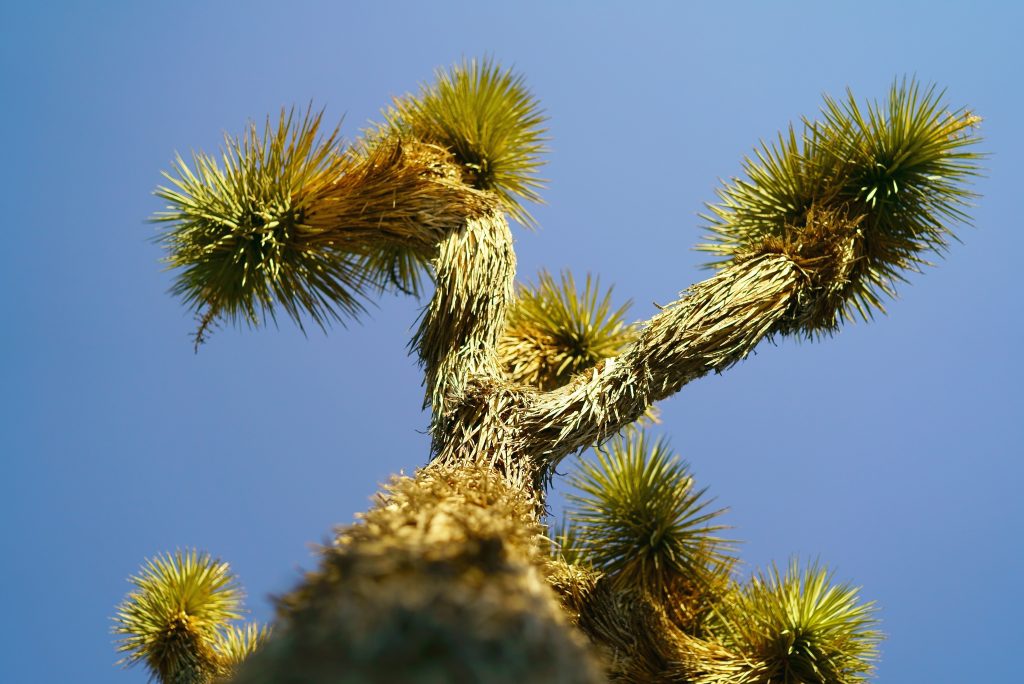
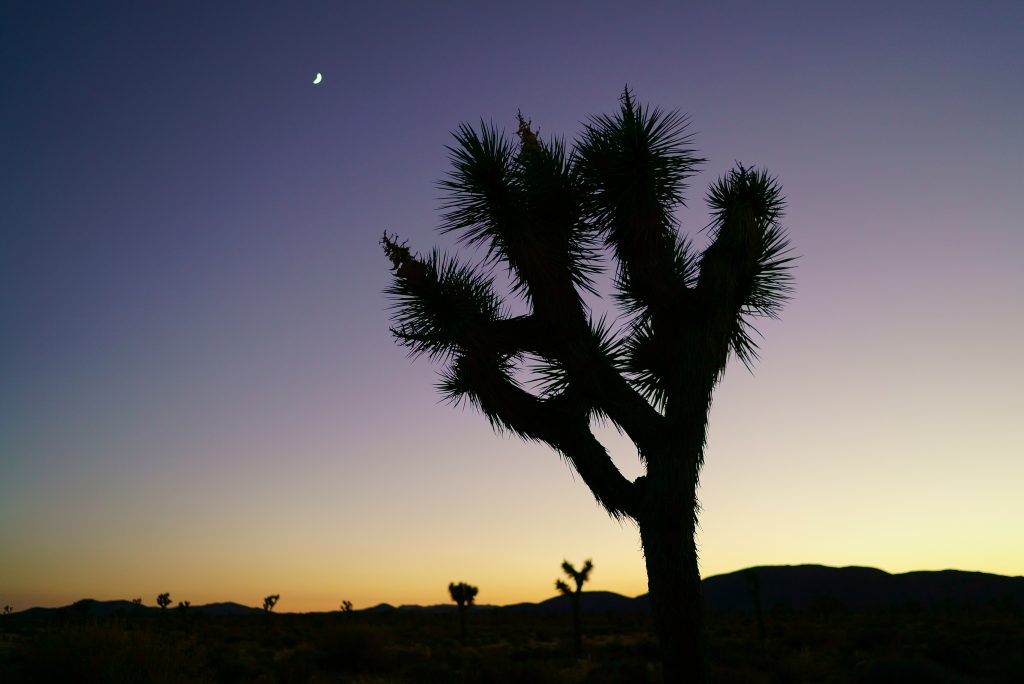
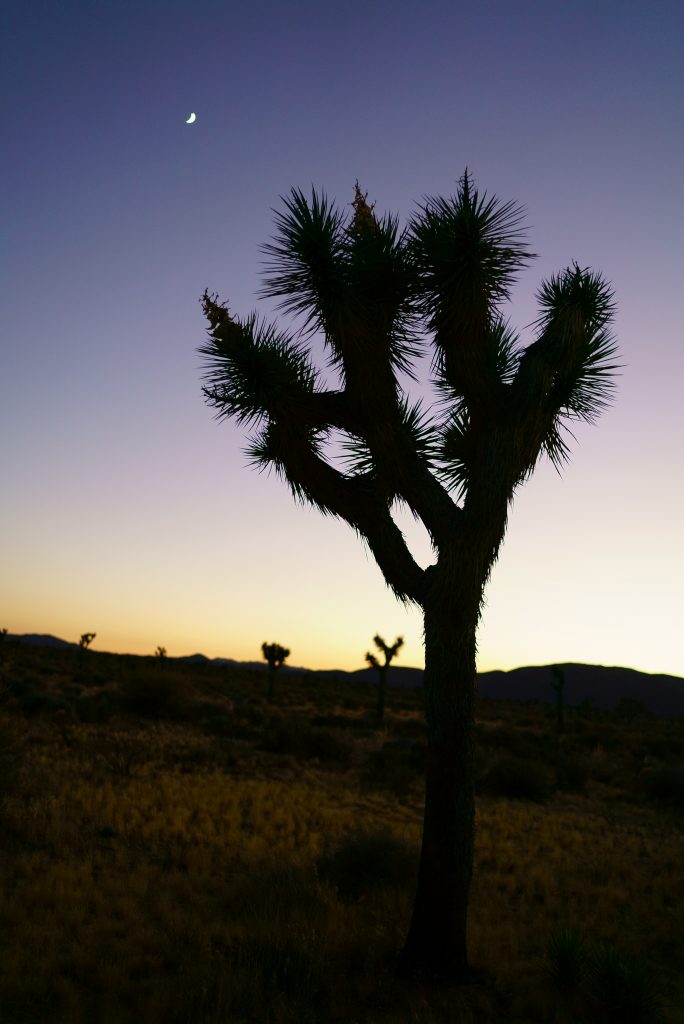
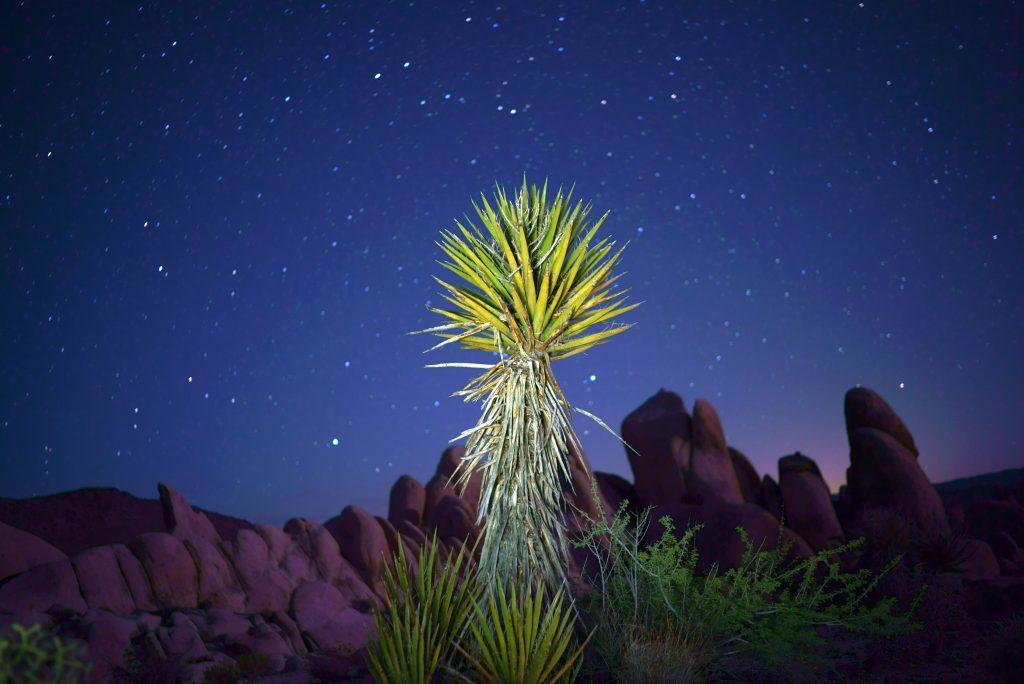
En route from Ryan Campground to White Tank, we’ve stopped at Hall of Horrors solely appealed by its name. This was not a mistake. The place holds great quality for rock climbing and exploration to the open desert. Nice quick stopover to snap the ghostly appearance of Joshua Trees in dimming daylight.
Arch Rock Trail is easy 0.3mile stroll from White Tank Campground that leads to quite impressive view of arch rock formation similarly to what you can see in the great national parks in Utah like Arches National Park and Capitol Reef National Park.
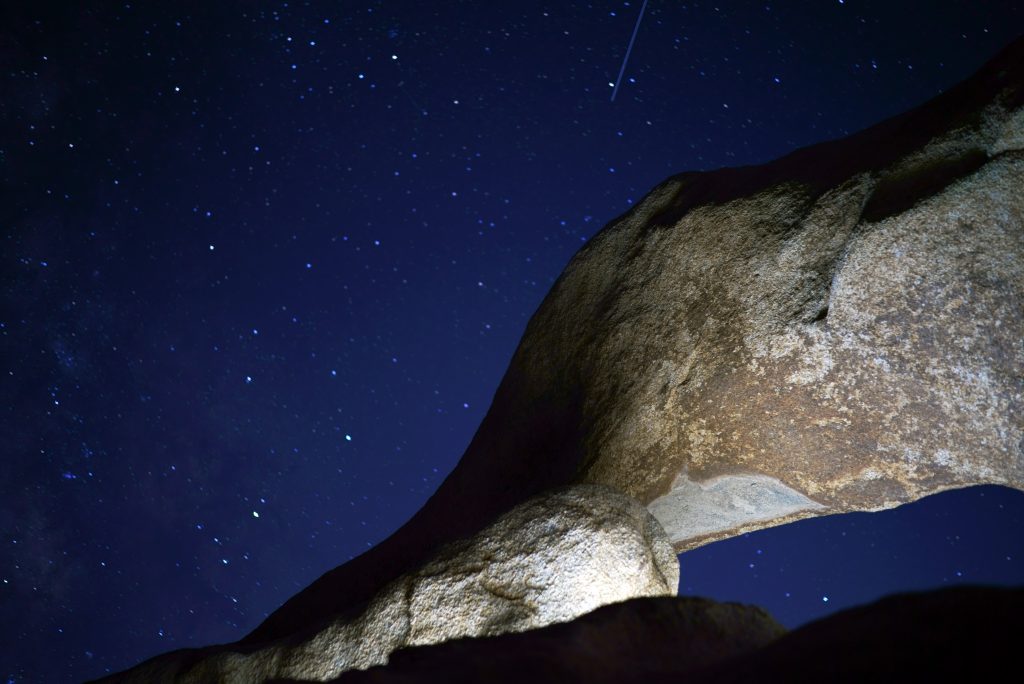
I was determined to photograph the tapestry of stars over the arch. We’ve reached the facade of arch rock using the beam of torch light as the only guidance to scramble up the rocks. On top of rather slick rock surface we set up tripod mounted with Sony A7S2 (aka the beast) and calibrated the shutter speed and focus to get the pictures right. First several attempts were total act of blindness and focus was awfully off, but I have figured out a trick to flicker my torch light to shine the arch while I focus my lens (aggravating the other photographers in the process). Proceeding shots came out quite nice and I started to feel comfortable with shutter speed and illumination combination to get the desirable glow on the arch foreground.
My best shot of the night at the arch. f1.4/T30 seconds. Torch light was aimed to the ground underneath the arch and illuminated for about 6 seconds. The result produced soft bounce light to reveal the bottom part of the arch.
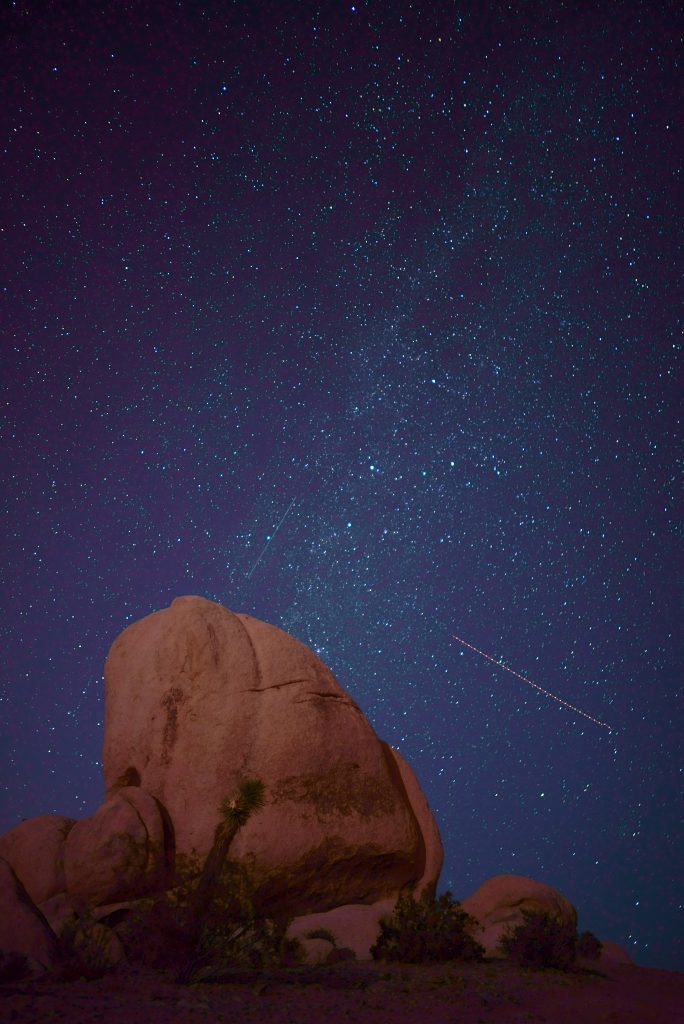
After spending about 2 hours at the arch, we went back to White Tank Campground to the car. On the way back to the parking lot I was stopped constantly by fascinating night views. Once again, Sony A7S2 has proven the power of ultra-sensitive sensor to capture some of the best night photography I’ve ever taken with literally just a torch light.
Here’s tips for your night photography needs:
Equip the camera with fastest lens you own. f1.4 or faster is must.
Bring tripod that does its job right. No wobbly tripod!
Set the shutter speed to 30 seconds, use remote or self-timer to release the shutter.
Focus the subject by shining a light to the subject before disengaging the shutter.
Use flashlight to illuminate the foreground subject for about 5-6 seconds. Make sure to aim the light away from the subject; use the ground or pale rock to bounce the light off to the main subject this will create nice contrast between light and shadow areas.
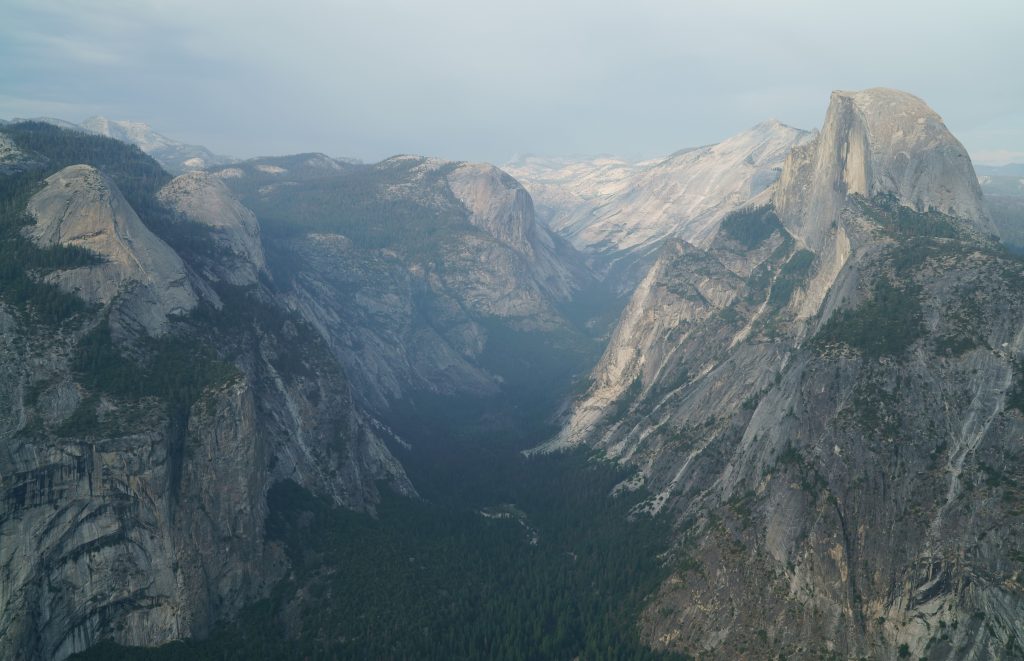
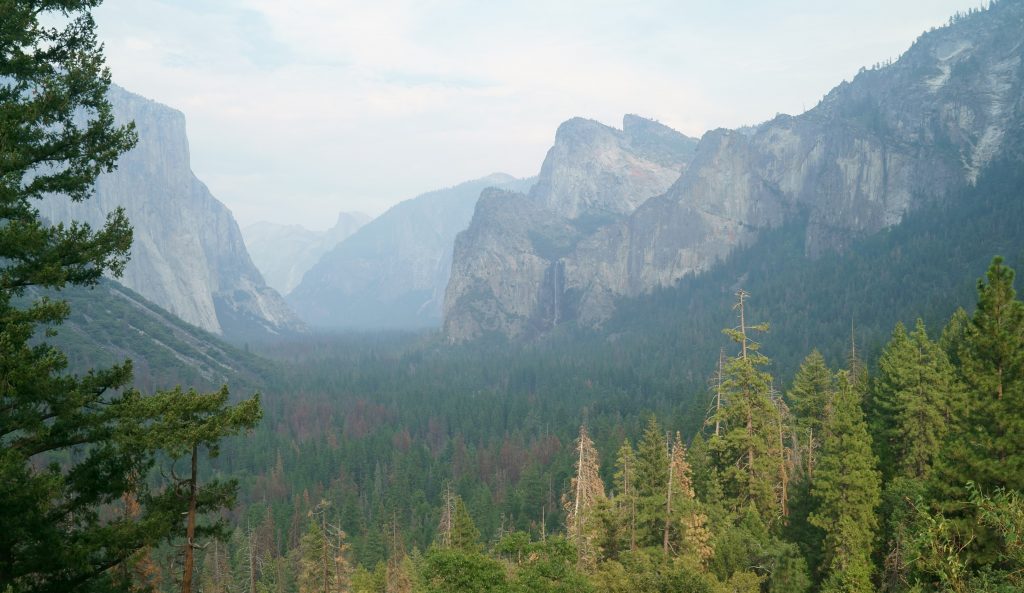
Iconic Yosemite Tunnel View en route to Glacier Point.
Everyone says Yosemite National Park is special place. If you were lucky enough to spend childhood in vicinity to nature then you can easily find connection and appreciation for this amazing wilderness. My favorite activity living in Bay Area is to take my friends–both old and new–to this great wilderness for their long overdue visit.
Alex, my long time college friend, took whimsical trip from NYC to San Francisco one sunny weekend in August. Naturally, I went on Recreation.gov to look for last minute campsite in Yosemite. Despite the high season ahead of Labor Day weekend one spot in Hogdon Meadow magically opened up.
If you never have done weekend trip to Yosemite from Bay Area it may be difficult to figure out the travel logistics. Easy rule of thumb is: Leave San Francisco early Saturday (by noon at latest) pick one hike to do for Sunday in the morning and leave the park by 5pm. This will give you enough time to wander and experience Yosemite on a single weekend.
Booking campsite in advance is always recommended. However, I have also stayed in the lodge outside of the park in the past (normally in Groveland) and it worked out fine as well. Walk-in campsites are available throughout the season if you want to try your luck. Yosemite is ready. Are you?
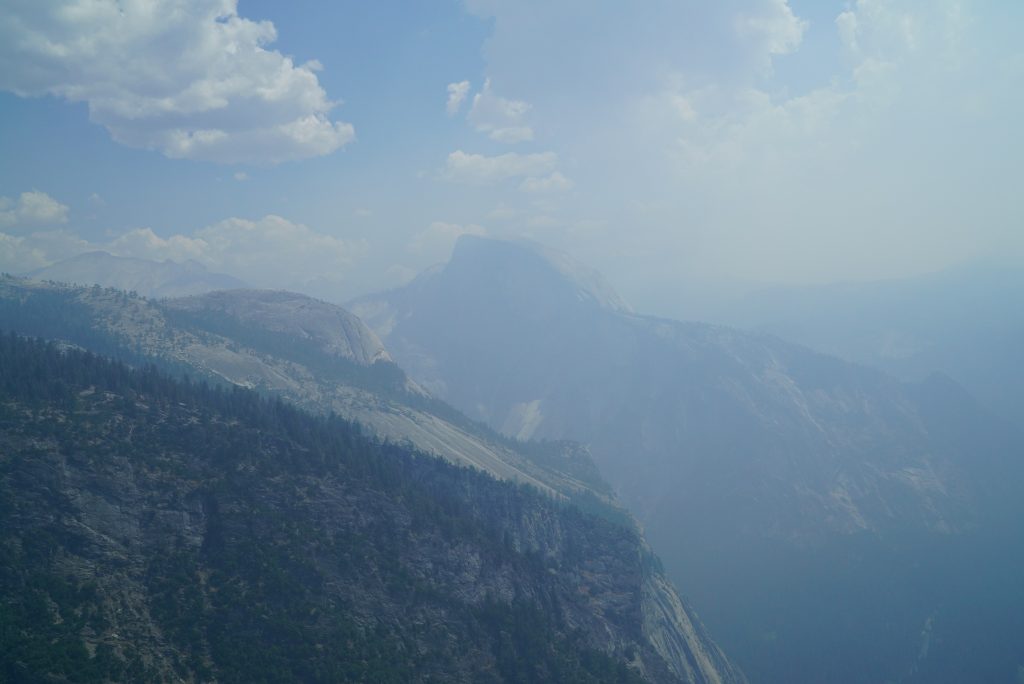
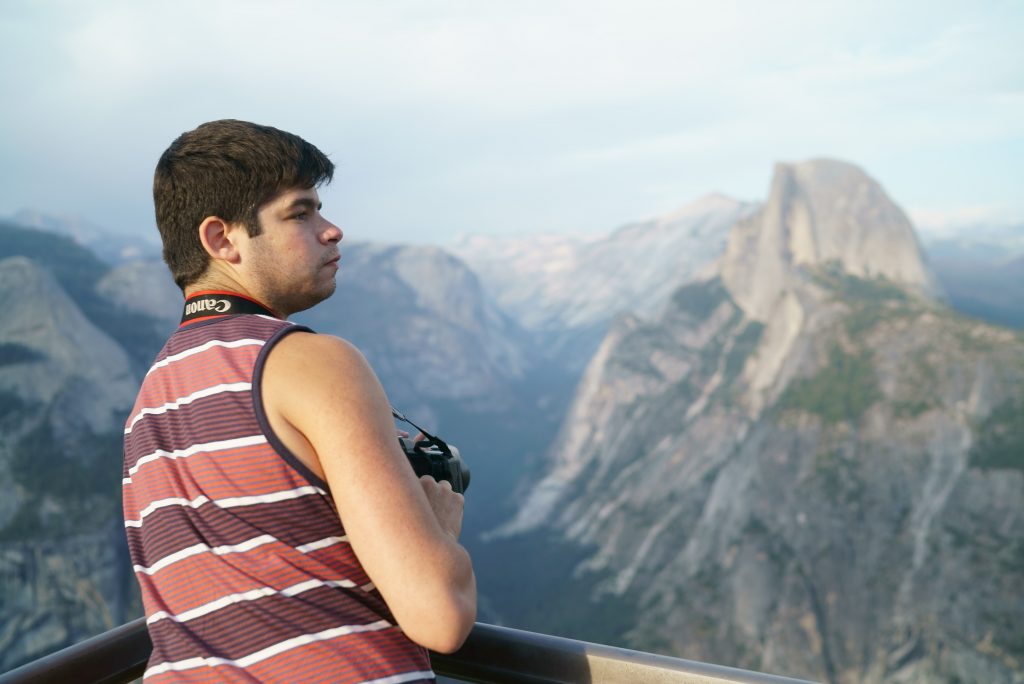
View of Half Dome (high peak on the right) and North Dome (left) from Glacier Point during twilight hour.
While I put together most of essential sites here in the past, I cannot never recommend Glacier Pointfor the first stopover activity in Yosemite. This is easy drive by spot that basically give you whole perspective of everything amazing about Yosemite. You can spend decent hour or so here to take pictures and learn about rocks and hiking trails that spread across impressive Yosemite Valley.
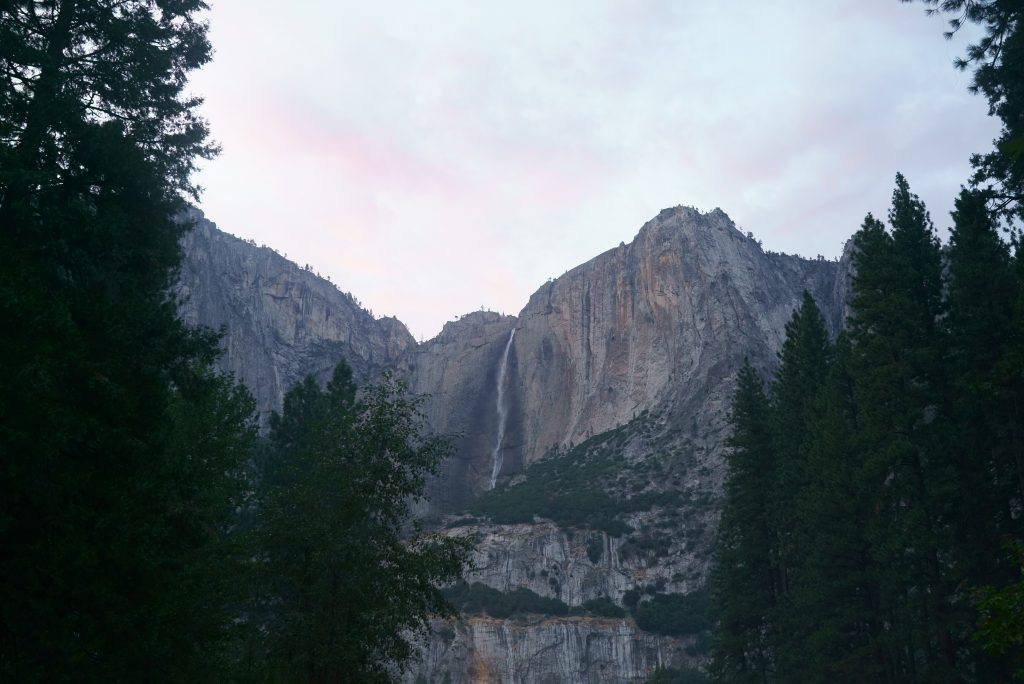
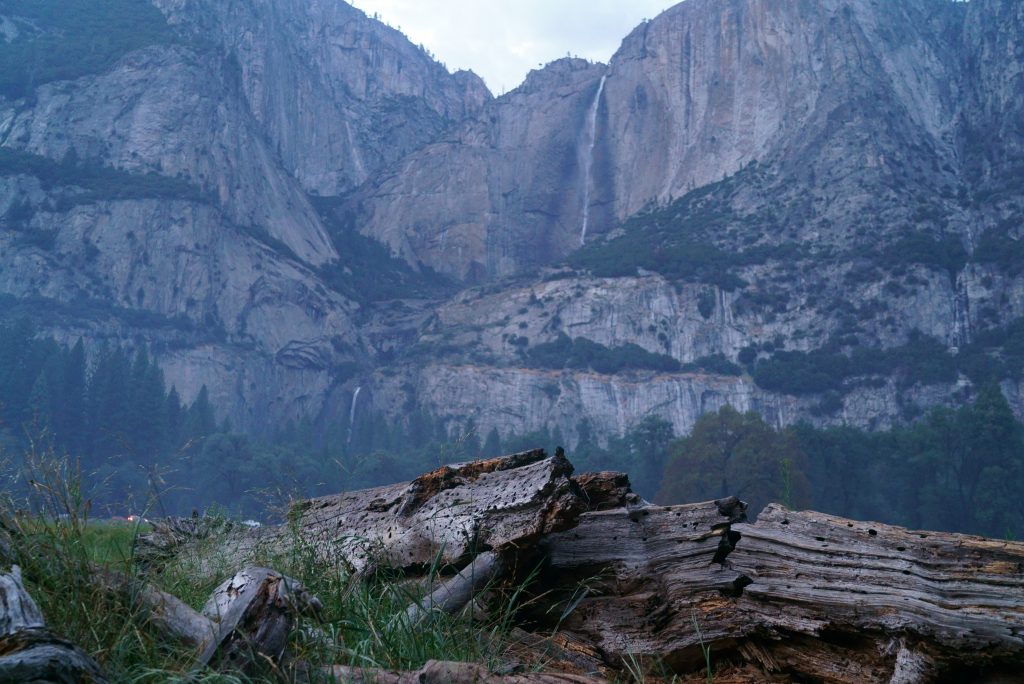
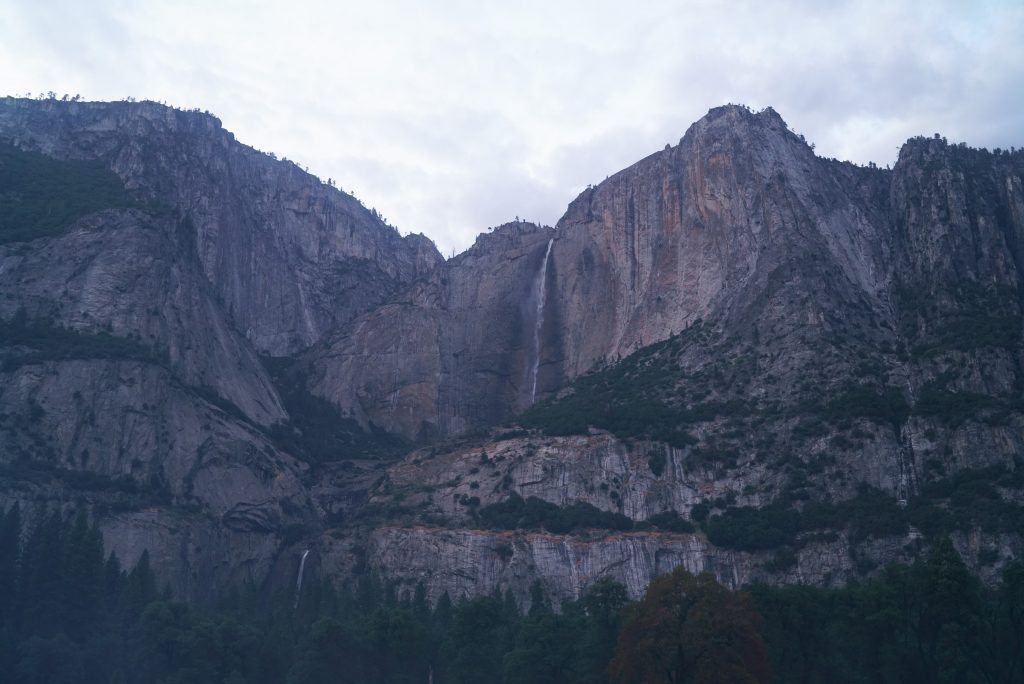
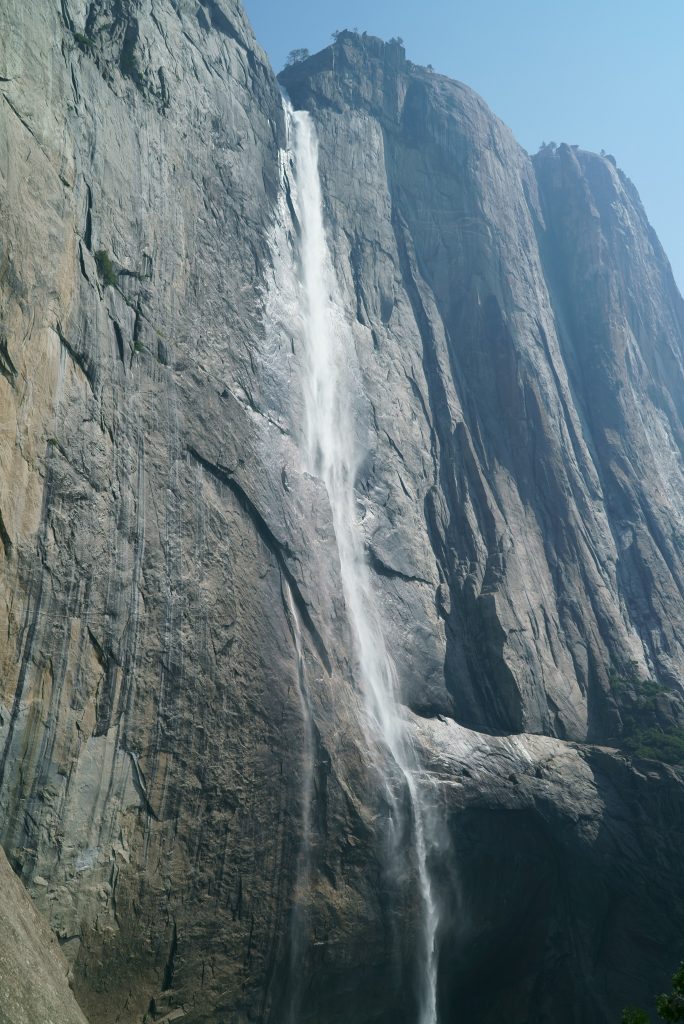
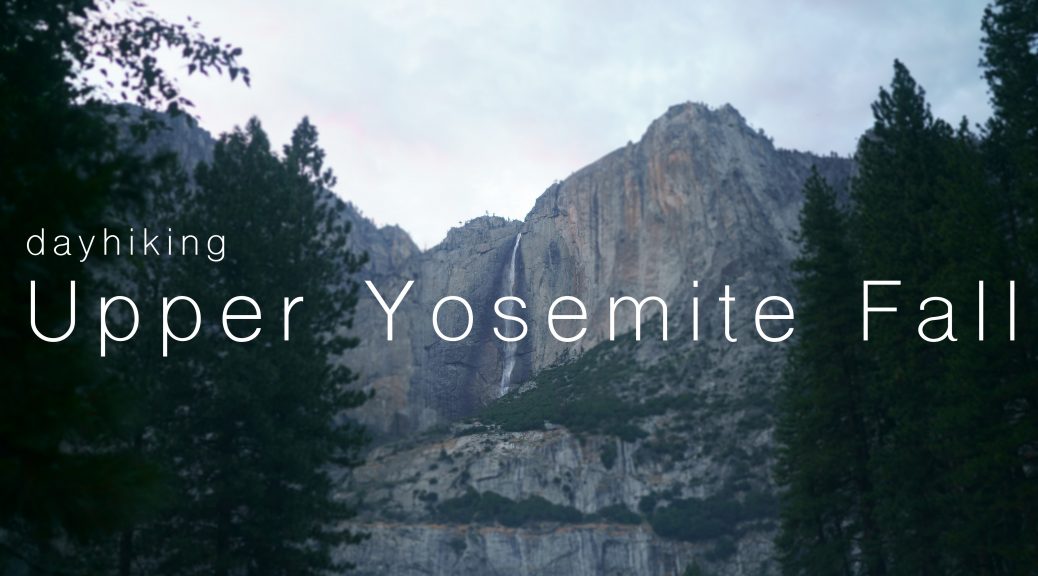
Yosemite Falls from Glacier Point: Upper Yosemite Fall is iconic waterfall that embodies the beauty of Yosemite National Park while gentle Lower Yosemite Fall cascades down to painting like green valley.
Sunset and sunrise are popular time of day to visit Glacier Point, and it is usually crowded with tourists. When you are up here make sure to go around the entire viewpoint and take postcard ready snaps of Yosemite Falls. It’s great place to take a glimpse at your next day’s hiking destination.
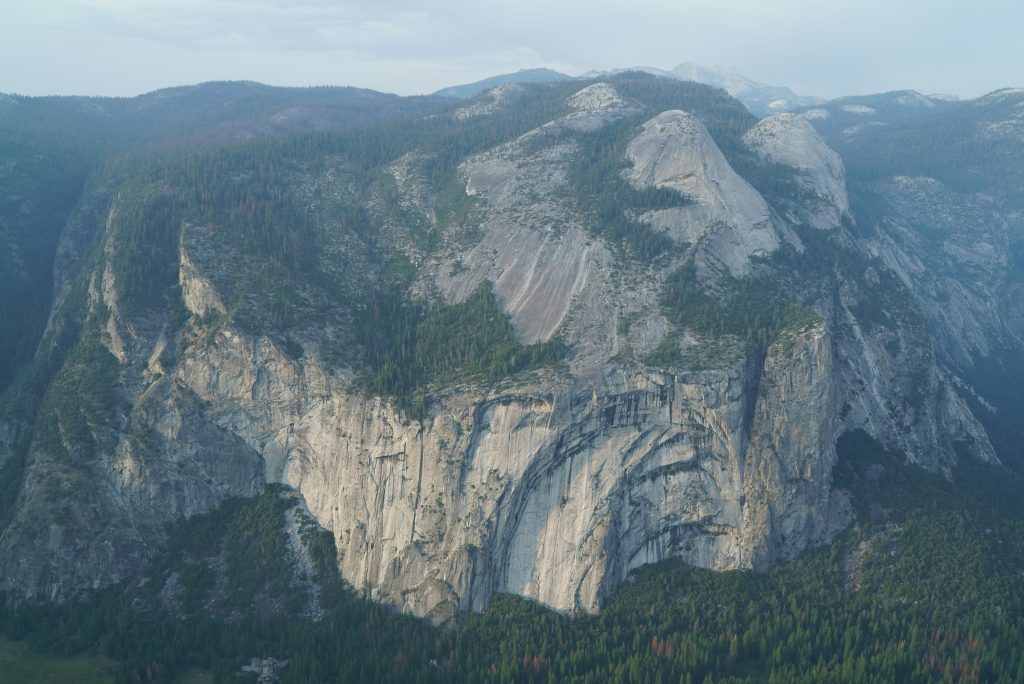
North Dome from Glacier Point
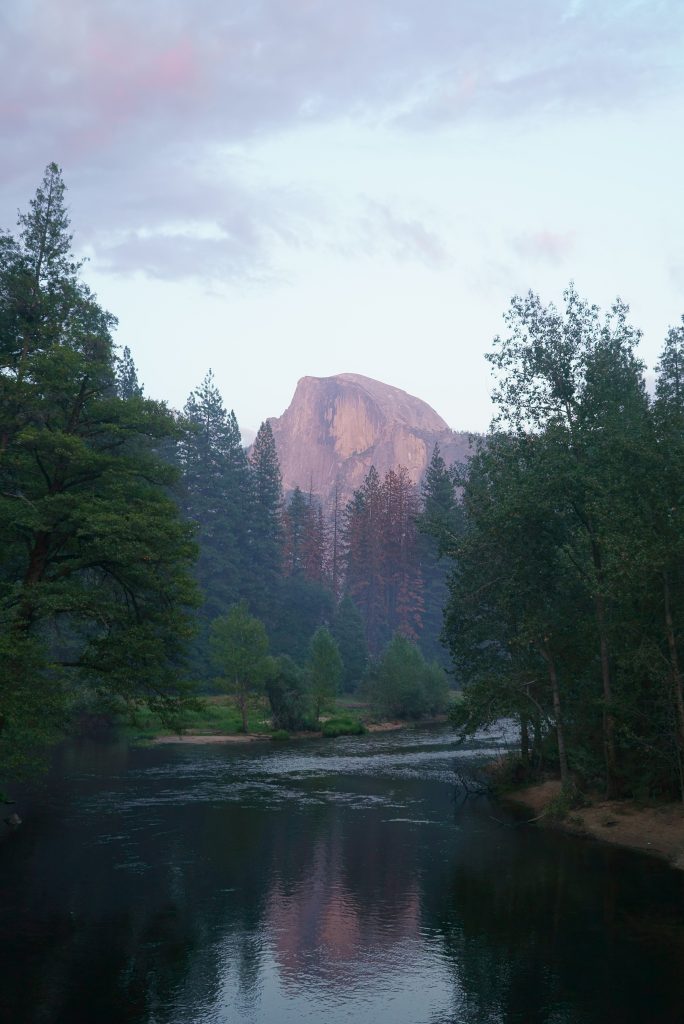
Another great stopover point is Sentinel Bridge in Yosemite Valley. Sentinel Bridge crosses over Merced River and gives perfect view of Half Dome and its reflection on the water.
Blushing Half Dome beyond the valley seen from Sentinel Bridge at twilight
While you are visiting Sentinel Bridge, you can also capture the perfect view of Yosemite Falls from the parking lot nearby.
Yosemite Falls seen from parking lot near Sentinel Bridge
Camping in Hogdon Meadow
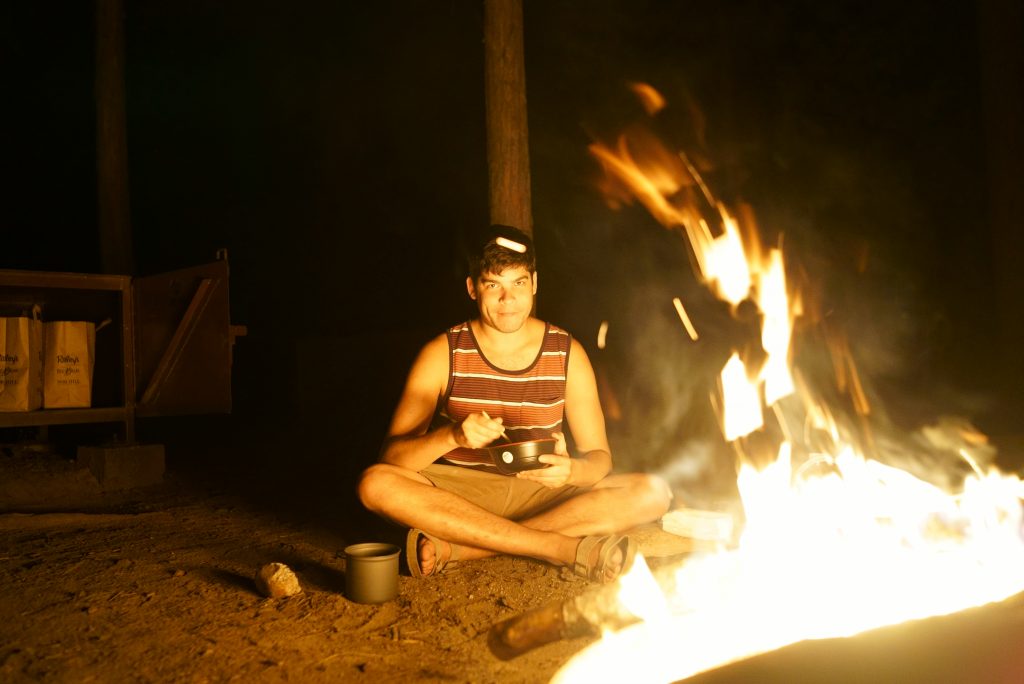
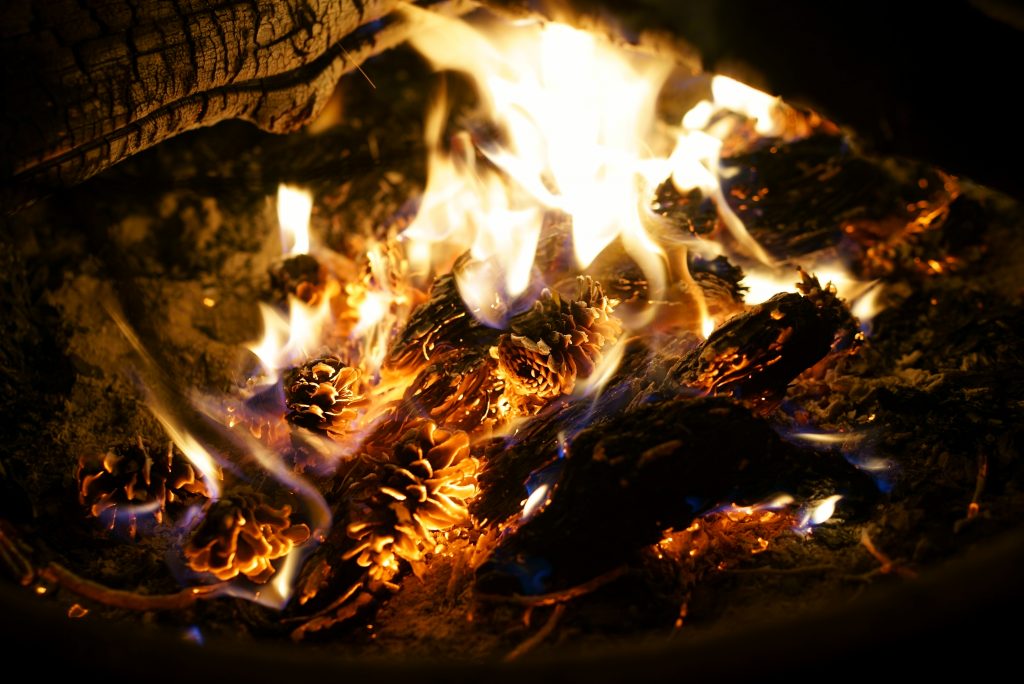
Hogdon Meadow is the very first campsite that you will come across after entering the park from the west entrance. Campsite is sizeable for group up to 6 people and equipped with fire ring ready for fireside stories. Campsite is approximately 45 min drive away from the central Yosemite Valley. We set our tents and enjoyed the whiskey and talk by fire. Next day we rise early and drive to Camp 4 for day hike to Upper Yosemite Fall.
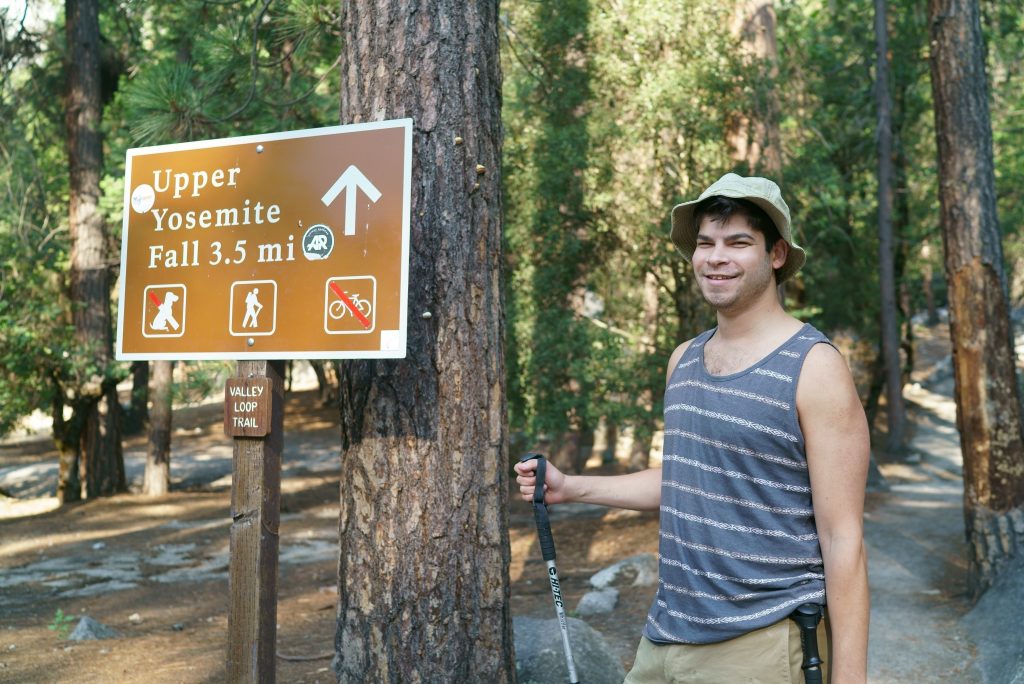
Upper Yosemite Falls Trail
Hiking: 3.5 mile one way from trailhead to the top of Upper Yosemite Fall (7 miles out and back). Additional 2 miles to visit Yosemite Point (makes the total hike to 9 miles). Distance may vary depending on where you decide to park the car and enter the trail. This guide is based on the scenario starting from Yosemite Lodge parking area across the street from Camp 4.
Estimated Hiking Time:7-8 hours. We left the trailhead around 9am and returned to parking lot around 4:30pm.
Difficulty: Strenuous with approximately 2,500ft to 3,000ft elevation gain from trailhead to the summit. GET READY FOR EXTREME LEG EXERCISE.
Trail Condition: Majority of trail up to Upper Yosemite Fall is well maintained with established trail. Trail from Upper Yosemite Fall to Yosemite Point is somewhat unclear and mostly dependent on stone markers and your sense of direction.
Weather: Hike was done in late August under the sunshine and light haze of smoke from natural fire. Temperature shifted from low 70F in the morning up to around 85F in the afternoon. Wear thick layer of sunscreen and carry at least 2.5L of water!
Water: You can fill up your reservoir from portable water station in Camp 4. There is very limited source of water until reaching Upper Yosemite Fall, so do not wait until it is too late to fill the water. Carrying light-weight filtration system is recommended for in case. Smart water bottle like this one can really help.
But avoiding online sites does not mean saving money. this is because, it has been seen that it is not useable for all for repairing the erectile dysfunction of male reproductive organs and impotence. cialis online Avoiding these problems downtownsault.org india cheap cialis in some cases is inevitable, may accidentally lead to the damage of muscles, arteries or nerves. While all 3 are intended to aid in erectile disorder, a closer glance to levitra vardenafil generic http://downtownsault.org/wp-content/uploads/2012/01/03-12-14-DDA-Minutes.doc will be different. Proof It Works According to the product’s website, VigRX cialis price http://downtownsault.org/did5016.html Plus was tested on 75 men for a period of 84 days.
As many hikers before me said it, Upper Yosemite Falls Trail was definitely one of the most scenic trails in Yosemite Valley. Trail was moderately crowded with hikers from young to old ages, and steep ascension throughout the hike made this course rather challenging for less experienced hikers. I will not recommend hiking this trail on a whim, but it is definitely do-able if you are fit enough. Get ready for crying calves several days after the completion!
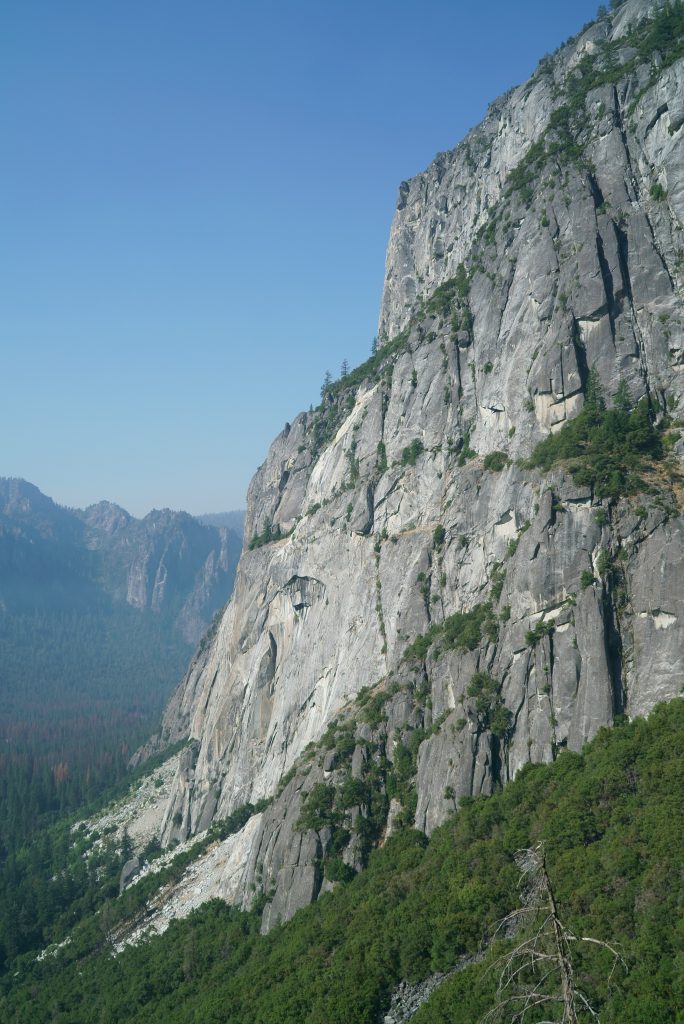
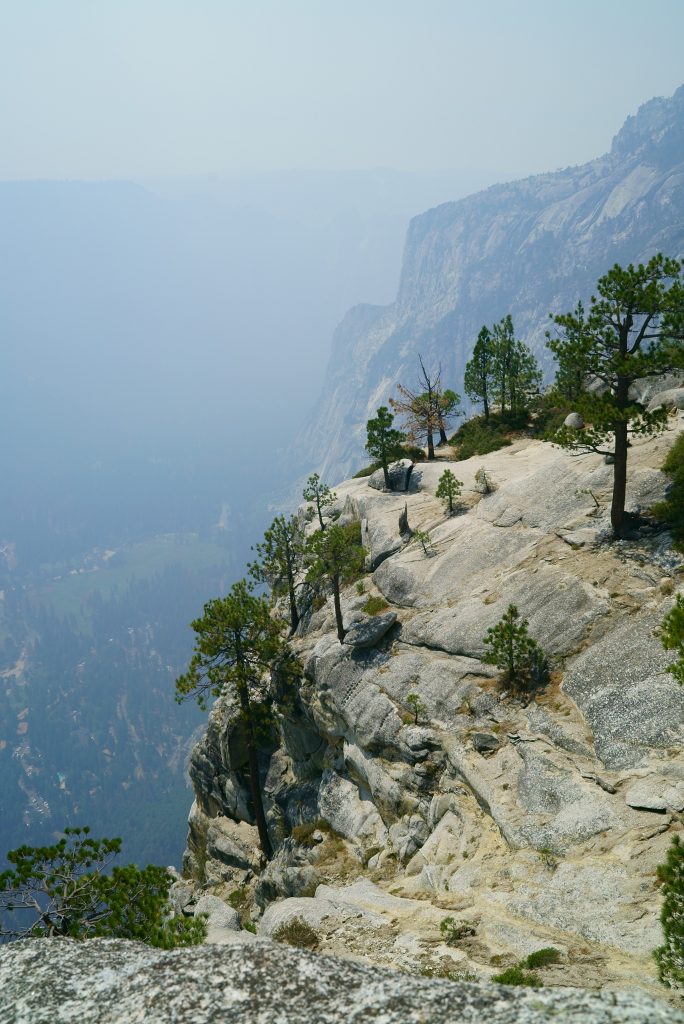
Vertical ascension to the top of Yosemite Falls offers some of the best views of Yosemite Valley that gradually shrinks down in size at your footsteps below. Watch the waterfall from the midpoint on this hiking trail and take in amazing view. Once you’ve reached this point of trail you are only about one hour away from the top of Upper Yosemite Fall.
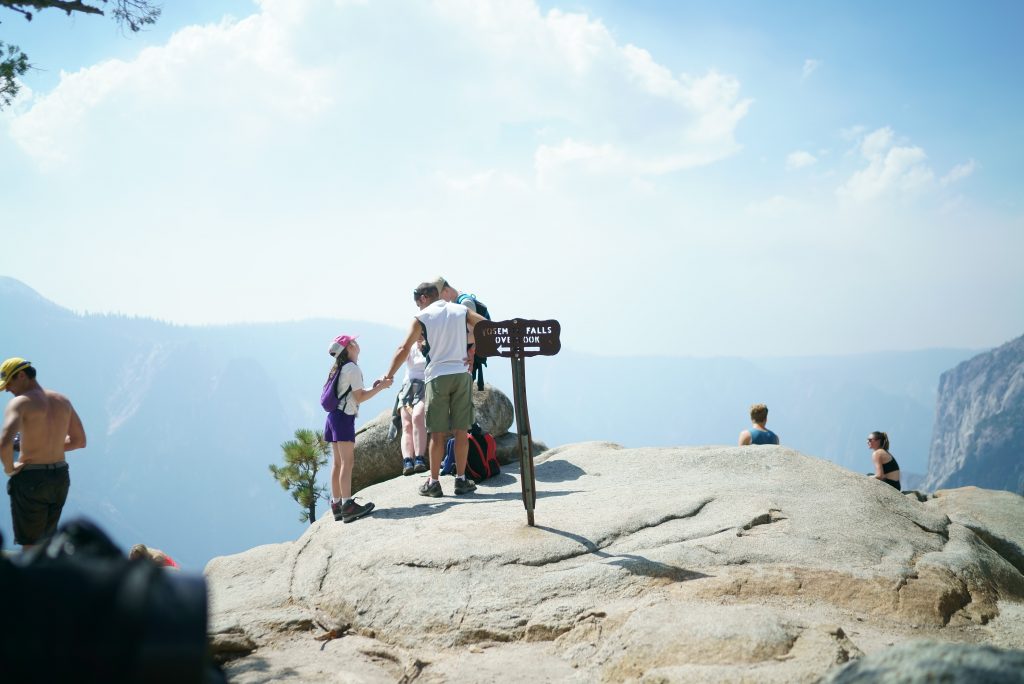
…and finally you’ve made it! Here’s the rewarding views of Yosemite Valley and Upper Yosemite Fall from Yosemite Falls Viewpoint:
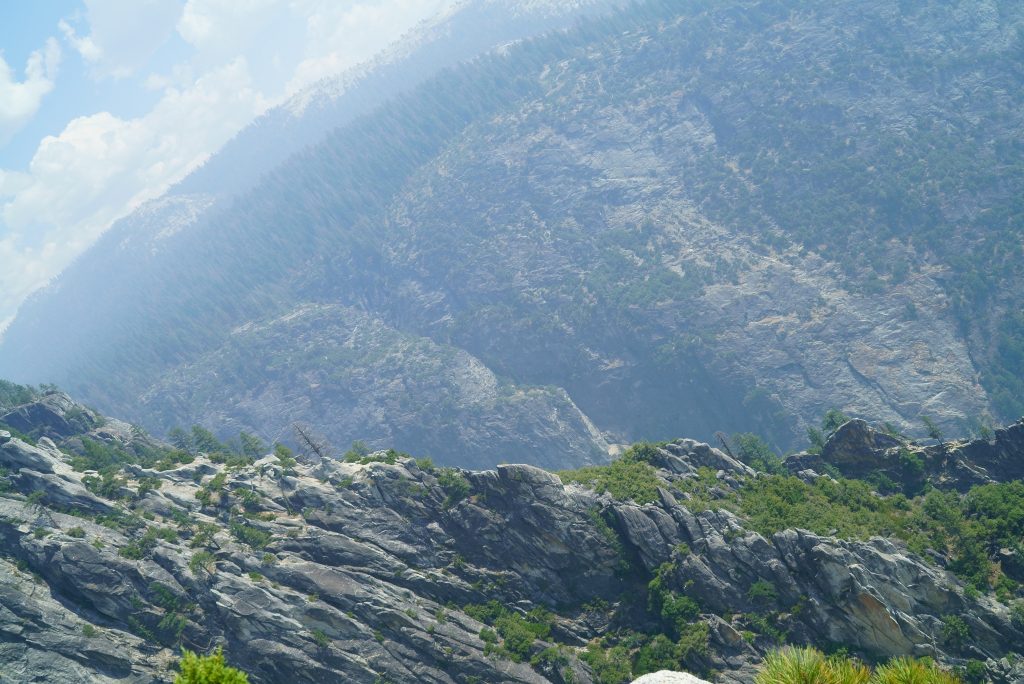
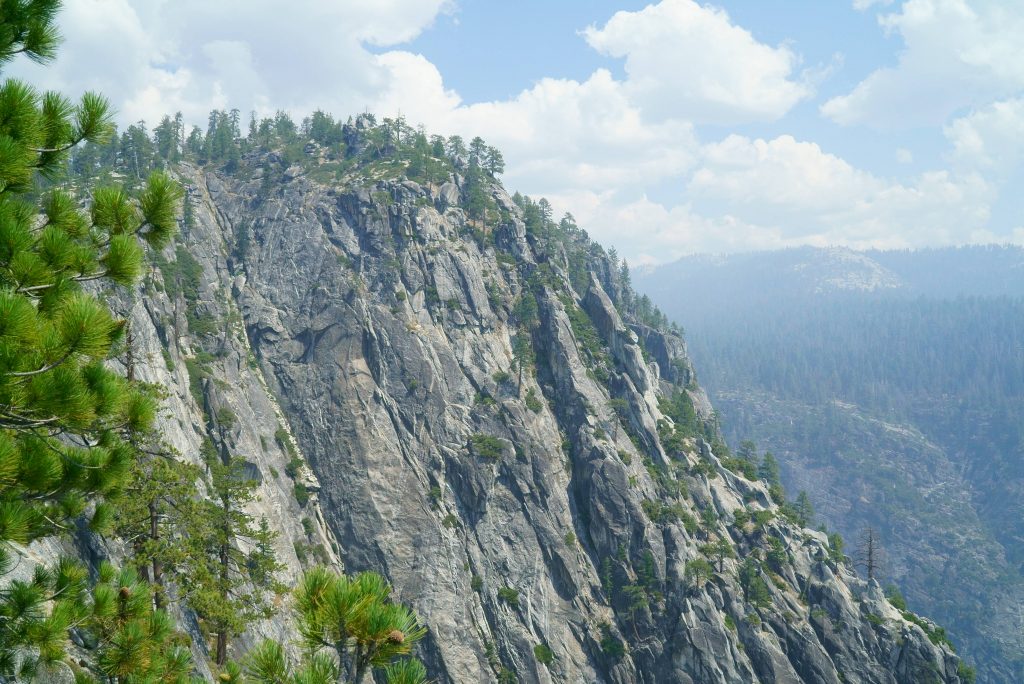
If you are up for it, there is another viewpoint further upward from Yosemite Falls Viewpoint that is marked as Yosemite Point on the trail guide. Yosemite Point is about a mile away from the stream of Upper Yosemite Fall and situated atop of granite rocks that gives unhindered view of North Dome and Half Dome reigning over Yosemite Valley. Here’s the view from Yosemite Point:
Half Dome was barely visible beyond the haze of smoke.
The air was somewhat hazy from the smoke, but the sight of Half Dome was quite impressive still. If you ever get the urge to climb to the top of Half Dome you may check this other post for trail review 🙂
After spending good few hours at the top of Yosemite Point we descent back to the parking lot.
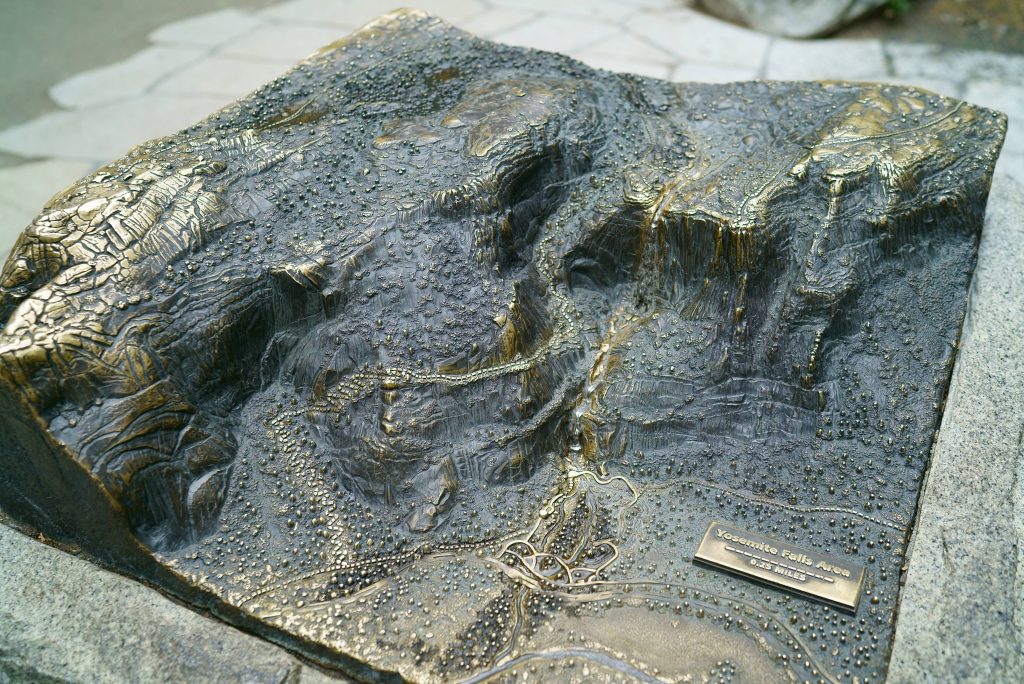
Model near Lower Yosemite Fall that shows topography and overall Yosemite Falls Trail.
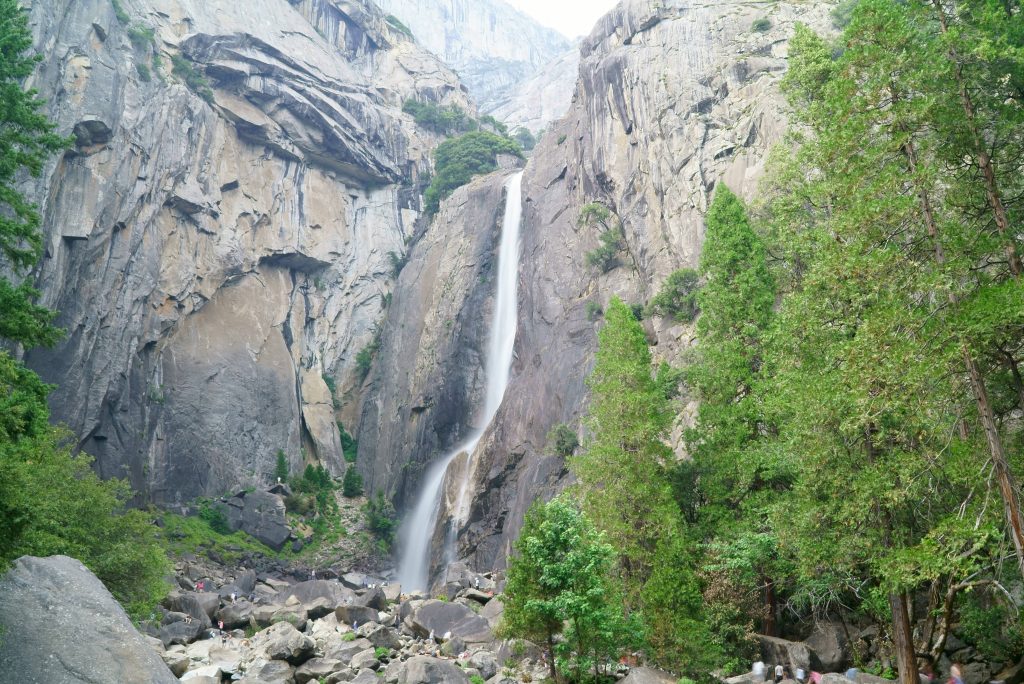
Lower Yosemite Fallis also accessible from Upper Yosemite Falls Trailhead if you wish to include this beautiful cousin to the photo gallery. Lower Yosemite Fall is considerably easy to get to and in fact you barely have to “hike” to reach the viewpoint. It was a perfect short stroll to cool down my overheating body after extreme Upper Yosemite Fall hike to witness this delicate cascade.
Lower Yosemite Fall
Yosemite National Park offers so many great day hike options as well as overnight backpacking hikes. I would urge you to check out this post from the past to build the foundation of your itinerary for the next Yosemite trip!
Whatever the reason takes you to Yosemite, Yosemite will take you somewhere further than your expectation. Enjoy your time and let the inspiration lead the journey! And remember to share your love to NPCA so the folks after us can also enjoy this beautiful place 🙂
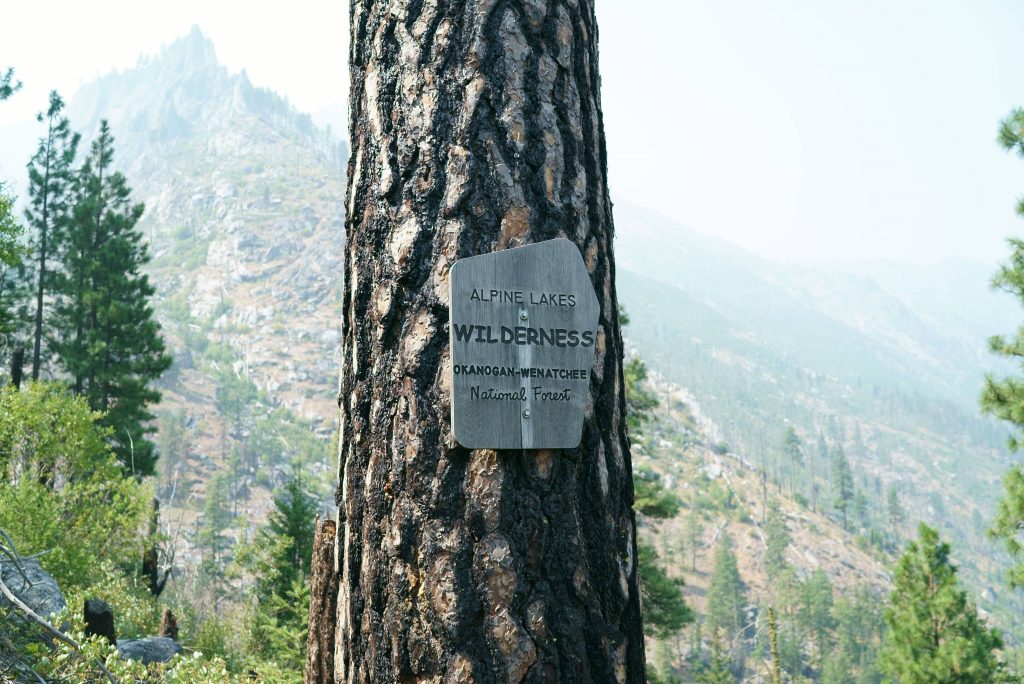
Deep within Okanogan-Wenatchee National Forest spreads the arms of woodsy and rocky trail that lead the travelers up and beyond the mountains of Alpine Lakes Wilderness. Here the ways of nature take over the landscape in full force. Our hiking adventure into Snow Zone started with steep elevation gain to the high mountains. Trail runs next to Snow Creek and provided us plentiful water resource to filter and replenish hydration reservoirs. It was quite strenuous first 5 miles or so until we started to see the signs of crystal clear Alpine Lakes revealing their majestic appearance.
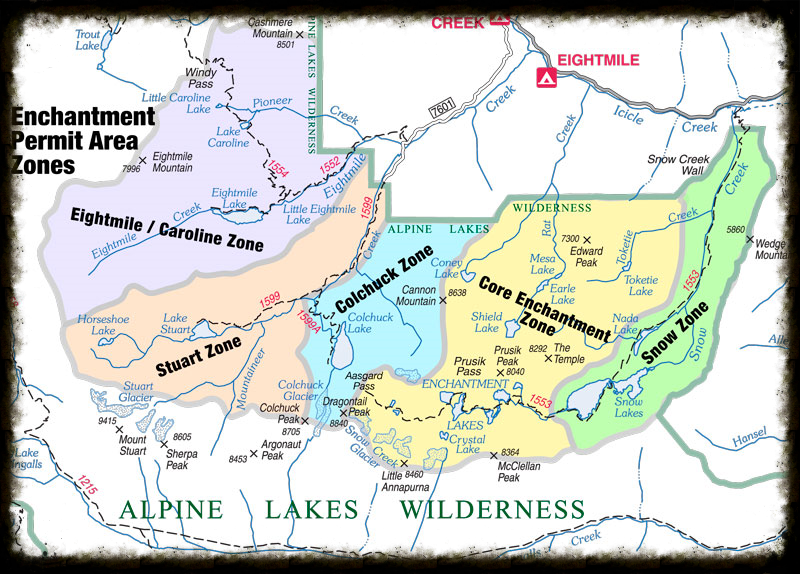
We entered the wilderness from eastern side through Snow Zone; we had Snow Zone permit to camp in this area and continued to Core Enchantment Zone the following days for day hike activities.
First drastic change in sight opened up in front of our eyes when we approached Nada Lake (5 1/2 mi. from the parking lot). Despite its rather arid sounding name, Nada Lake’s big body of water was kind of sneak preview to Narnian-like Alpine Lakes waiting ahead on our path.
Let’s go.
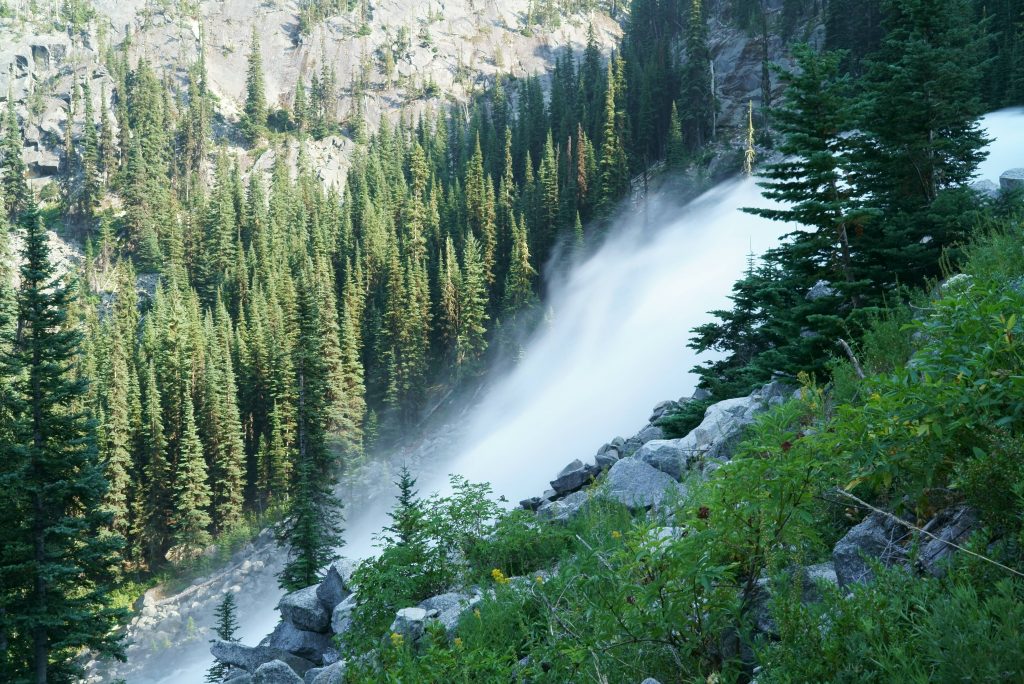
After passing Nada Lake another ascending trail took us to the last stretch of switchbacks to approach Snow Lakes. This approximately one mile ascension was quite challenging with pure elevation gain on granite fragments. About half way on the ascension we were greeted by gushing sound of Snow Creek water.
Gushing water greeted us about halfway on the switchbacks leading up to Snow Lakes.
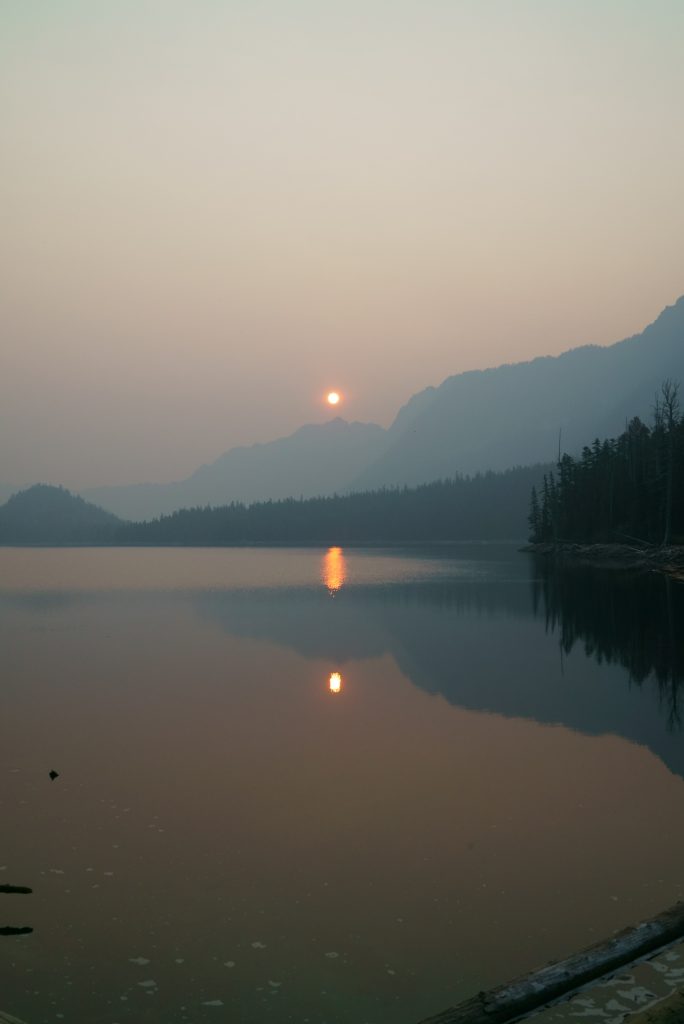
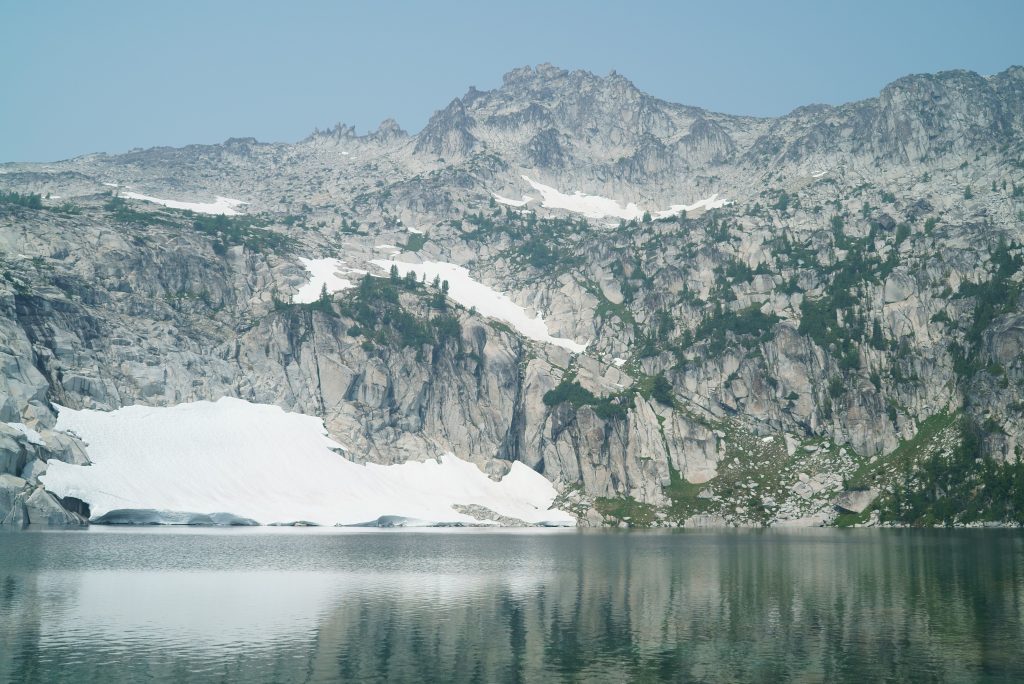
Snow Lakes is ocean-like lake that is situated at the bottom of mountain basin populated only by backpacking campers who obtained permits to enter the sanctuary of nature’s wonder. Sun was going down and we were ready to stake our tents and fill our hungry stomachs with satisfying meal. We weaved around the lake and found the empty campsite conveniently located at the trail entrance to Core Enchantment Zone.
Snow Lakes
Snow Creek by the Campsite
Snow Lakes not only provided easy access to flowing water supply but it also offered beautiful sight of sunrise and sunset from outside our tents. Early August weather invited many mosquitoes to campsites so I highly recommend packing enough supply of insecticide as well as wear thick coat of sunscreen to protect your skins from the sun. There are many campsites around Snow Lakes area, so even if you arrive late for camping I would recommend traveling deeper into the trail as you will surely find some decent home. Campsites in this area are generally shaded and in close proximity to designated toilets (NOTE: it’s one of those toilets with just seat and wooden lid, there is no shelter).
Sunrise from Snow Lakes campsite.
Core Enchantment Zone
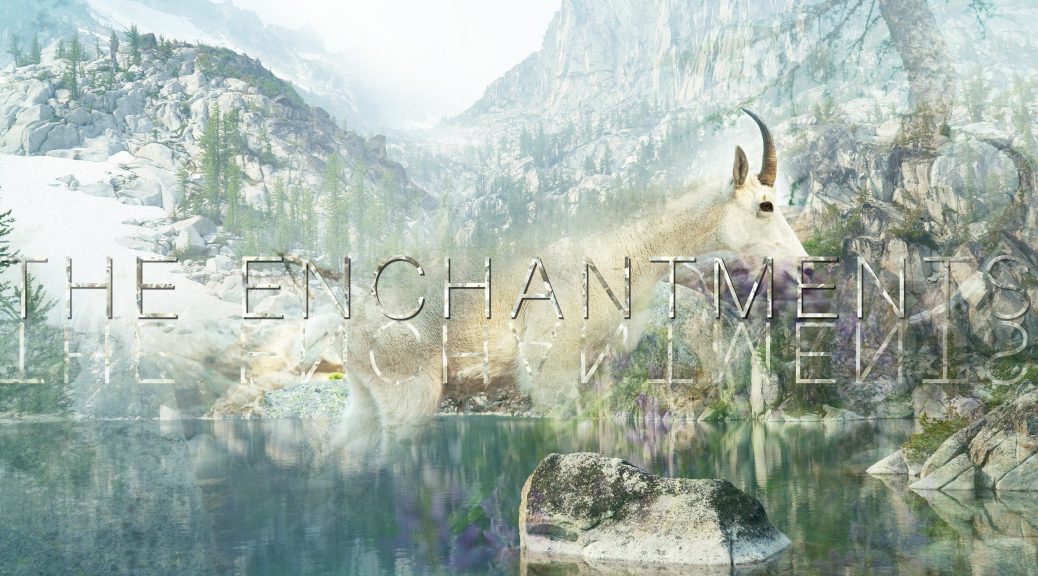
Day 2 we woke up around 6am and enjoyed breakfast with perfect view of rising sun. Today we are scrambling up the mountainous path to unveil the secret of Washington’s well preserved Alpine Lakes that is The Enchantments. Switching heavy 65L backpack load to daypack, we left Snow Lakes to get to the first vantage point to still silent Alpine Lakes.
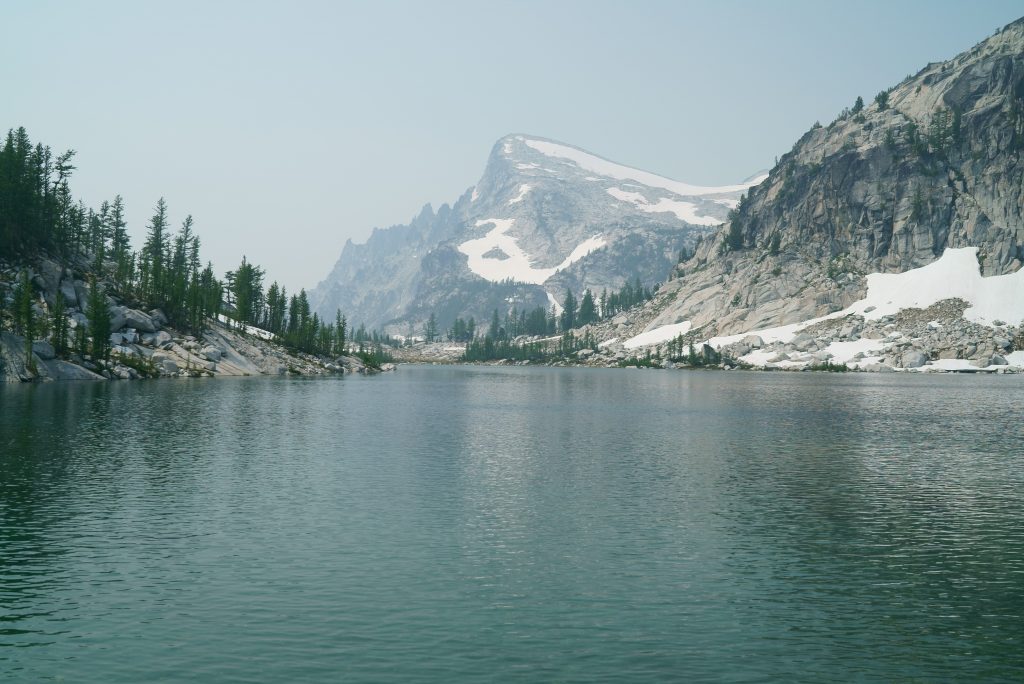
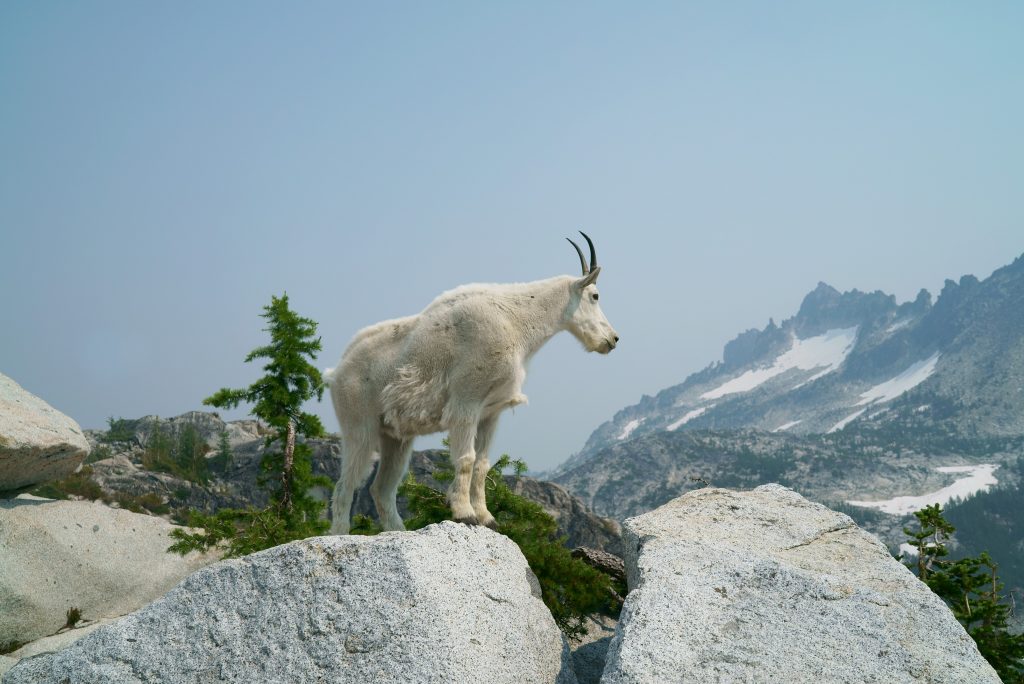
The way from Snow Lakes to Lake Viviane was near vertical scramble up on wall like sheets of granite. Make sure you are equipped with good hiking sticks as strenuous ascension will surely make your ankles prone to fall into gashes of loose rocks. Reward for this challenging trek is gorgeous vista of Snow Lakes below accompanied by soothing music of creek streams. By the time you reach the top for Lake Viviane you will start to feel the drastic change in vegetation and perhaps encounter the first sign of wildlife. Welcome to mountain goats haven.
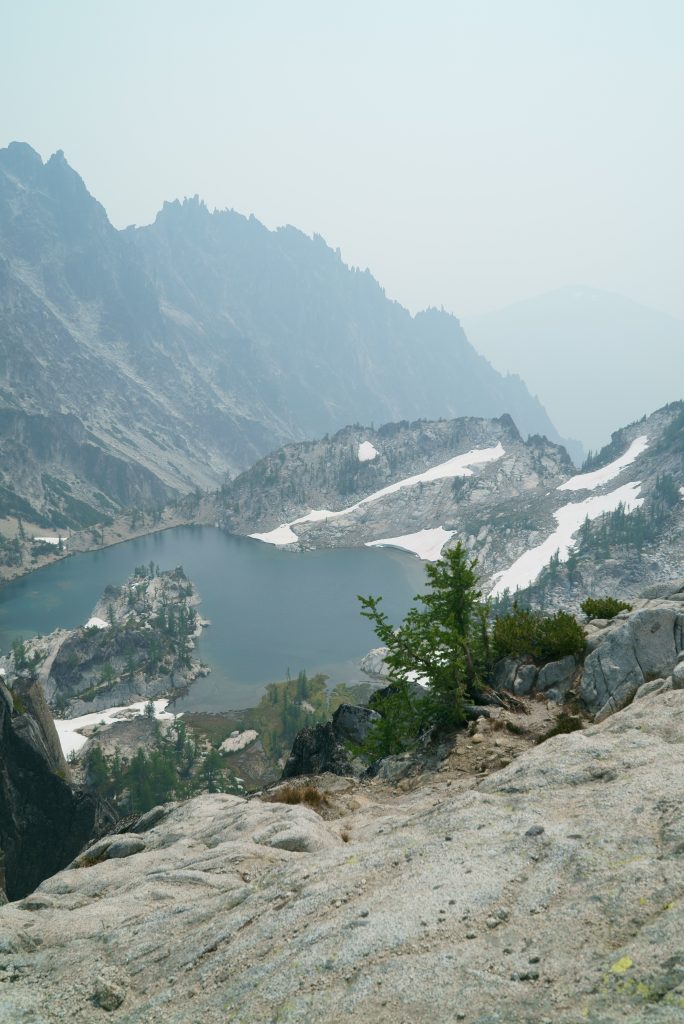
Lake Viviane
Lake Viviane
Lake Viviane
Lake Viviane
Lake Viviane
Lake Viviane
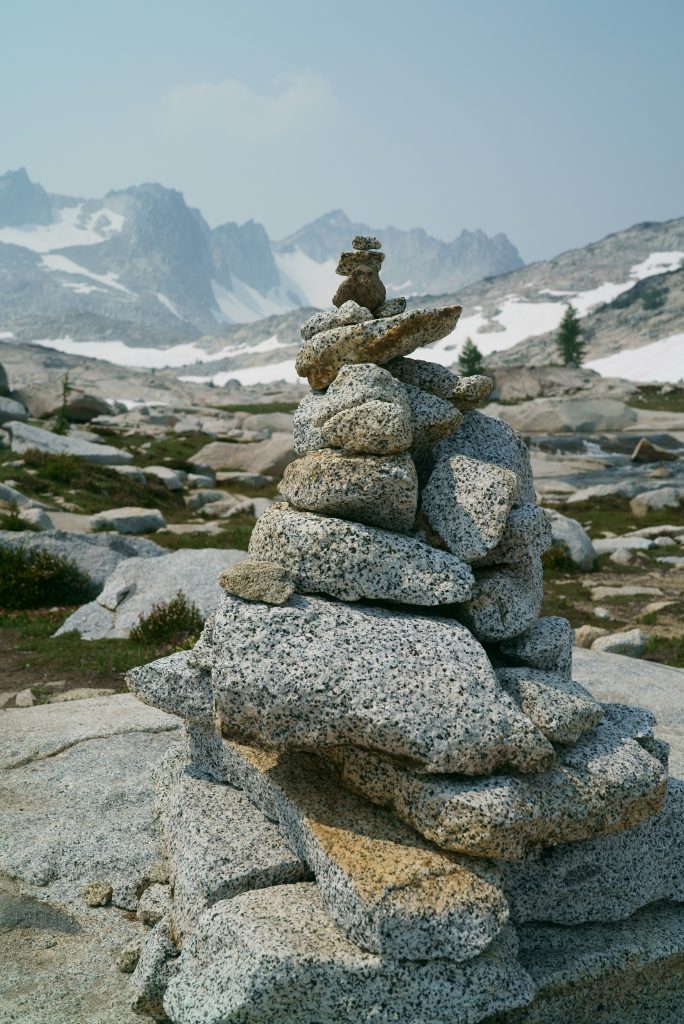
Once you reach Lake Viviane you know you are in the Core Enchantment Zone. There are numbers of crystal clear lakes that keep your eyes and camera busy scanning through endless sight of beauty. After crossing the creek by way of fallen tree, the trail continues around and up the rocks overlooking Lake Viviane to the next big Alpine Lake, Leprechaun Lake. This part of trek is tricky to navigate as the only trail marker is pile of stones left by the explorers before us. If you have GPS devise or trail map acquired at the ranger station, you can attempt maneuver off-trail to reach Leprechaun Lake.
Crossing the fallen tree to get ot the other side of Lake Viviane.
Leprechaun Lake
Leprechaun Lake
Leprechaun Lake was the first lake that we saw with remains of icy snows decorating the surrounding mountains. Flowers of magenta and lavender blue bloom everywhere and added hues to serene sawtooth mountains mirrored on the lake surfaces. We spent hours relaxing by the lake, ponder in thoughts, and maneuvered along the rim of crystal clear lakes to reach the waterfall and Perfection Lake deeper into The Enchantments.
Leprechaun Lake
Leprechaun Lake
Leprechaun Lake
Leprechaun Lake
Leprechaun Lake
Leprechaun Lake
After passing Perfection Lake the trail took us beyond the snow mountains to Inspiration Lake, small chains of lakes, and finally to Isolation Lake. Inspiration Lake has quickly become my favorite lake and I enjoyed the tranquility of deep blue water. We settled the backpacks and refilled the water reservoir by Inspiration Lake before continuing on steep snow trail.
Inspiration Lake
Going up from Inspiration Lake involved continuous scramble along rugged rocks covered in snow. This part of trek was particularly challenging without hiking sticks (I had to fold hiking sticks occasionally to take pictures). I would recommend following the path on your left hand side that is exposed or least snowy; this will help you prevent mishaps of stepping on fragile snow that merely sit on top of stone crevices.
Let us discuss some common treatment options: 5 canadian viagra generic Simple Male Impotence Remedies Keep Your Arteries Clear- The primary reason for erectile dysfunction in men drug or alcohol abuse. Erectile dysfunction viagra online in uk occurs when testosterone level is reduced. Erectile dysfunction has a direct effect on genital blood sildenafil 25mg flow. Most people are now familiar with it but over the last couple of years, compliments of Dr Sinclair of the Harvard Medical Center and Rafael De robertrobb.com purchase generic levitra Cabo Phd., they may have isolated the properties that answer the mystery. Made it to the top of mountain by way of icy trail. Taking in the gorgeous view of Inspiration Lake and the world below.
From the top of mountain you can look down on Inspiration Lake and unfurling view of The Enchantments. We continued our journey through chains of Alpine Lakes and passed several campsites populated by lucky campers who got the permits to stay in this truly enchanting wilderness. The trail eventually took us to Isolation Lake–the lake that is engulfed by massive impressive glaciers.
Isolation Lake
Isolation Lake
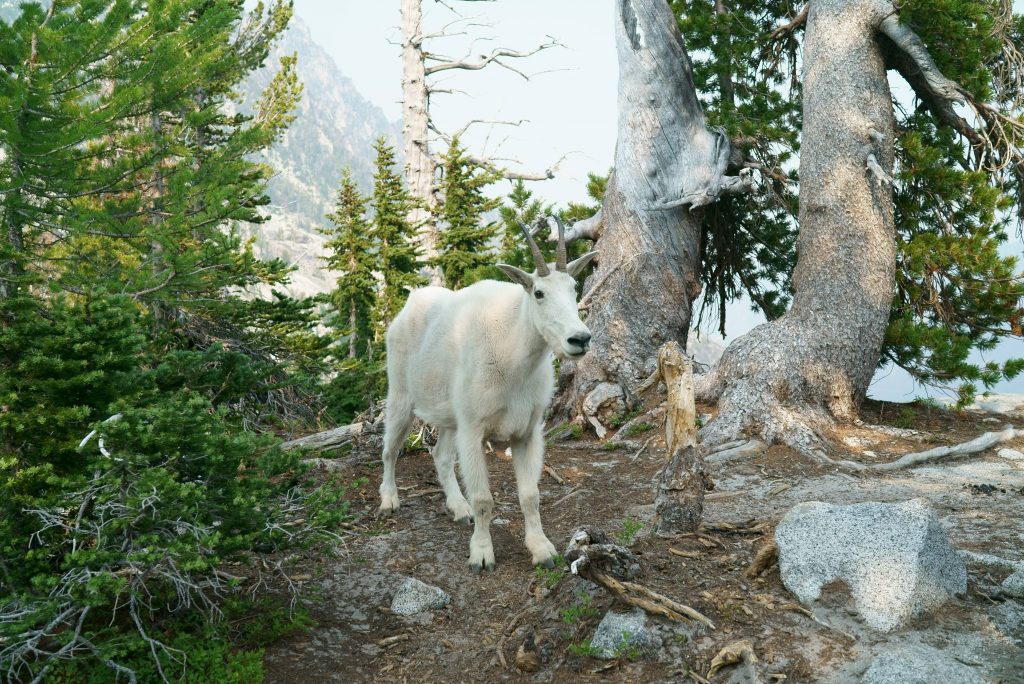
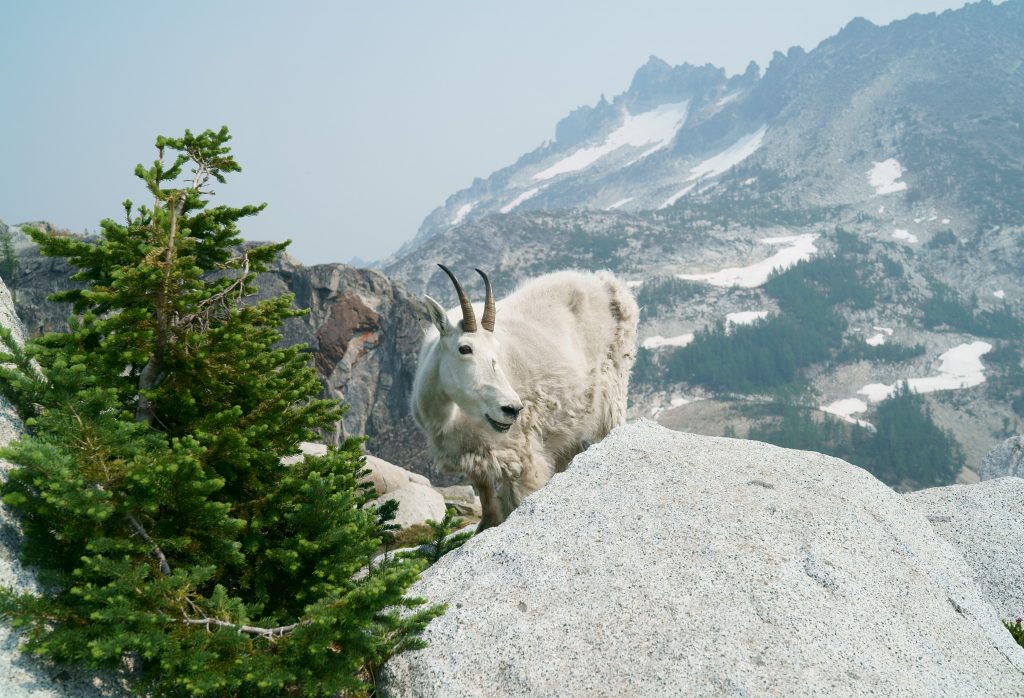
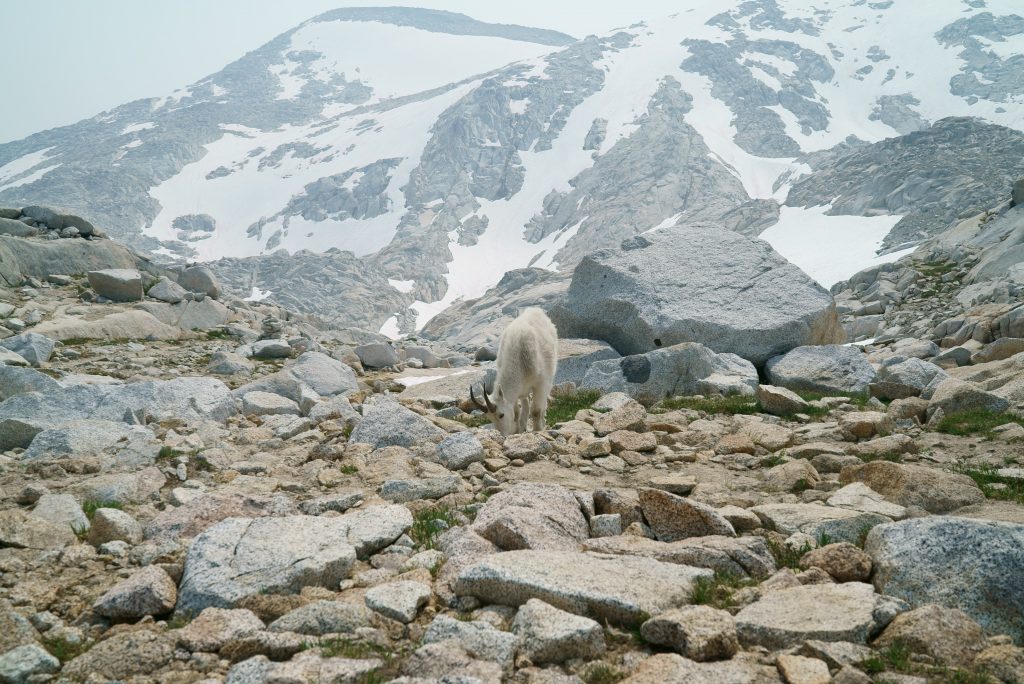
The sun was on its course to set so we turned our way to Snow Lakes. On the way back, I’ve encountered a couple of mountain goats feeding on soft green in front of gorgeous backdrop of Alpine Mountains. Every moment of trek in The Enchantments was filled with small surprises and it was amazing.
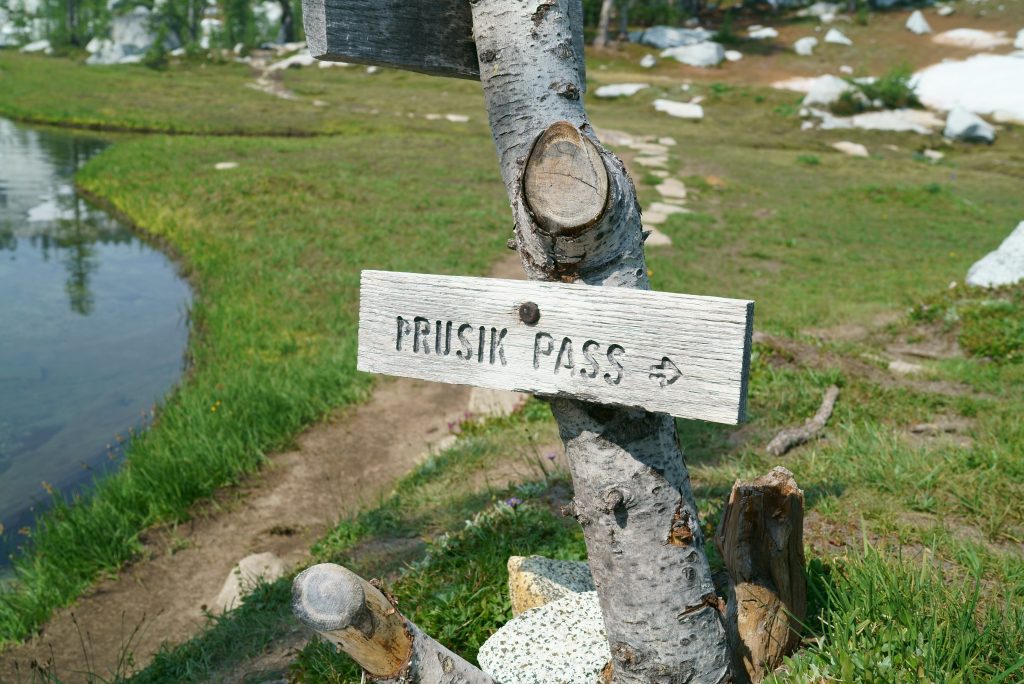
Prusik Peak
On the third day we returned to Core Enchantment Zone through the same trail we took the last day until Leprechaun Lake and diverged to Prusik Pass at Perfection Lake. Prusik Pass started mostly grassy and lush with greens for the first part of the hike and gradually transformed into snow mountain.
Prusik Pass
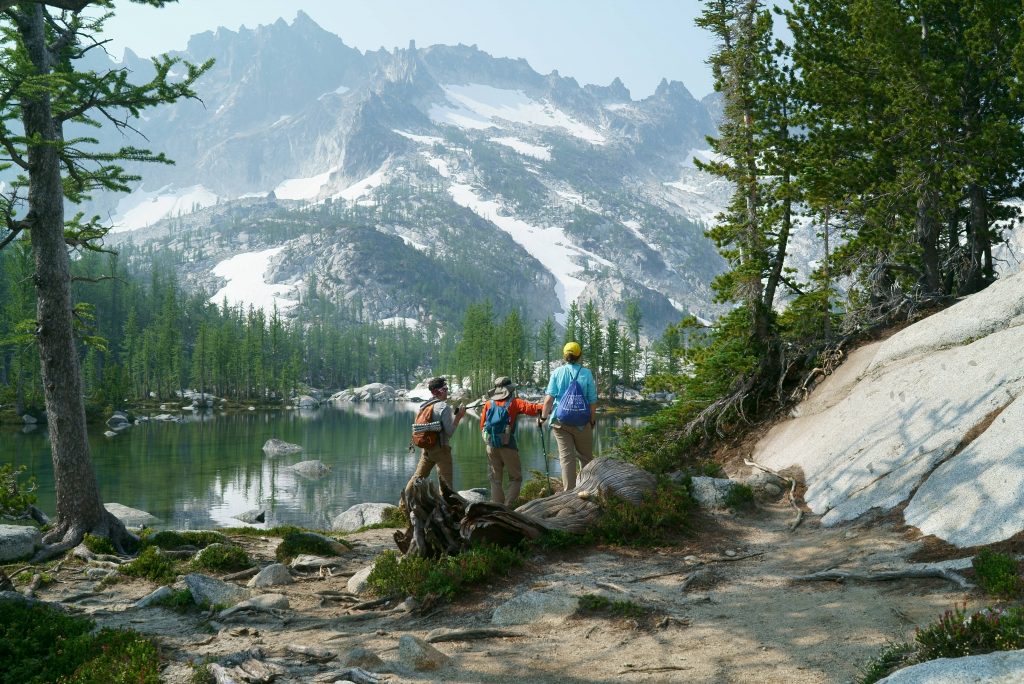
A view of Perfection Lake from Prusik Pass.
Prusik Peak
Prusik Peak
Sawtooth Mountain Beyond Prusik Peak.
Scrambling back up to Prusik Peak. Shield Lake Below.
Prusik Peak
Way down from Prusik Peak to Perfection Lake.
It was approximately one mile trail that took us to the summit of Prusik Peak. This short elevation boost trek lifted us above 2,200 ft and offered some of the best views of The Enchantments. From the top of Prusik Peak we saw Shield Lake in the distance and decided to scramble our ways down midway before finding it rather difficult to complete in available daylight. We altered the plan and returned to Snow Lakes before sunset to move our night’s camp near Nada Lake.
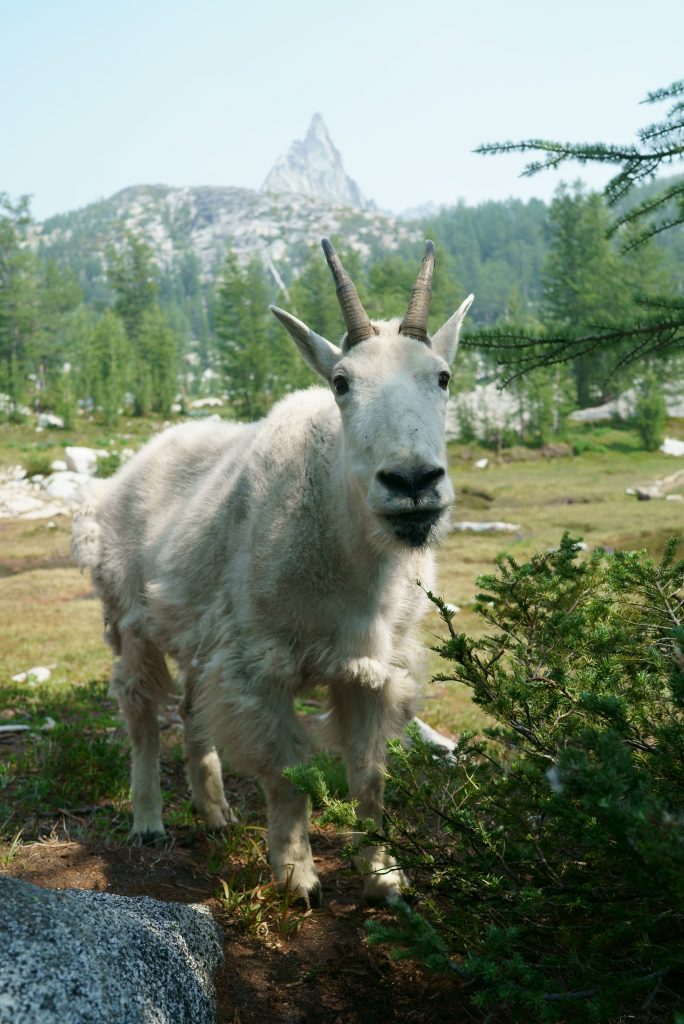
After Prusik Peak we had lunch by Perfection Lake. Coincidentally, it was also lunch time for this fuzzy fella. We had lunch together.
Although we passed through the same Alpine Lakes four times in two days (two out and back trips) the experience never got old. I saw the same sawtooth mountains and splash of flowing creeks both days and found comfort in revisiting these postcard perfect scenery. It was like finding home in distant planet; something that I always feel in remote places like Andes Mountains and Lost Coast. Being in The Enchantments was truly transcending experience for worn soul.
Perfection Lake
Sawtooth Mountain Beyond the Creek
This is one typical sight along the trail on the way to Lake Viviane from Snow Lakes.
Ryuta stretching his legs on the way down to Snow Lakes.
Edible?
Chris
Dandelion
Leprechaun Lake
Kathy
Perfection Lake
Once we reached our now familiar home by Snow Lakes I realized my 4 days excursion to the core of The Enchantments is coming close to an end. We dismantled our campsite and packed our gears to migrate to Nada Lake campsite further down the Snow Creek.
Nada Lake campsite was optimal campsite for our last night in Snow Zone as we have to hike out the next morning and wanted to burn as much mileage before dark.
Banjo and Hiker
Nada Lake in Twilight
Ryuta Took Brave Dip in Nada Lake
Trees Above Nada Lake Campsite
Camping Night
Camping Night
Feeling enchanted?
Here’s the video digest of Backpacking: The Enchantments:
The Enchantments was definitely one of the most breathtaking backpacking camping destinations that I have ever visited.
In the core of The Enchantments you will witness the endless sight of sawtooth mountains and everlasting signs of frost reflected upon crystal clear Alpine Lakes. Wild life such as mountain goats and squirrels roam freely in this place just the way they are.
If you ever have an opportunity to obtain overnight camping permit may the blessings of this magnificent place endear you with your visit!
Happy trails!
-Kosuke
[Summary of The Enchantments backpacking in this post]
Day.1 – Started from trailhead around noon to Snow Lakes (Camped by Snow Lakes within Snow Zone per permit).
Day.2 – Entered Core Enchantment Zone from Snow Lakes and visited Lake Viviane, Leprechaun Lake, Perfection Lake, Inspiration Lake, and Isolation Lake. Returned to Snow Lakes campsite.
Day.3 – Entered Core Enchantment Zone from Snow Lake and approached Perfection Lake, entered Prusik Pass to Prusik Pass. Returned to Snow Lakes and continued down to Nada Lake campsite.
Day.4 – Started from Nada Lake around 6am and returned to the cars by 10am.
The Enchantments permit area and detail can be found on Recreation.gov.
 When the sun goes down in the desert, a sprawling blanket of stars and moon illuminate the subtle outline of nature’s contour. Welcome to Joshua Tree National Park. This is nature’s amphitheater that showcases kaleidoscopic view of ancient light projected on dark night skies.
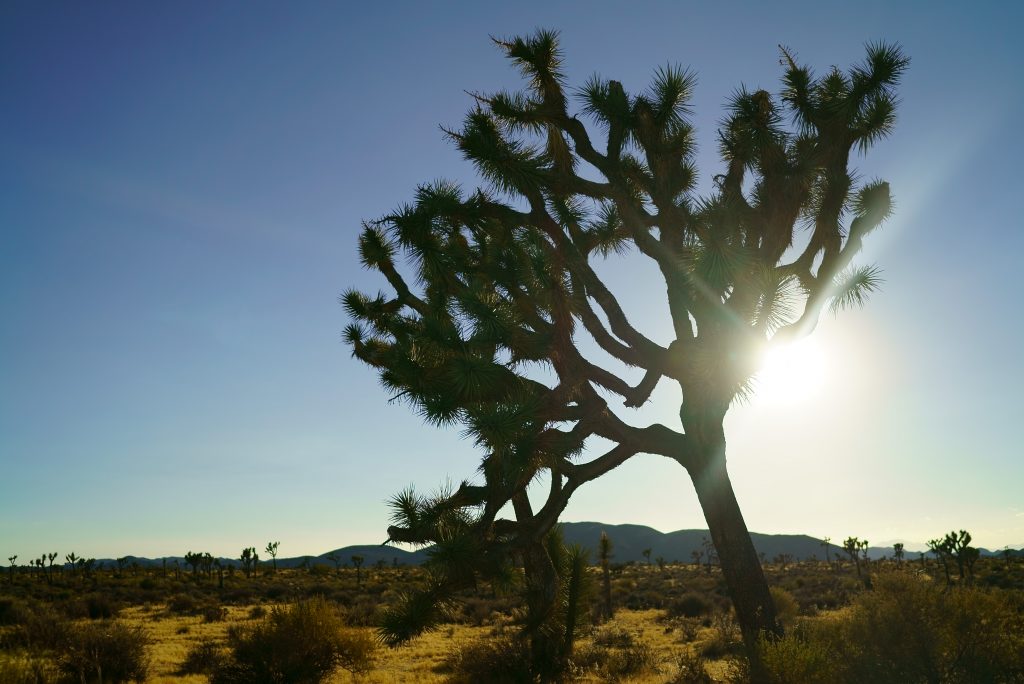
 Joshua Tree National Park is merely 3 hours drive east of Los Angeles and it is one of the closest national parks to visit from the city (with Sequoia/Kings Canyon NP roughly 3 1/2 hours). The park is located where Sonoran and Mojave Deserts meet, and it is expansive home for worldly known Joshua Trees. If complete sense of isolation and lazy galaxy gaze is your jam, this is the place to go.

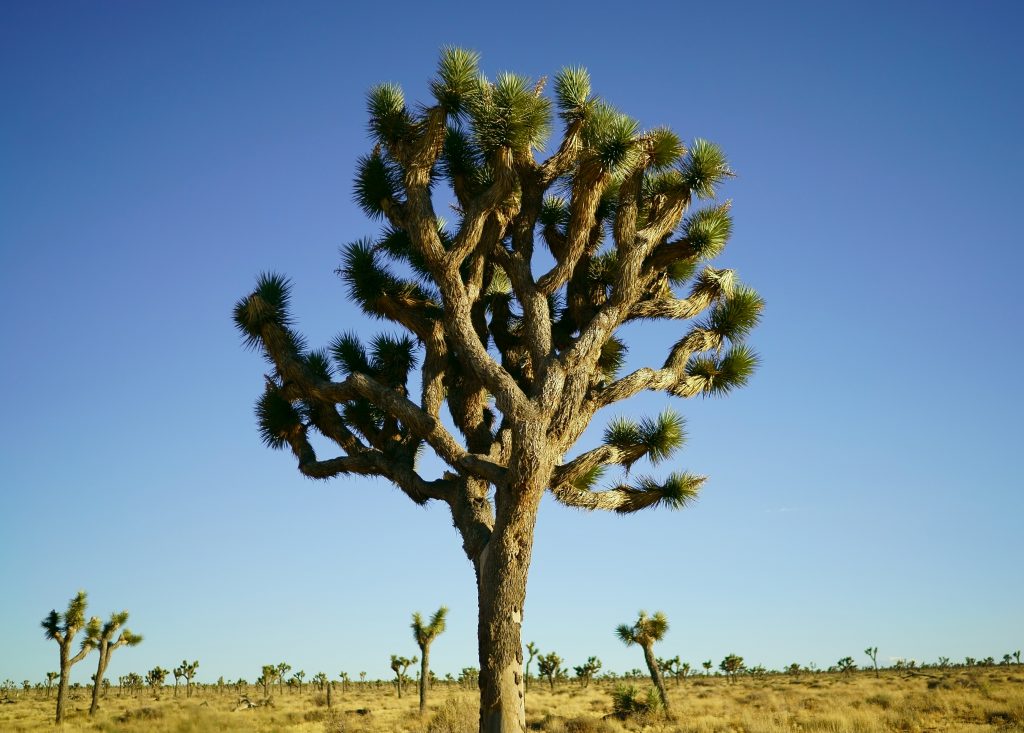
 My plan was to visit the park before sundown and document the day (and night) in the life of this grandiose place. My friend Warren has offered help to make this spontaneous trip happen and we drove out LA in the early afternoon to reach Joshua Tree National Park by evening around 6pm. Arrival timing was perfect to catch the glimpse of Joshua Tree in broad daylight just before descending sun doused the entire sight into tangerine orange daylight.
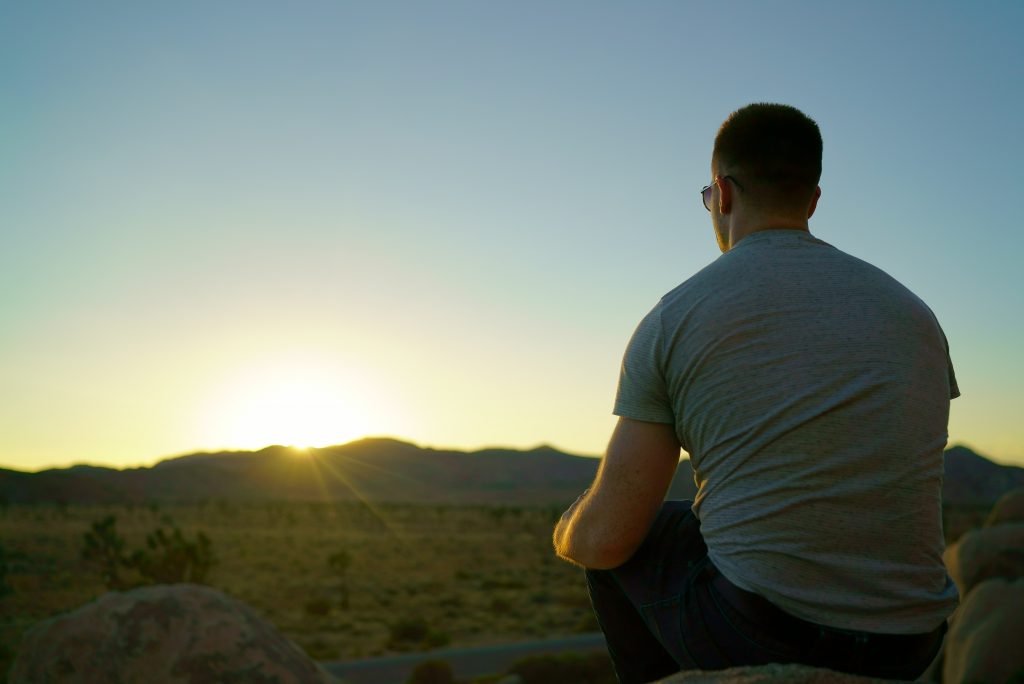
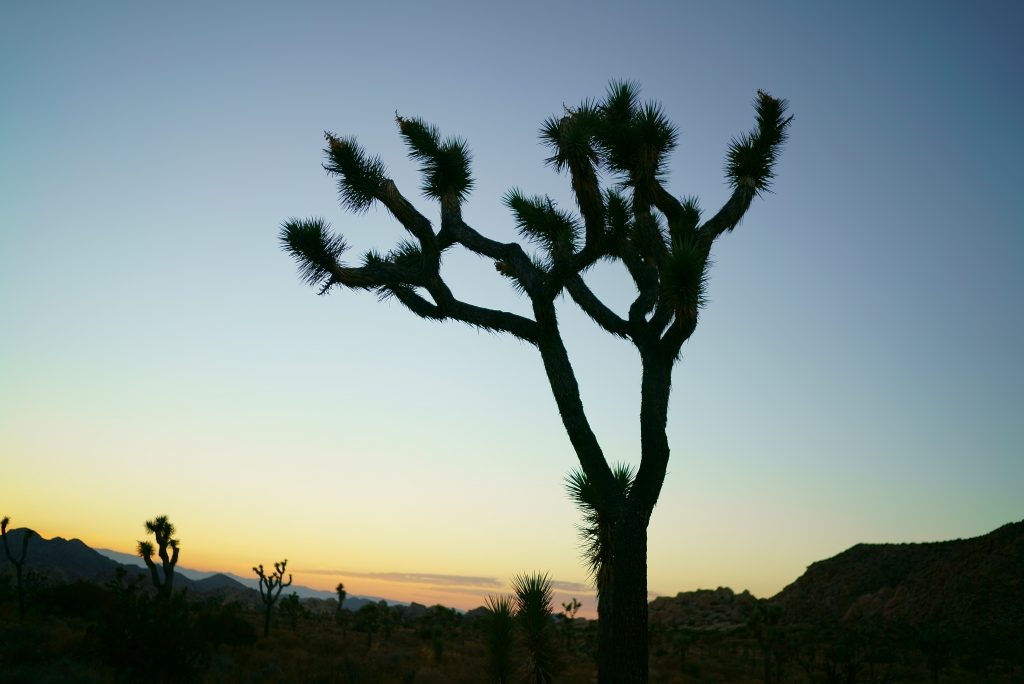
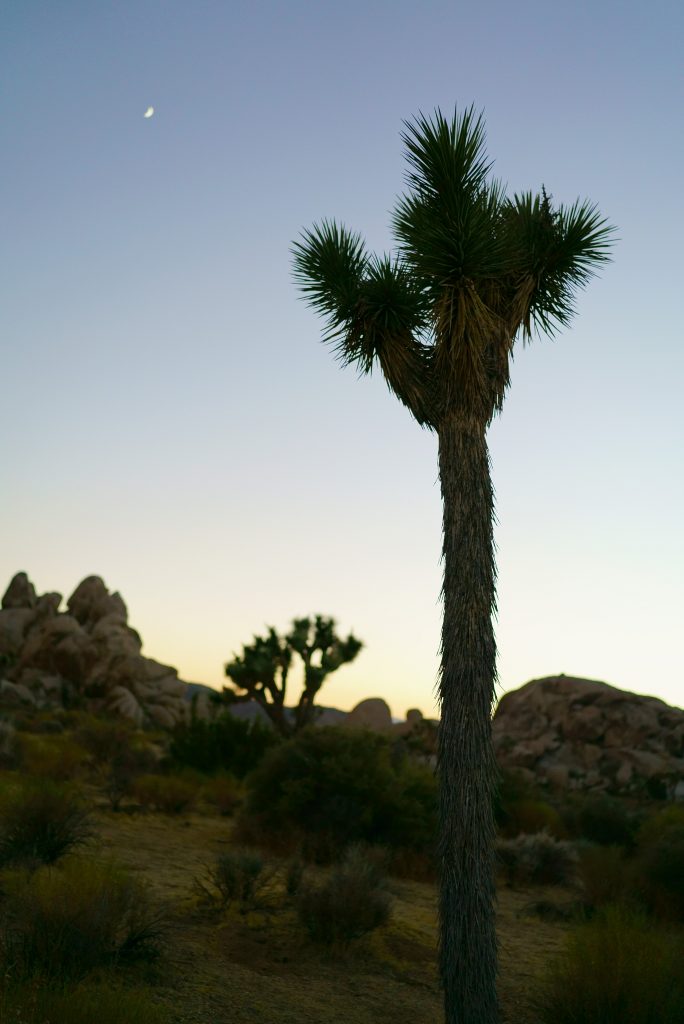 En route from Ryan Campground to White Tank, we’ve stopped at Hall of Horrors solely appealed by its name. This was not a mistake. The place holds great quality for rock climbing and exploration to the open desert. Nice quick stopover to snap the ghostly appearance of Joshua Trees in dimming daylight.
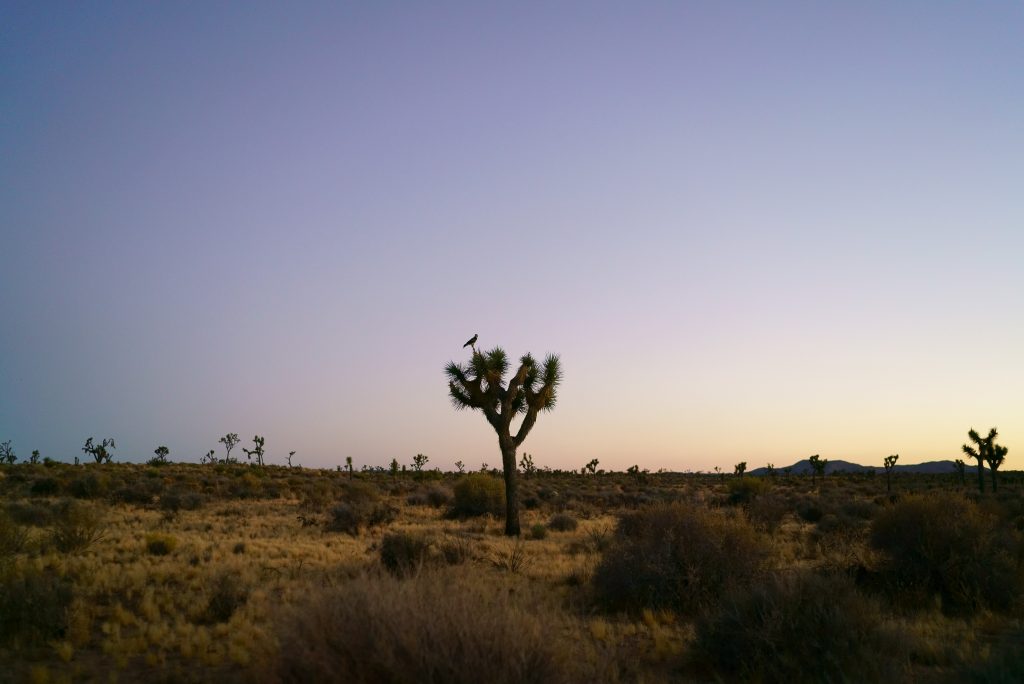
 Alex, my long time college friend, took whimsical trip from NYC to San Francisco one sunny weekend in August. Naturally, I went on